Sword Tutorial
Using the ‘Creating a Stylized Sword’ by 3D Artist, Sabrina Echouafni, I decided to follow this tutorial to reintroduce myself back to 3D Space.
Start 17/01/2026
Feeling slightly overwhelmed with the 3D UI in Maya and Zbrush, I have been unable to keep up with the latest programs due to my recent switch into working within the Education industry. This is something I hope to tackle with following this tutorial.
Programs Used
Maya
Zbrush
STEPS MAYA
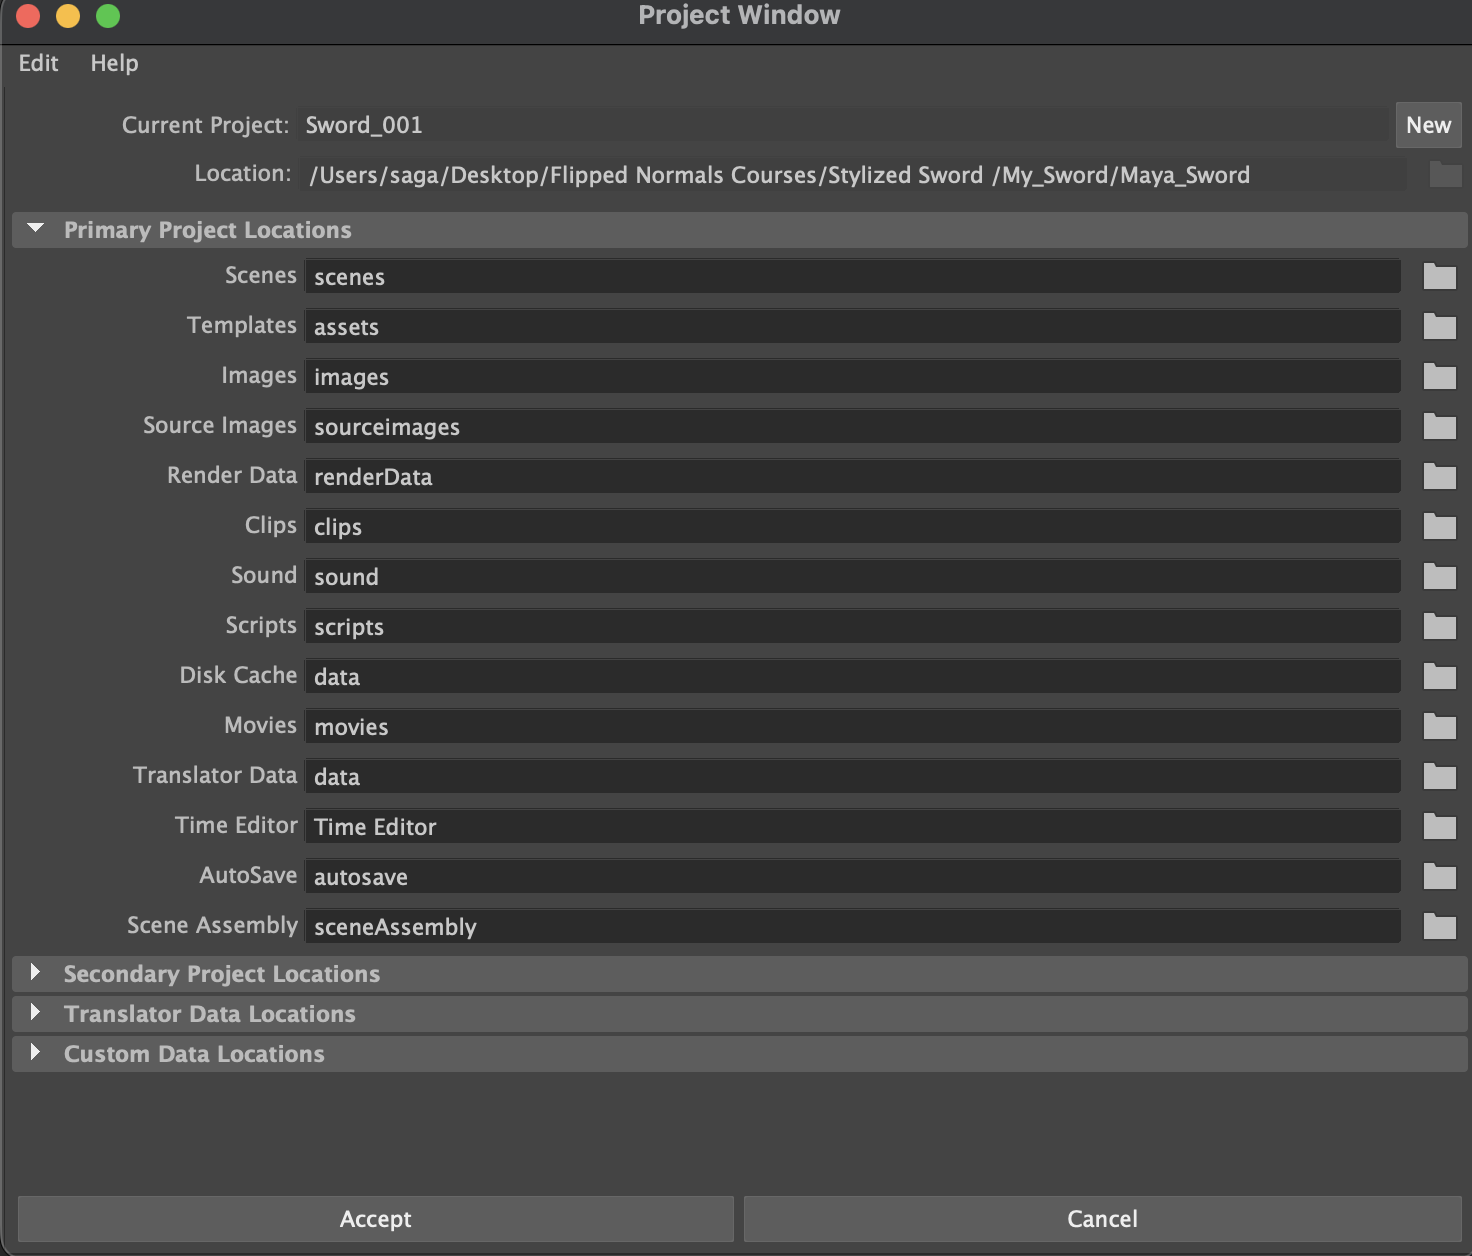
Scene Prep Part 1 : Setting Project window
Open Maya > create new project > File > Project Window
New > (name project) > click file icon > select where file will be, desktop is good
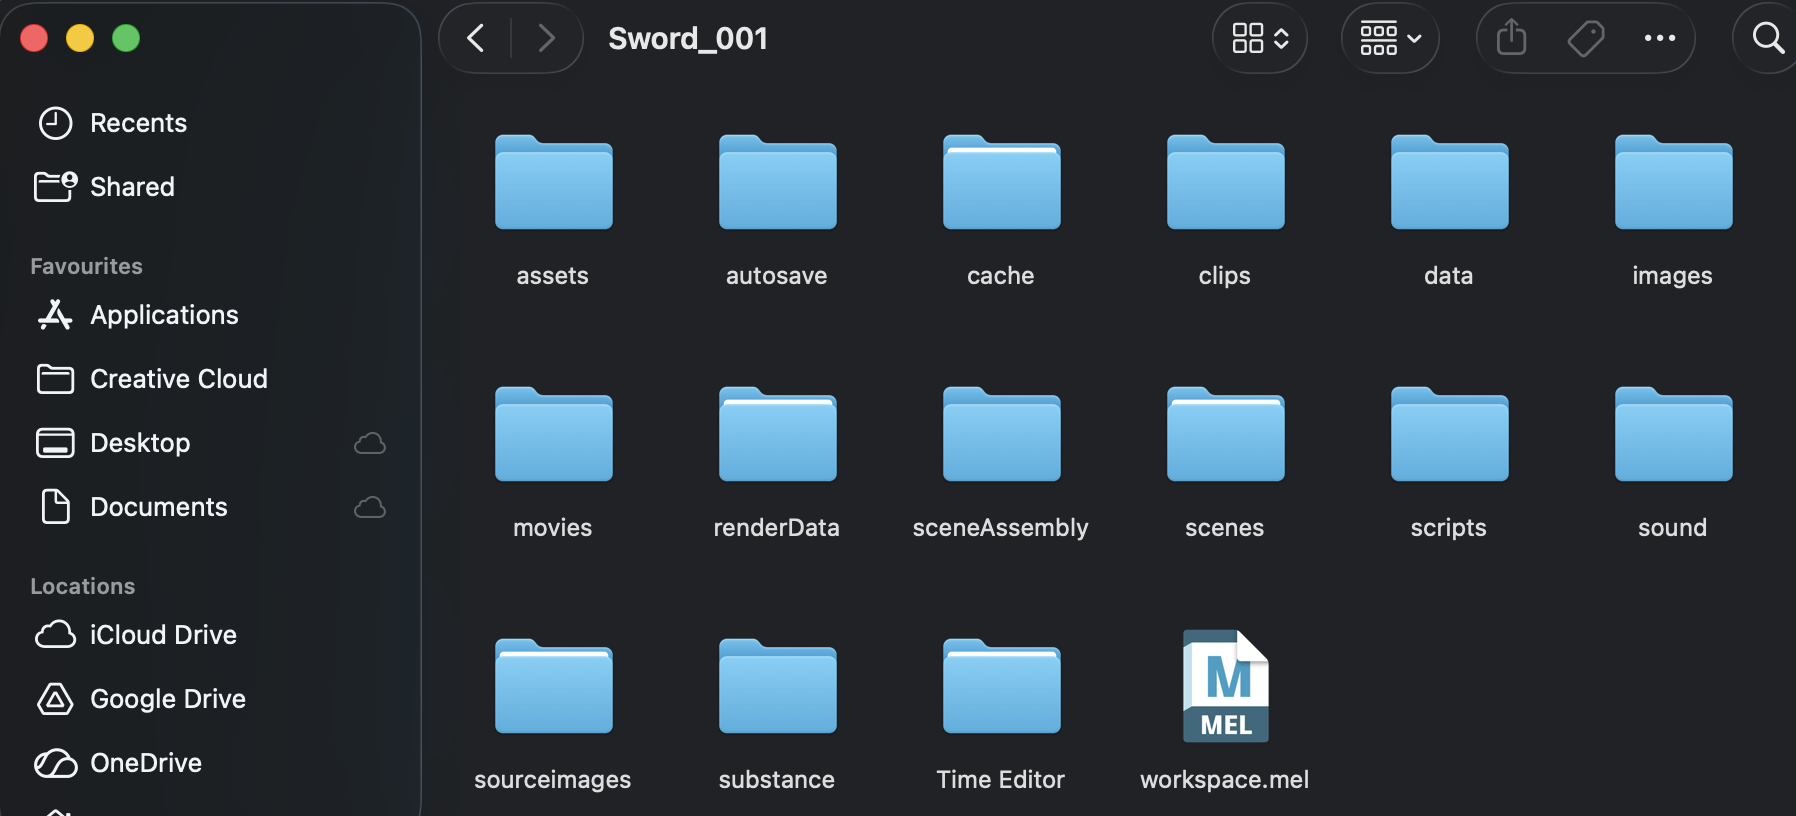
Accept (this will create many needed files)
Scene Prep Part 2: Setting Project
File > set project > ensure project set to project folder
Select Maya folder > Set
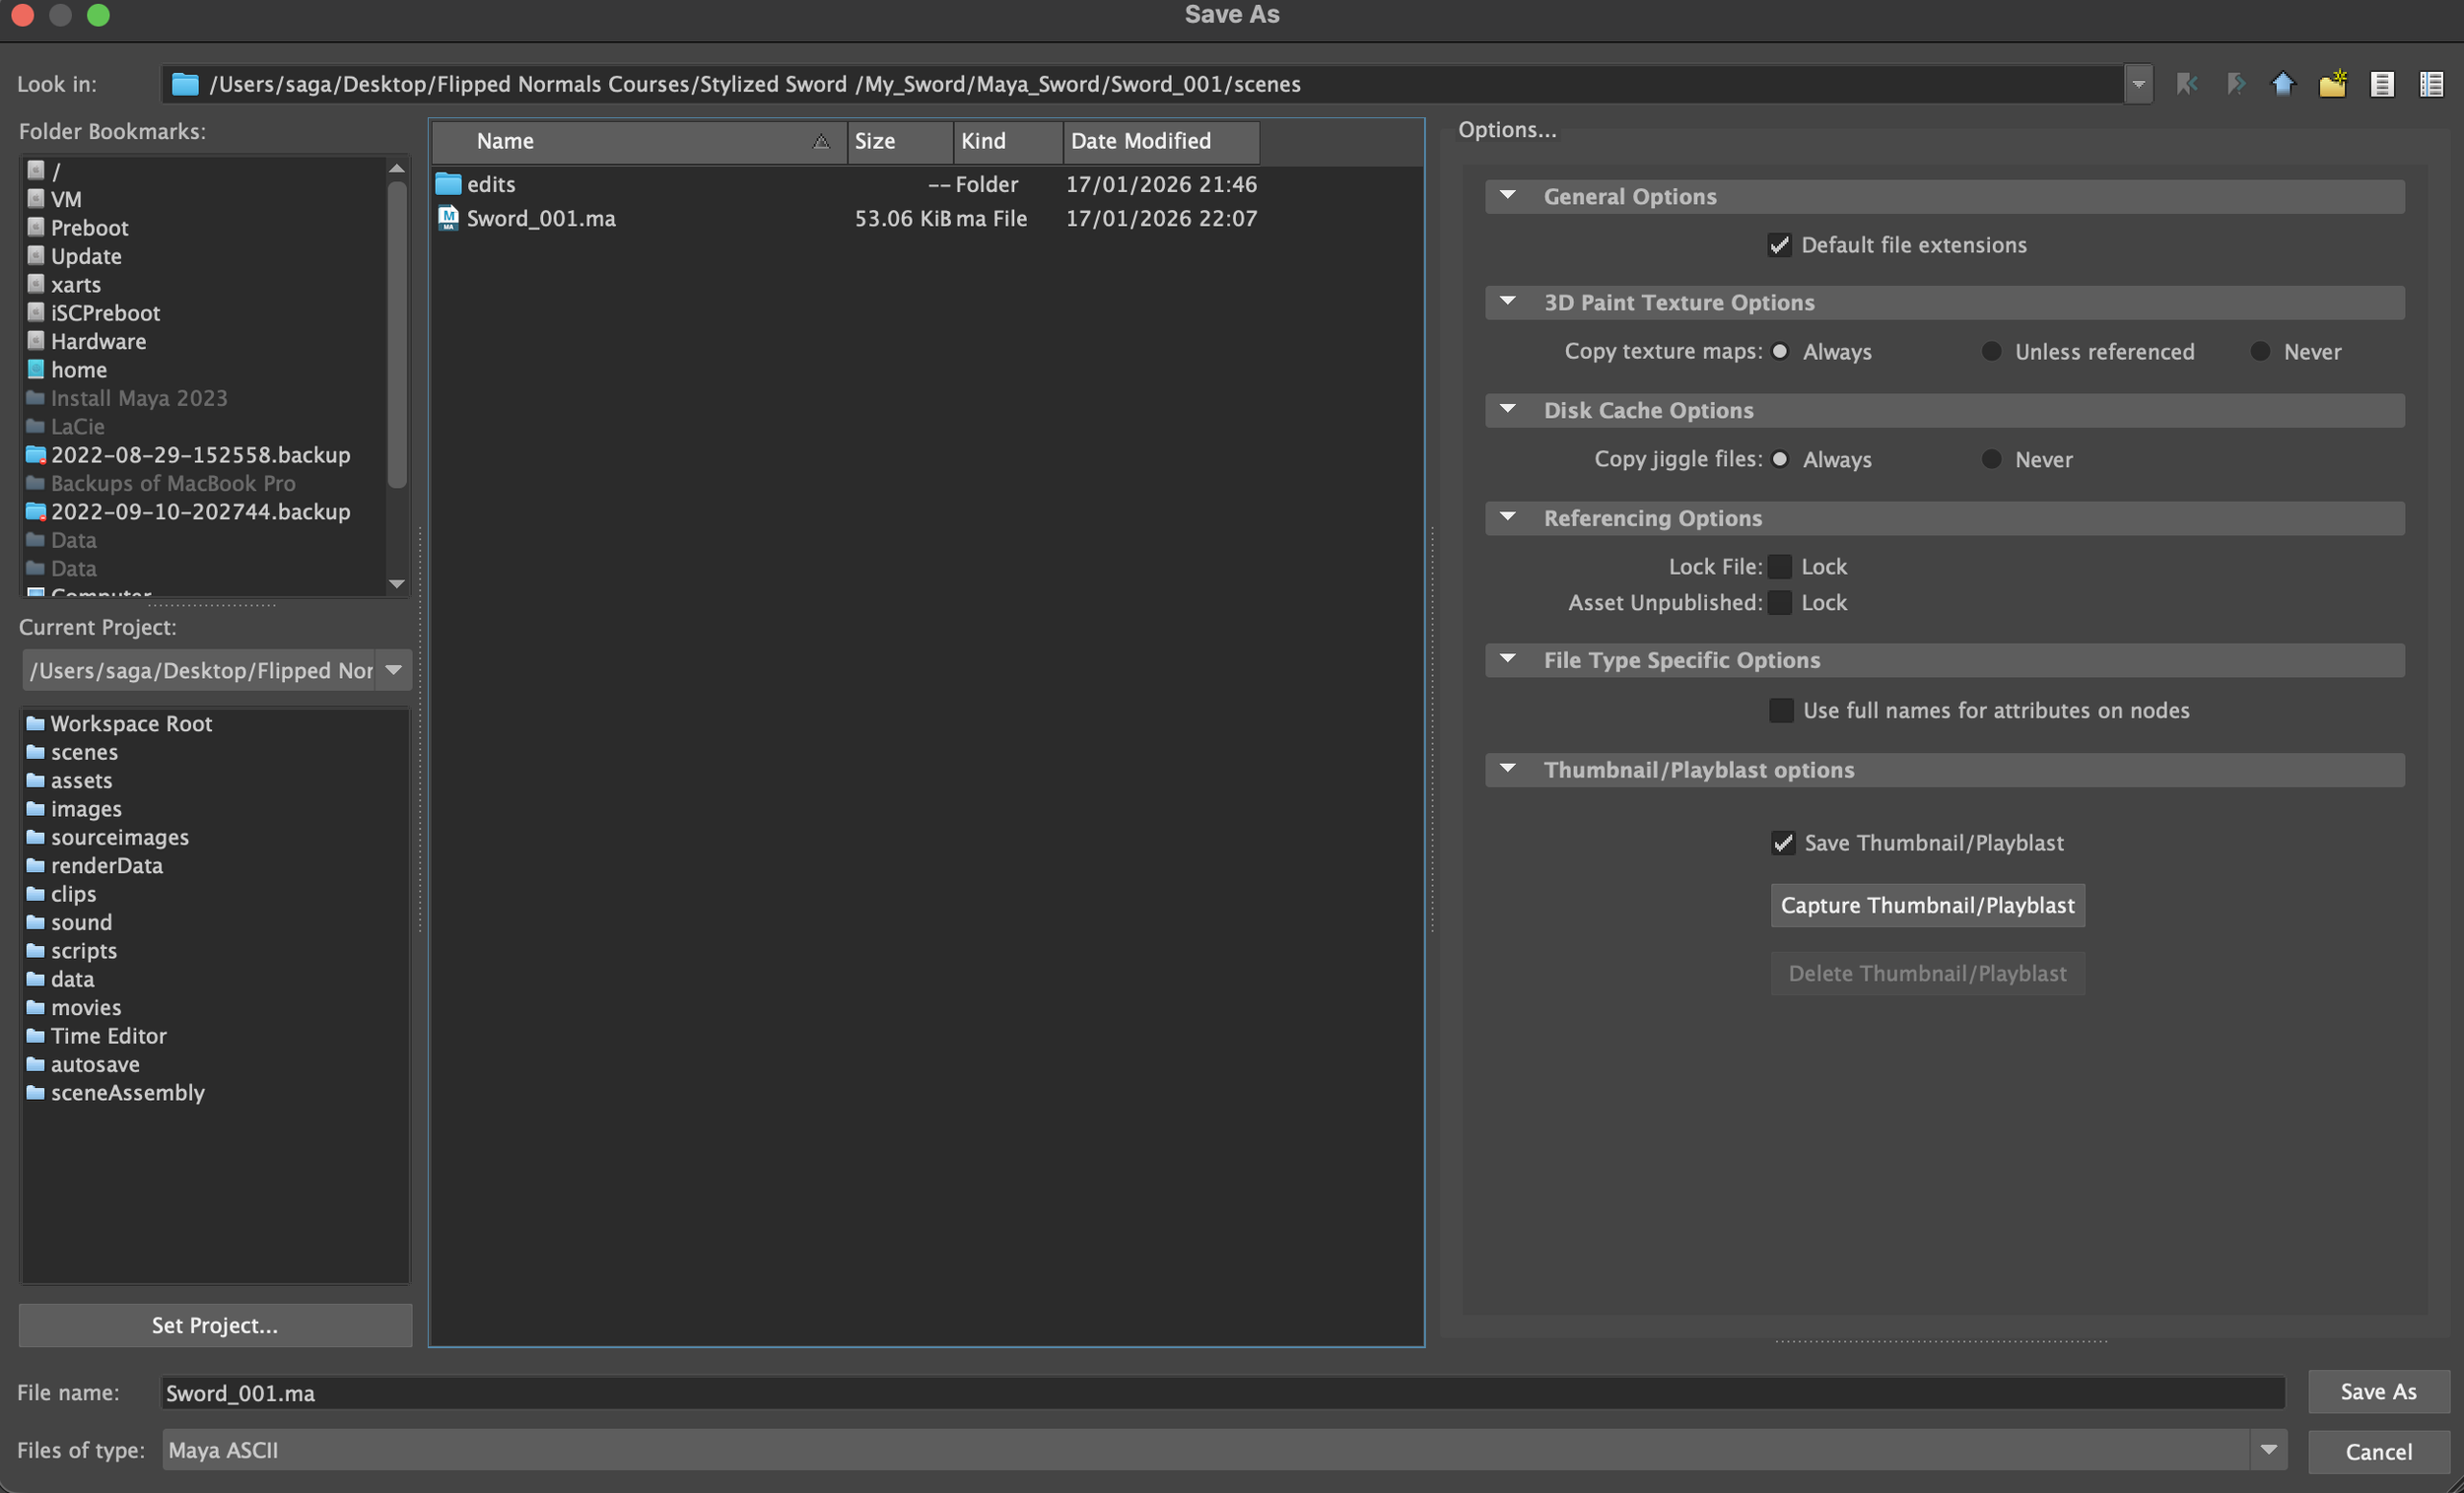
TO CHECK: File > Save As > project should open in ‘scenes’ folder to save as
Scene Prep Part 3: UI
Switch to Modeling layout > Workspace > Modeling - Standard
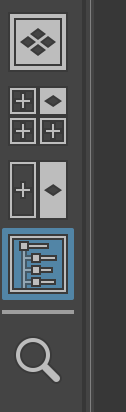
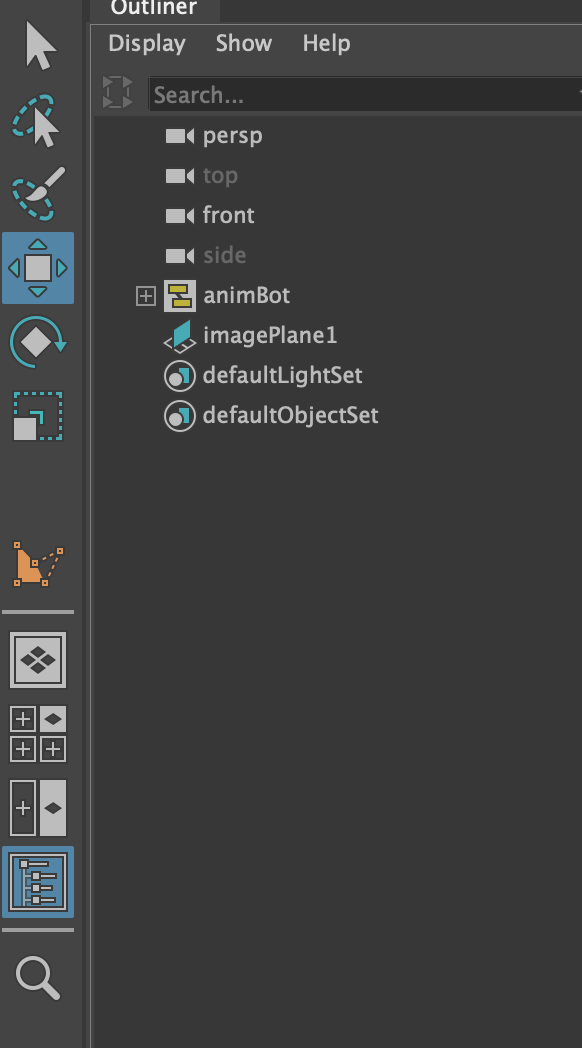
Ensure ‘Outliner’ is on

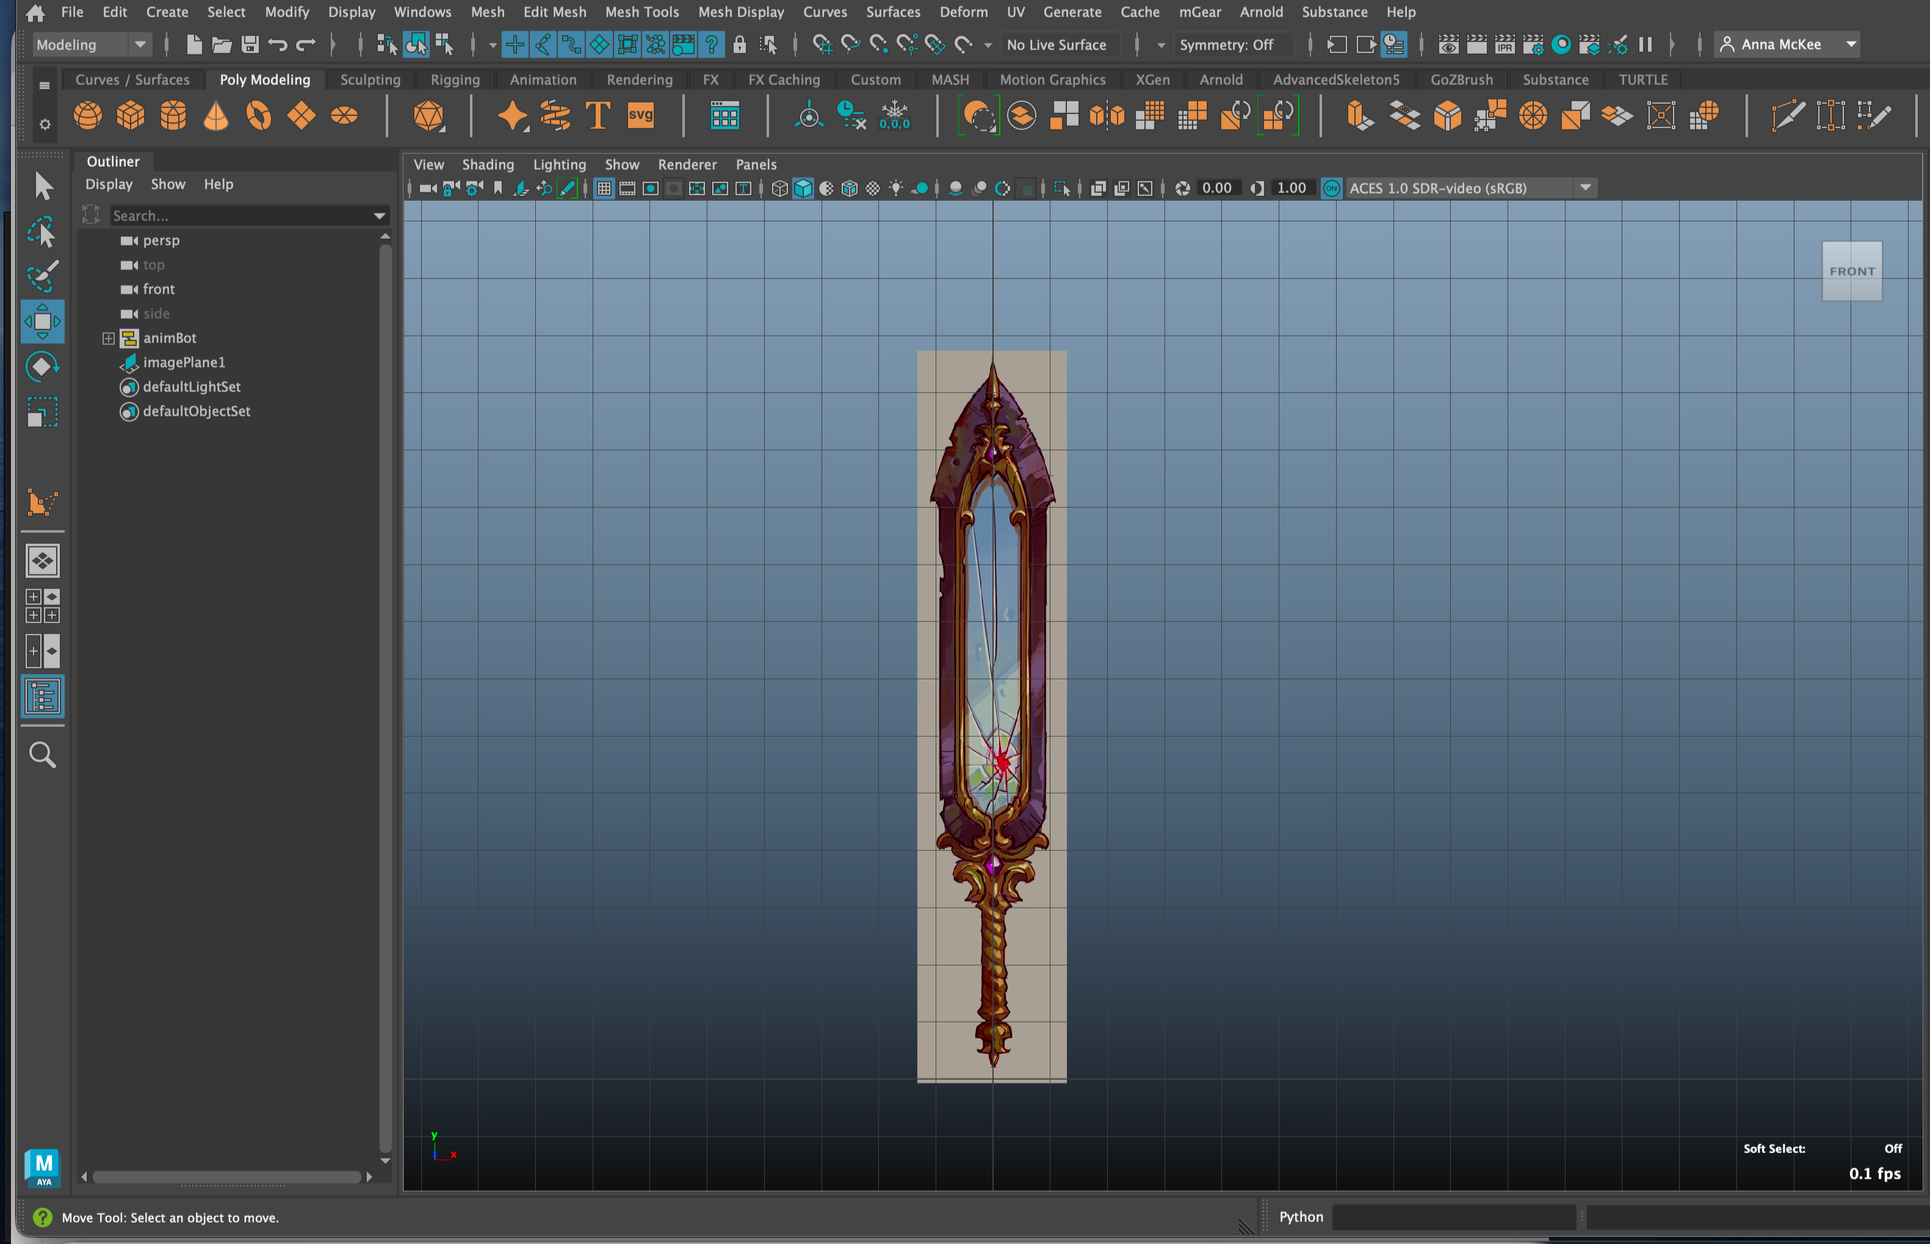
Reference:
Spacebar + hold right-click .> Front view
*This will open front view locked camera
View > Image Plane > Import Image
Select image > W > Drag image along axis, position above ground panel
Spacebar > Hover over perspective view > spacebar > adjust position
Spacebar + hold right-click .> Front view
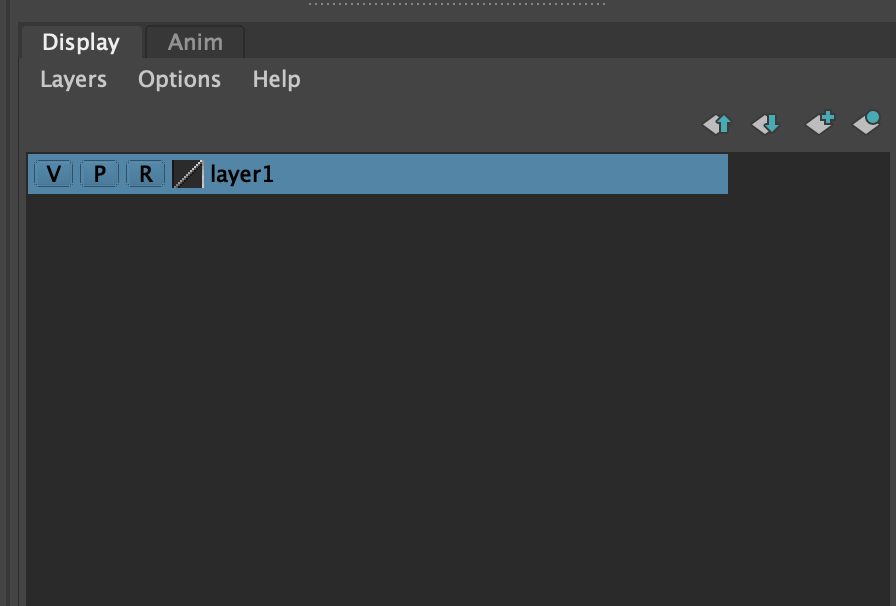
Select Image > Display > Click blue ball with grey diamond ‘create a new layer and assign selected objects’ > this will create a layer for the ref
Click on box beside V,P, _, until R appears
*This will lock the image, unclickable


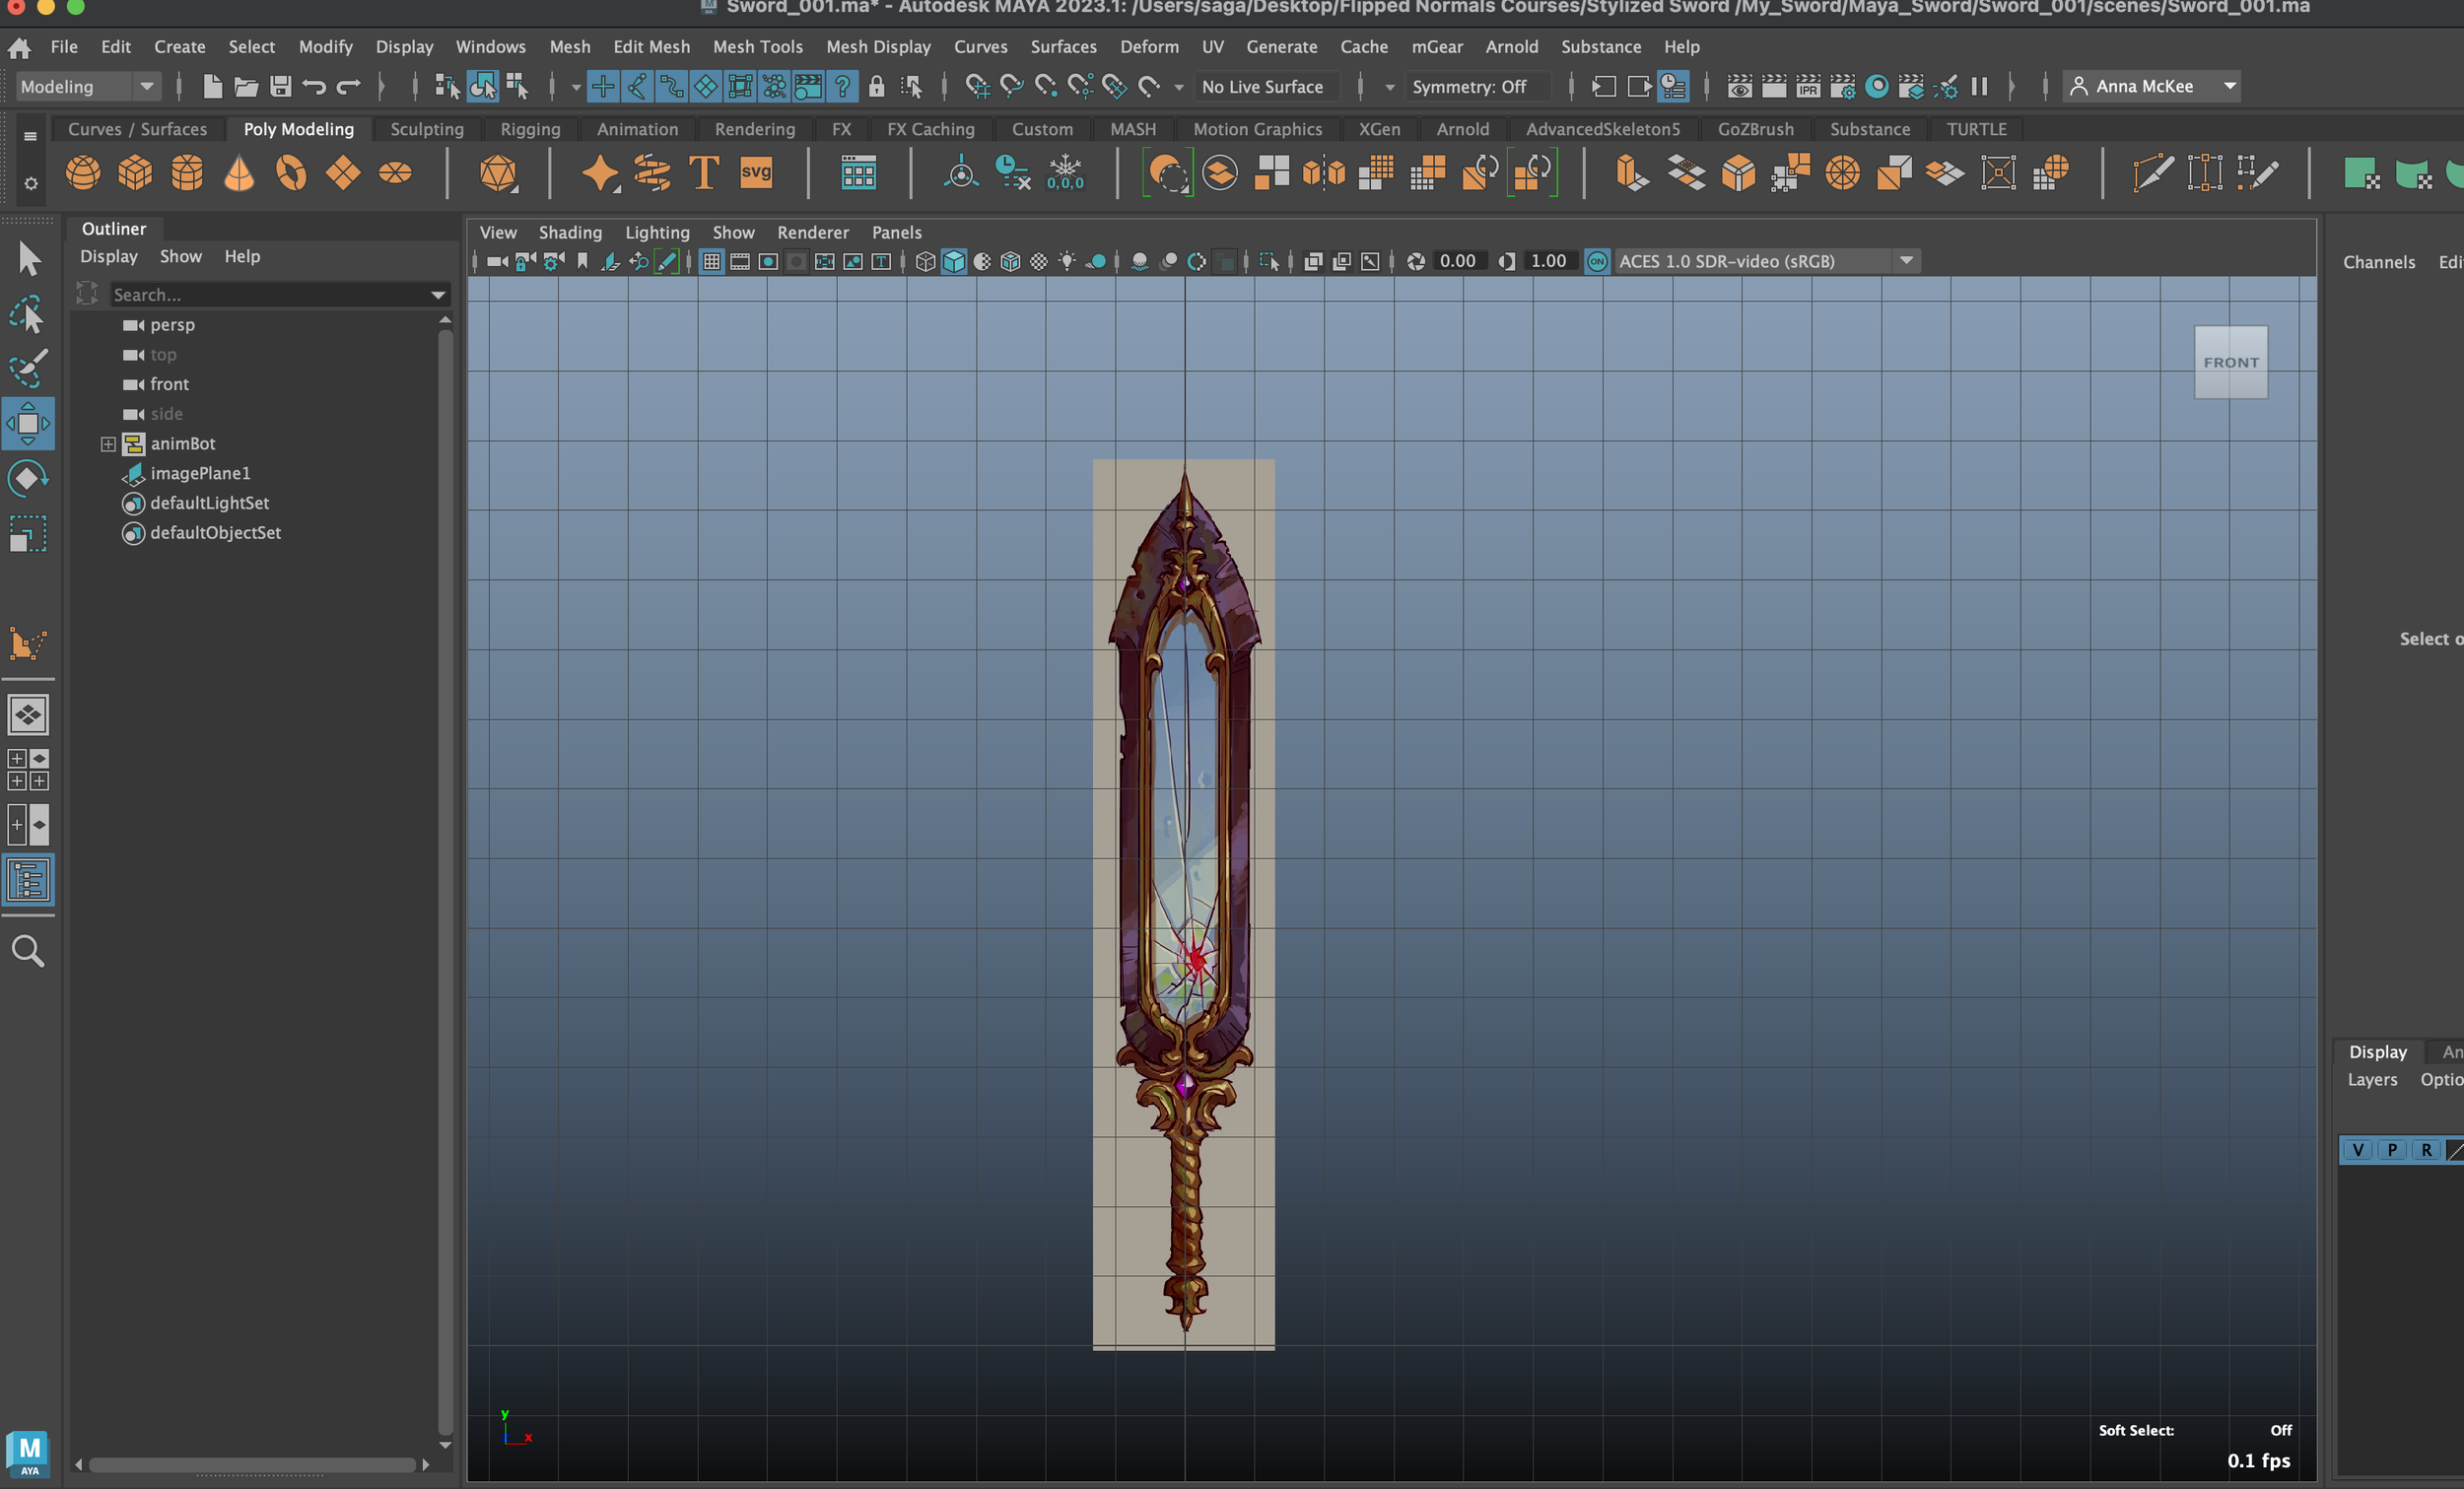
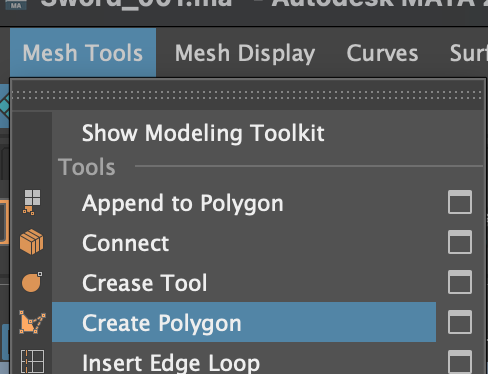
Creating Rough Shape
Mesh Tools > Create Polygon
*Tip: Draw clockwise = Normals face backwards
Draw Anticlockwise = Normals face forwards
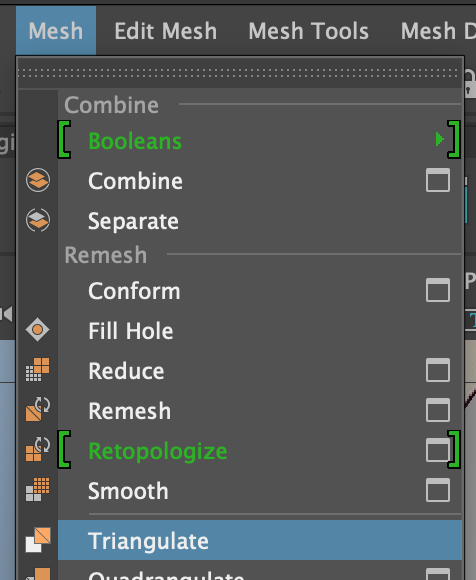
*Tip: Mesh display > Reverse = This will reverse Normals
*Tip: Press G to repeat last action
Create Polygon tool, Press Y to use tool again
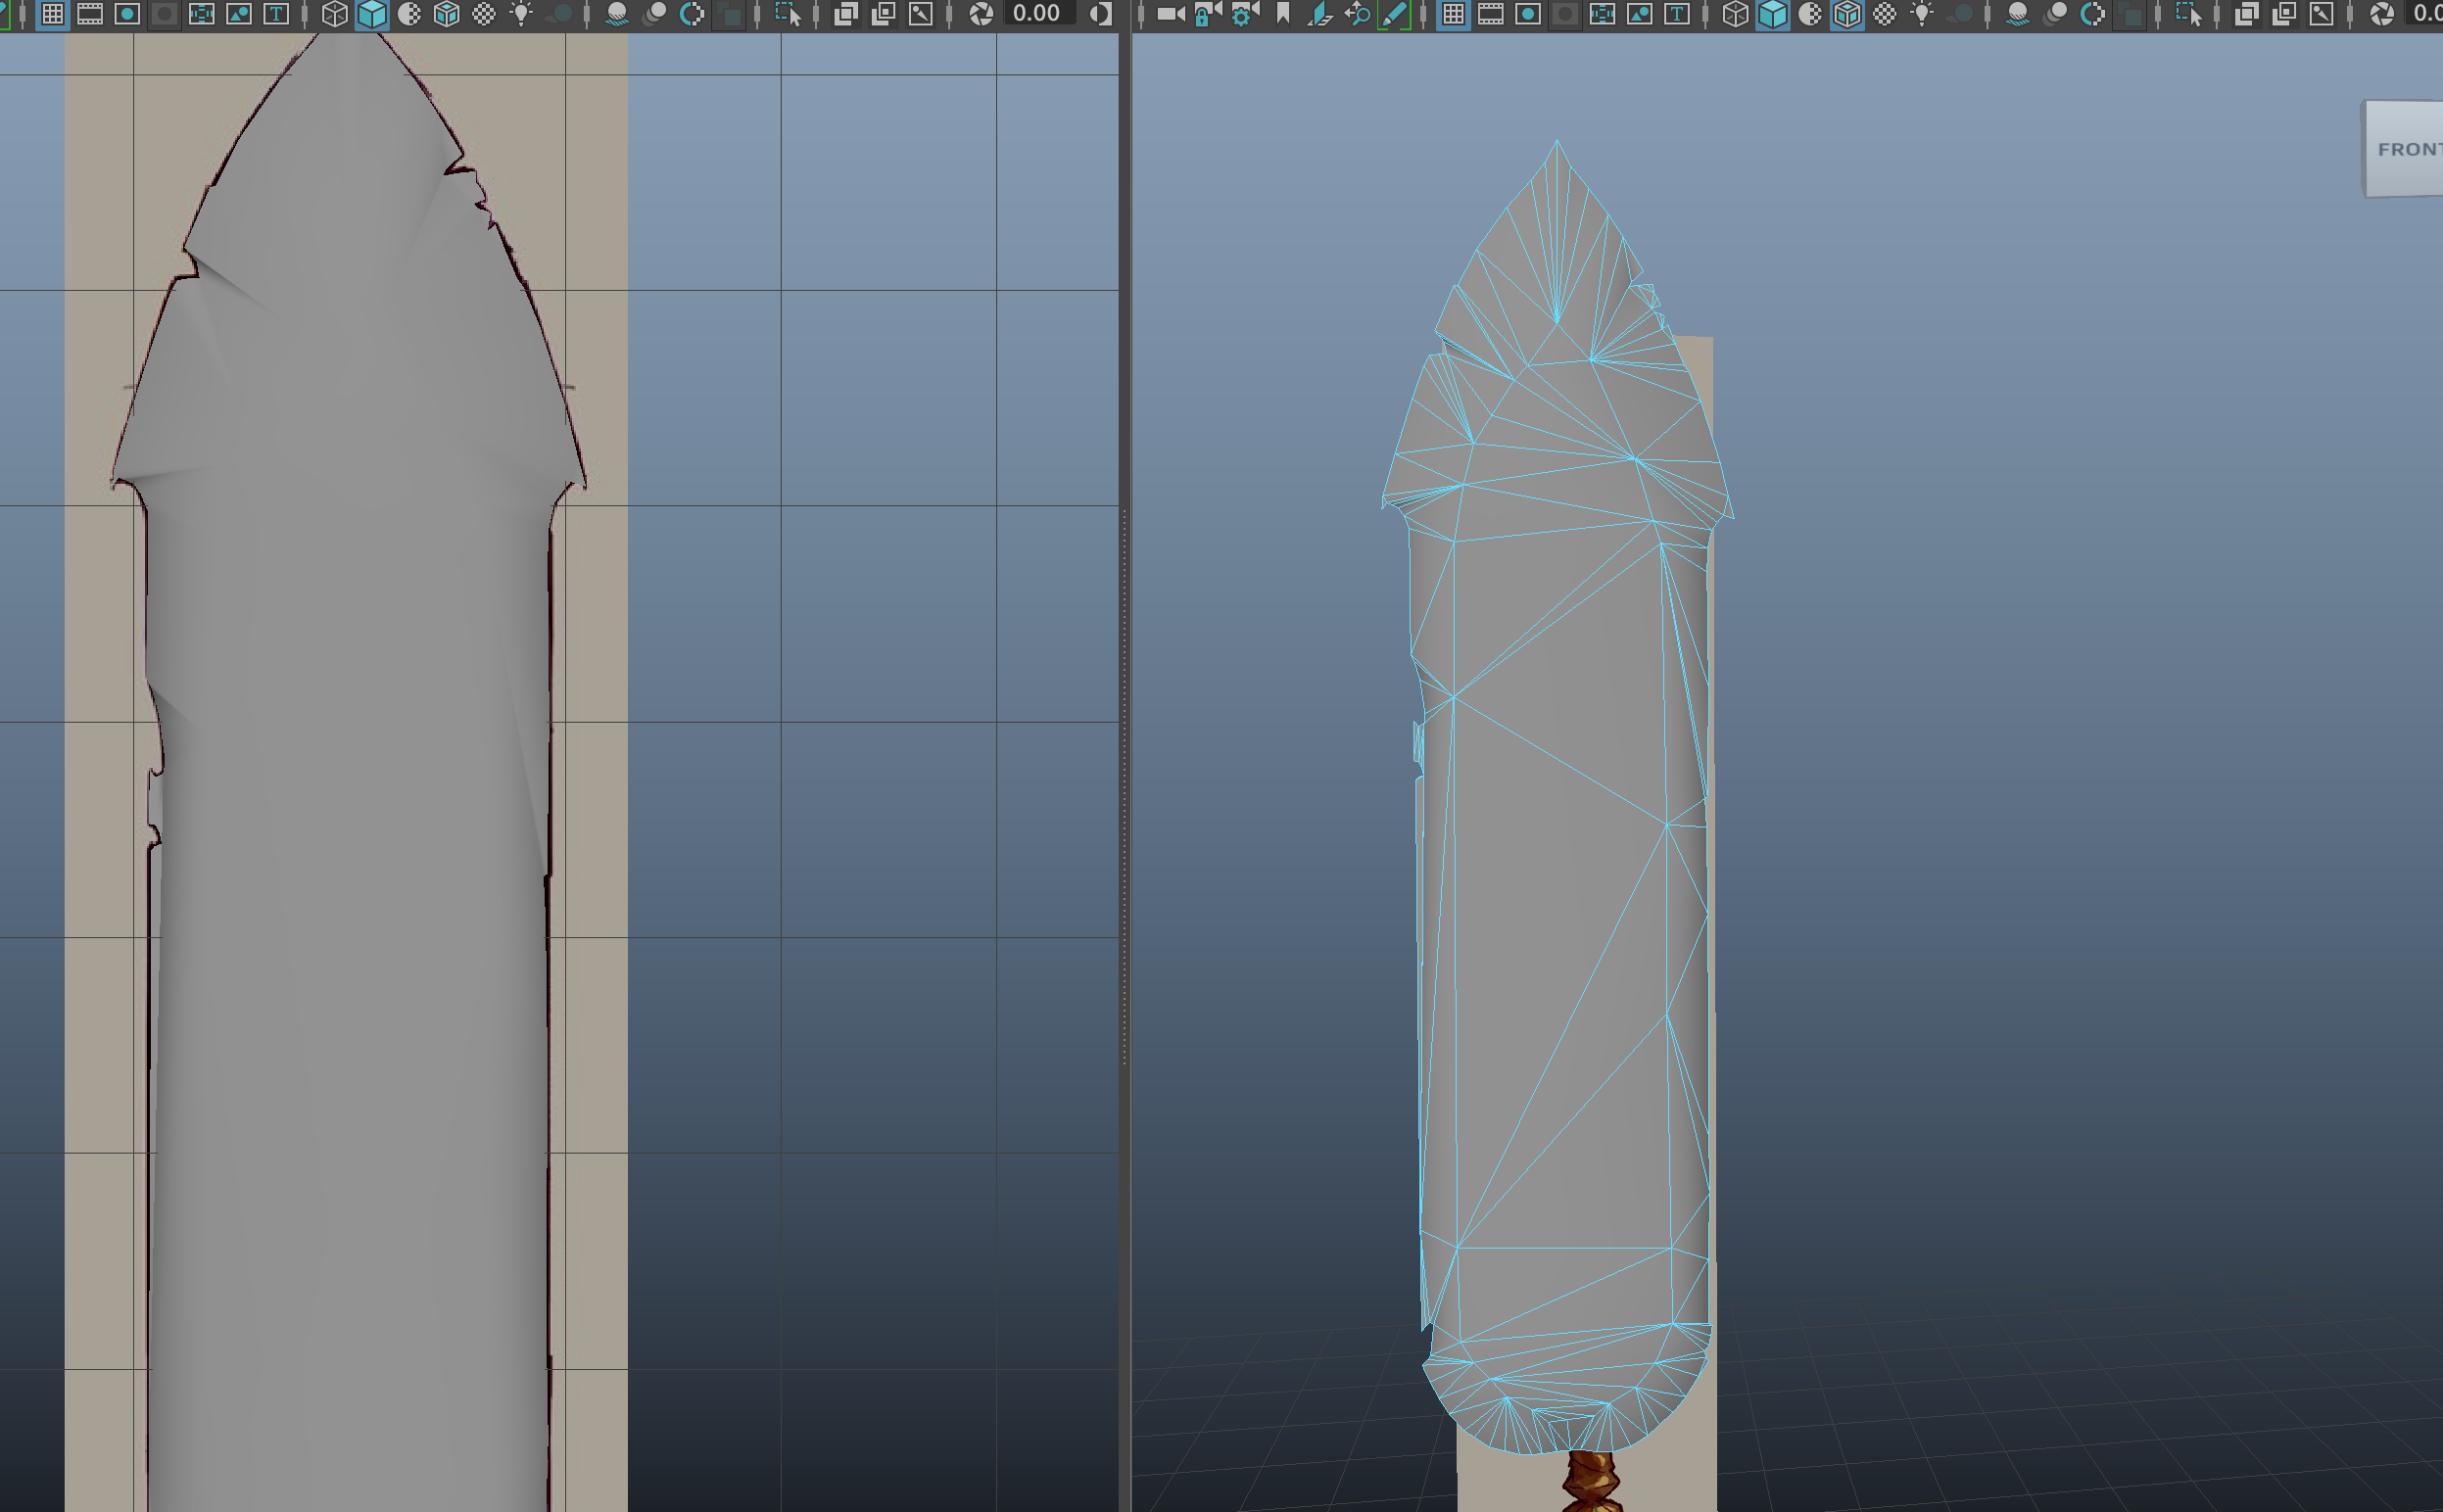
Create outline of sword using ‘Create Polygon’ tool
Create another ‘inside’ of sword using same ‘Create Polygon’ tool
Highlight sword’s inner face and move outwards to create depth in sword
Adding more details > Hide layer ‘H’ > Mesh Tools > Create Polygon > Start drawing in new details
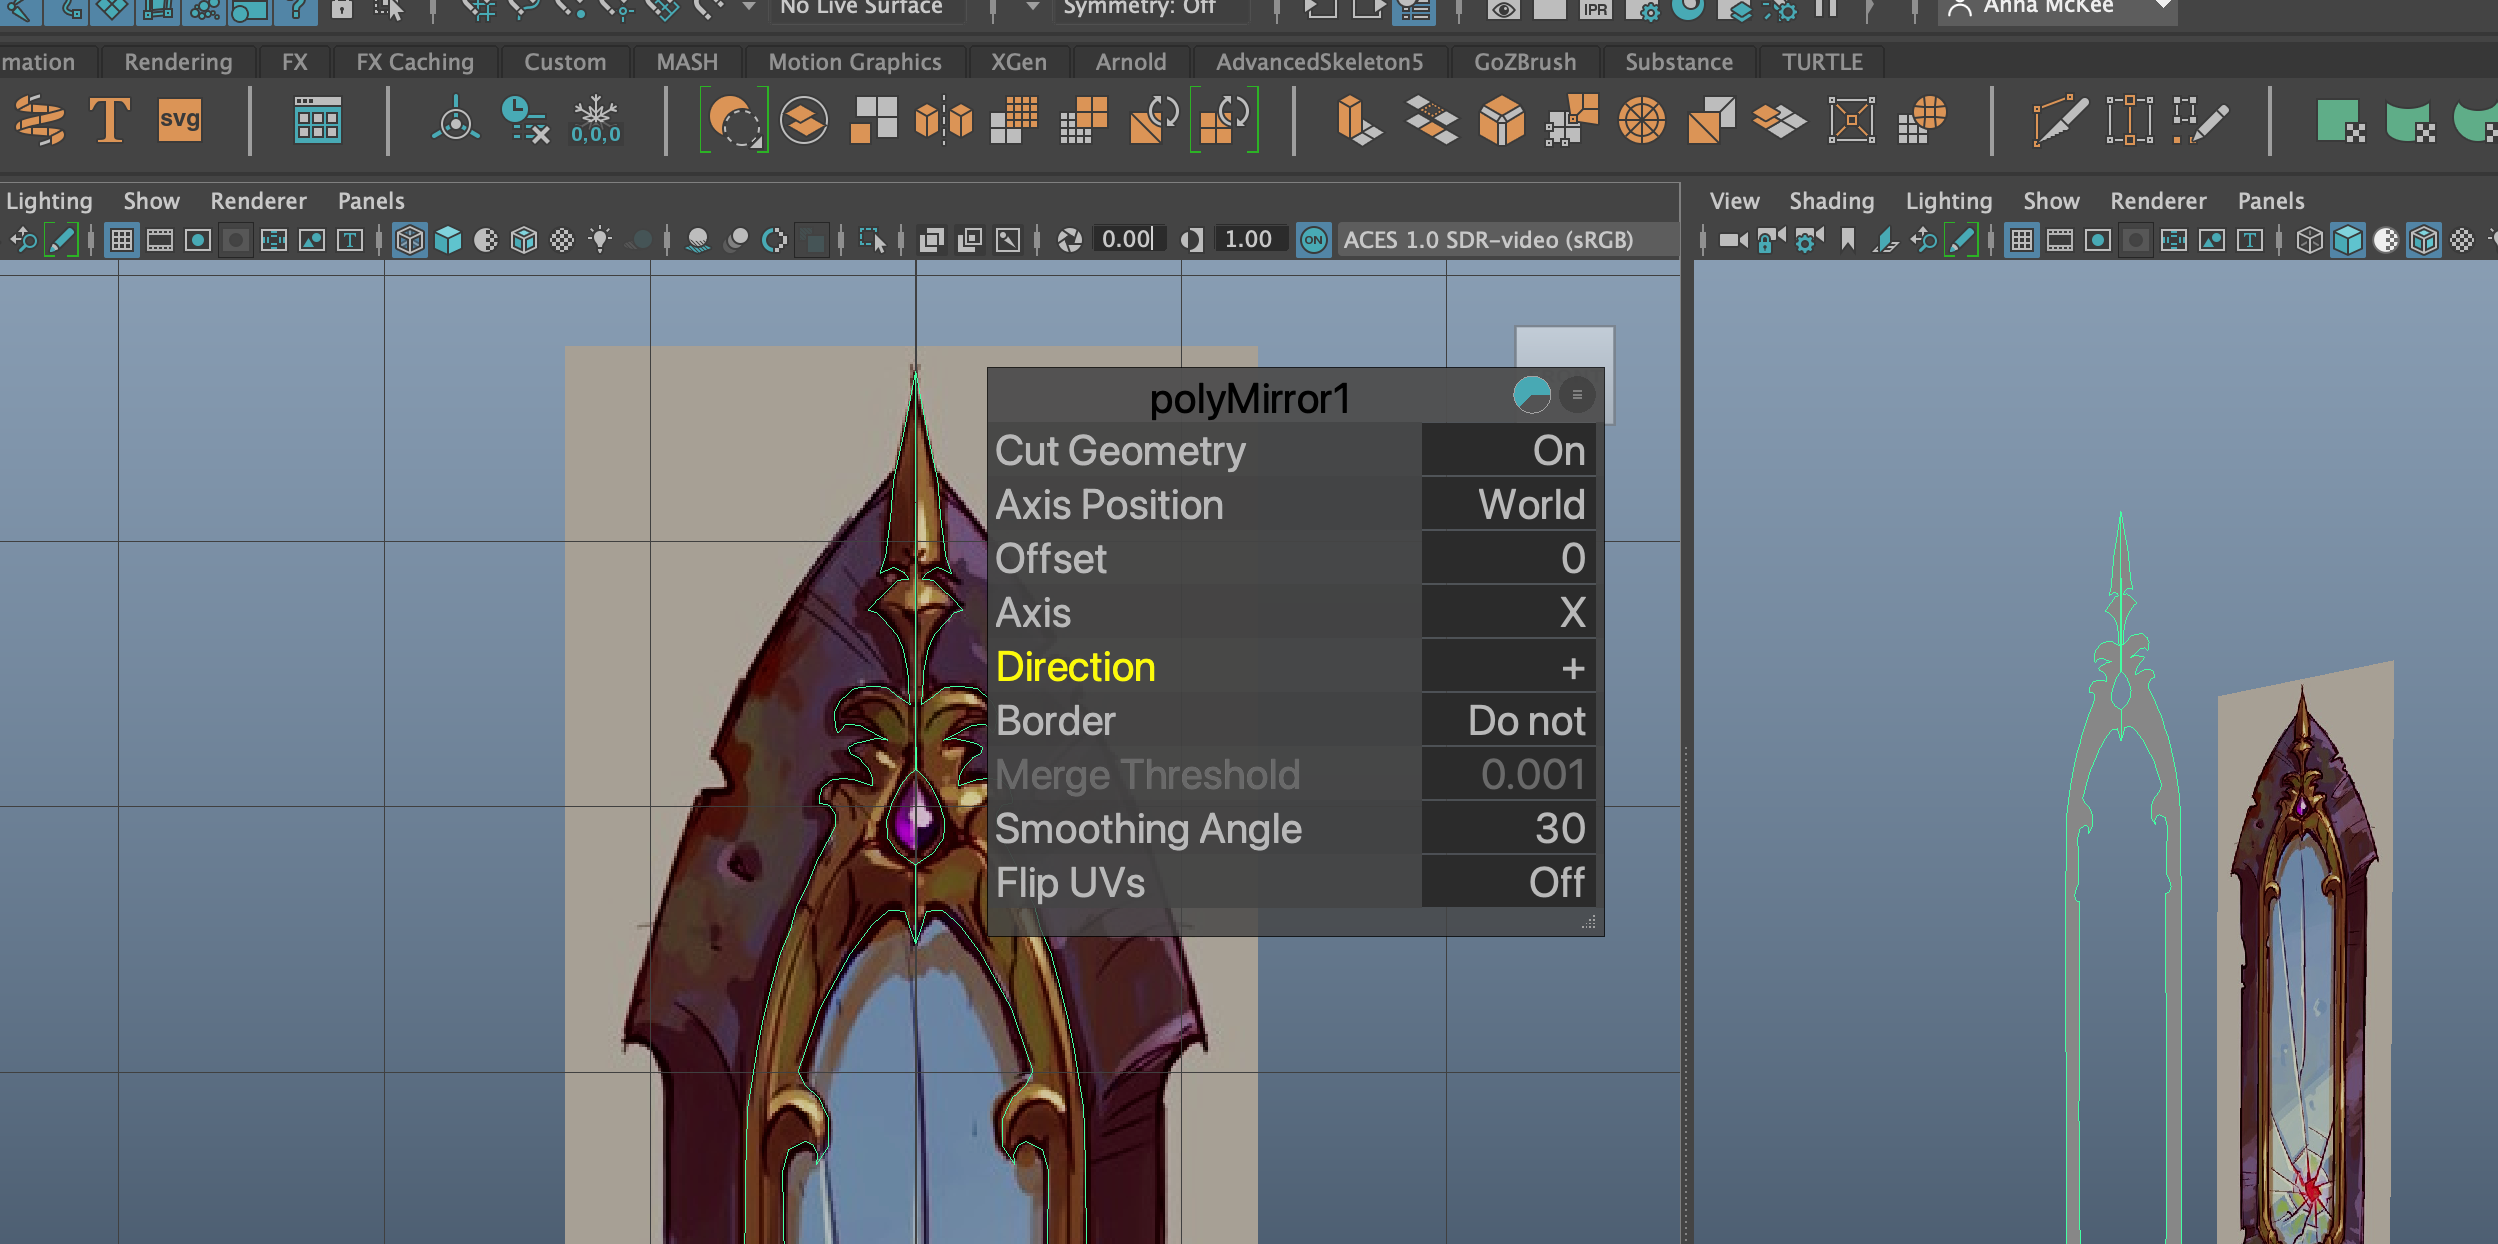
When half complete > Press ‘ENTER’ > Mesh > Mirror
*This will Mirror the mesh
Direction > +
Border > Merge border
Merge Threshold > 0.1
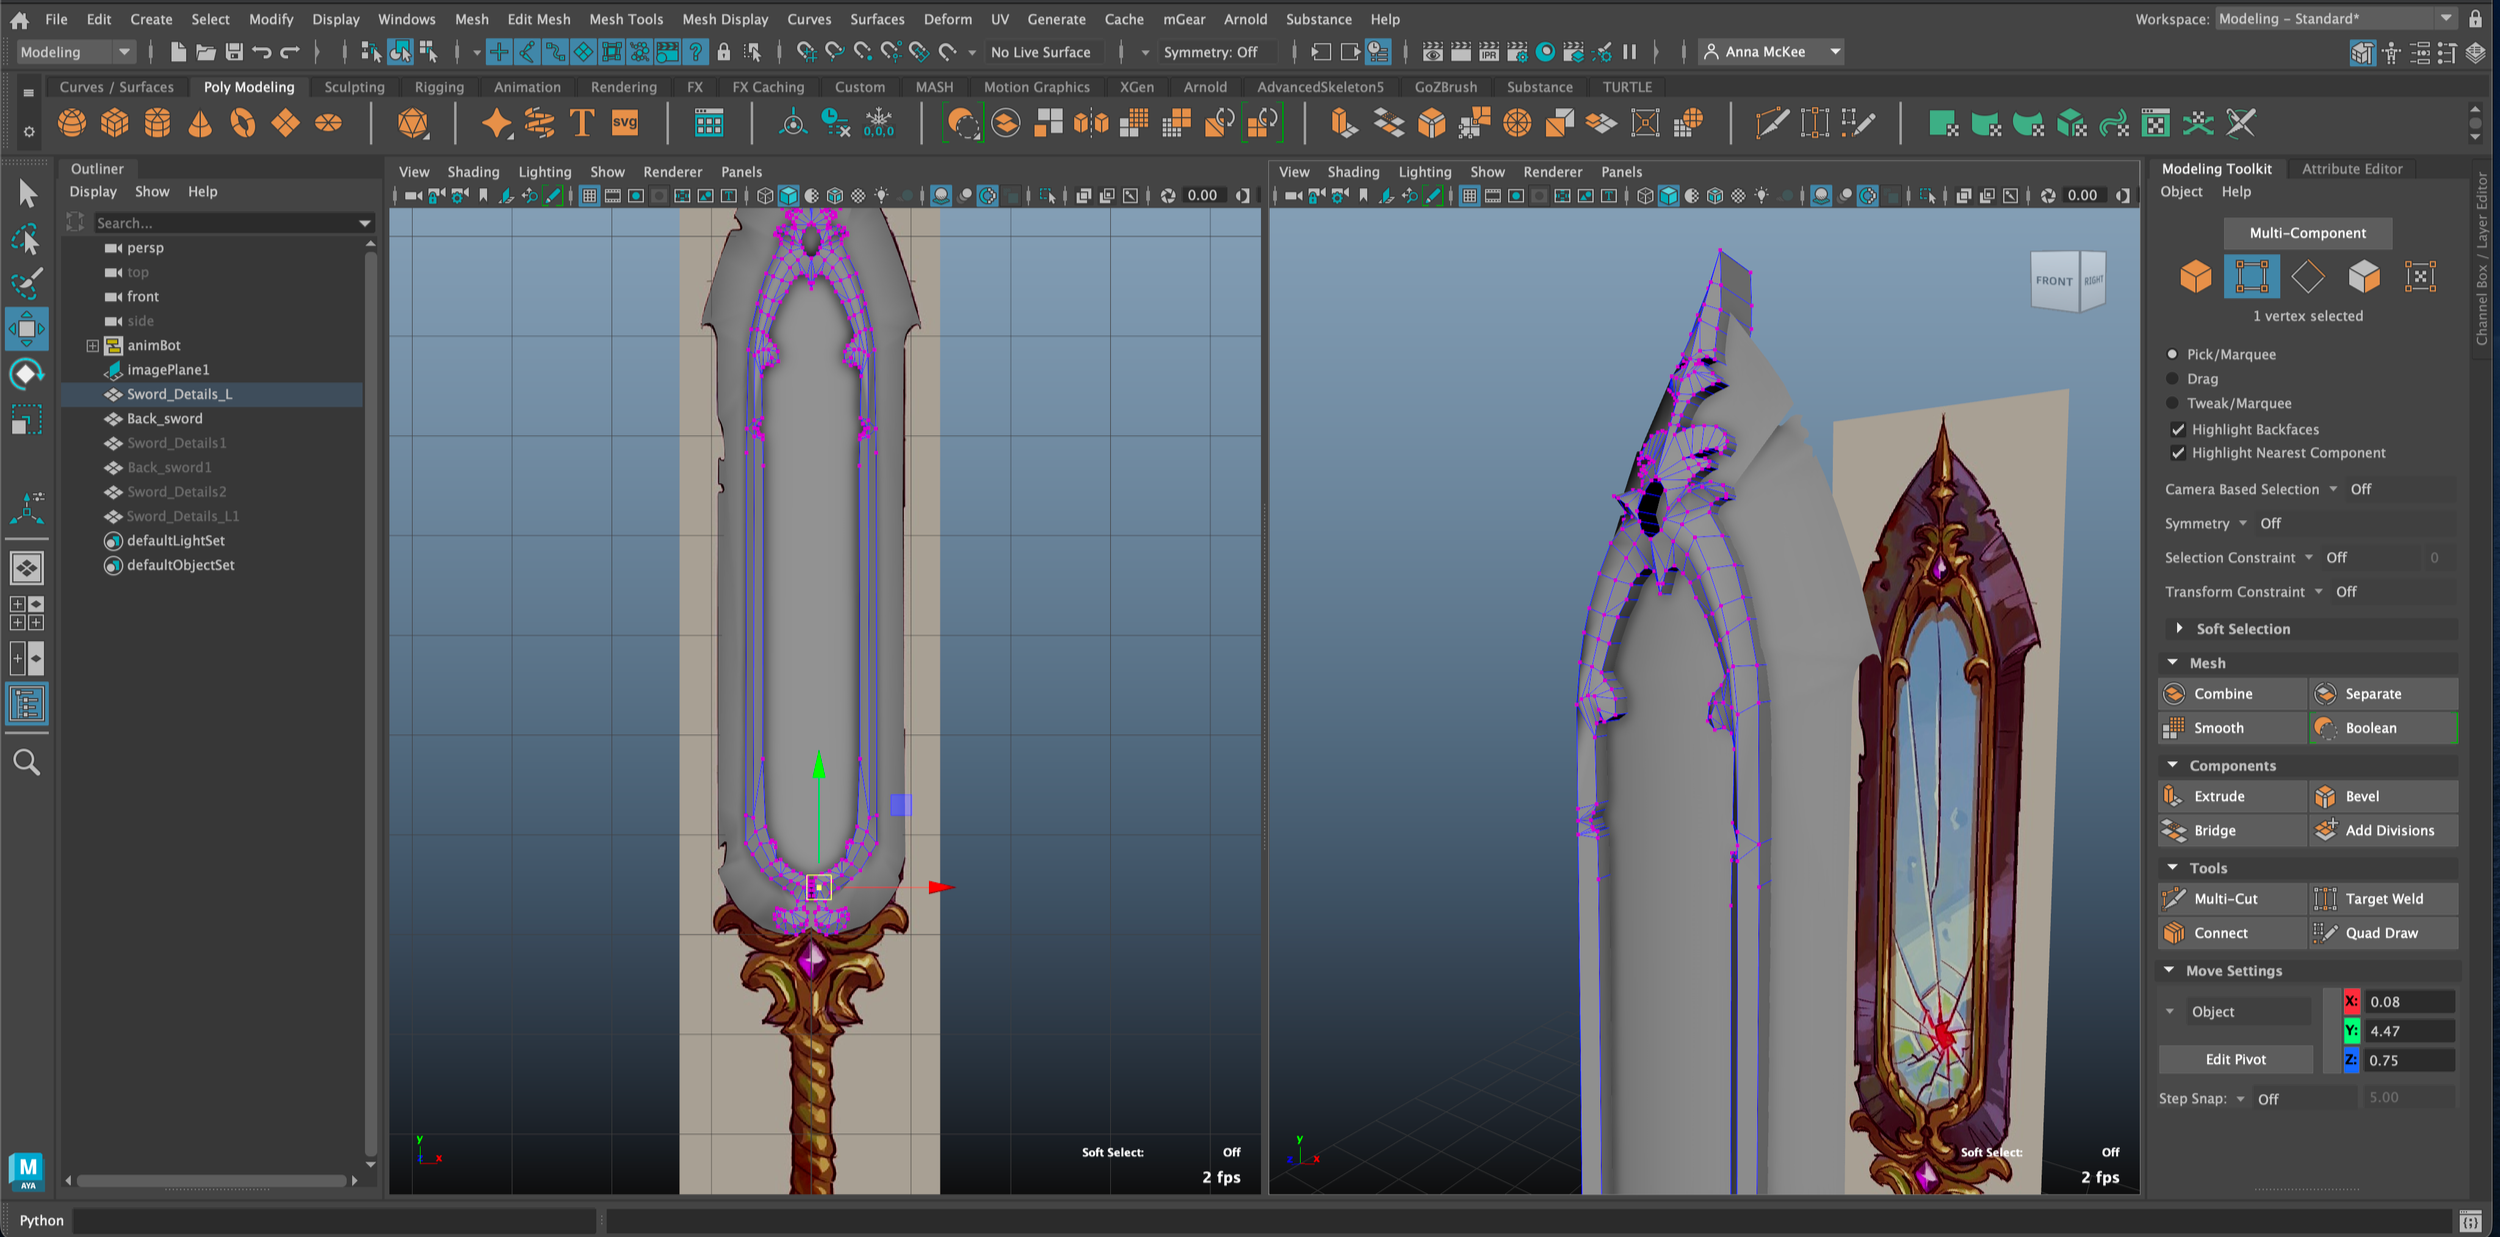
Adding Depth
Vertex mode > Multi-cut tool > create new lines for more detail
*Remember to press ENTER when you are done
Move detail mesh to back panel of sword
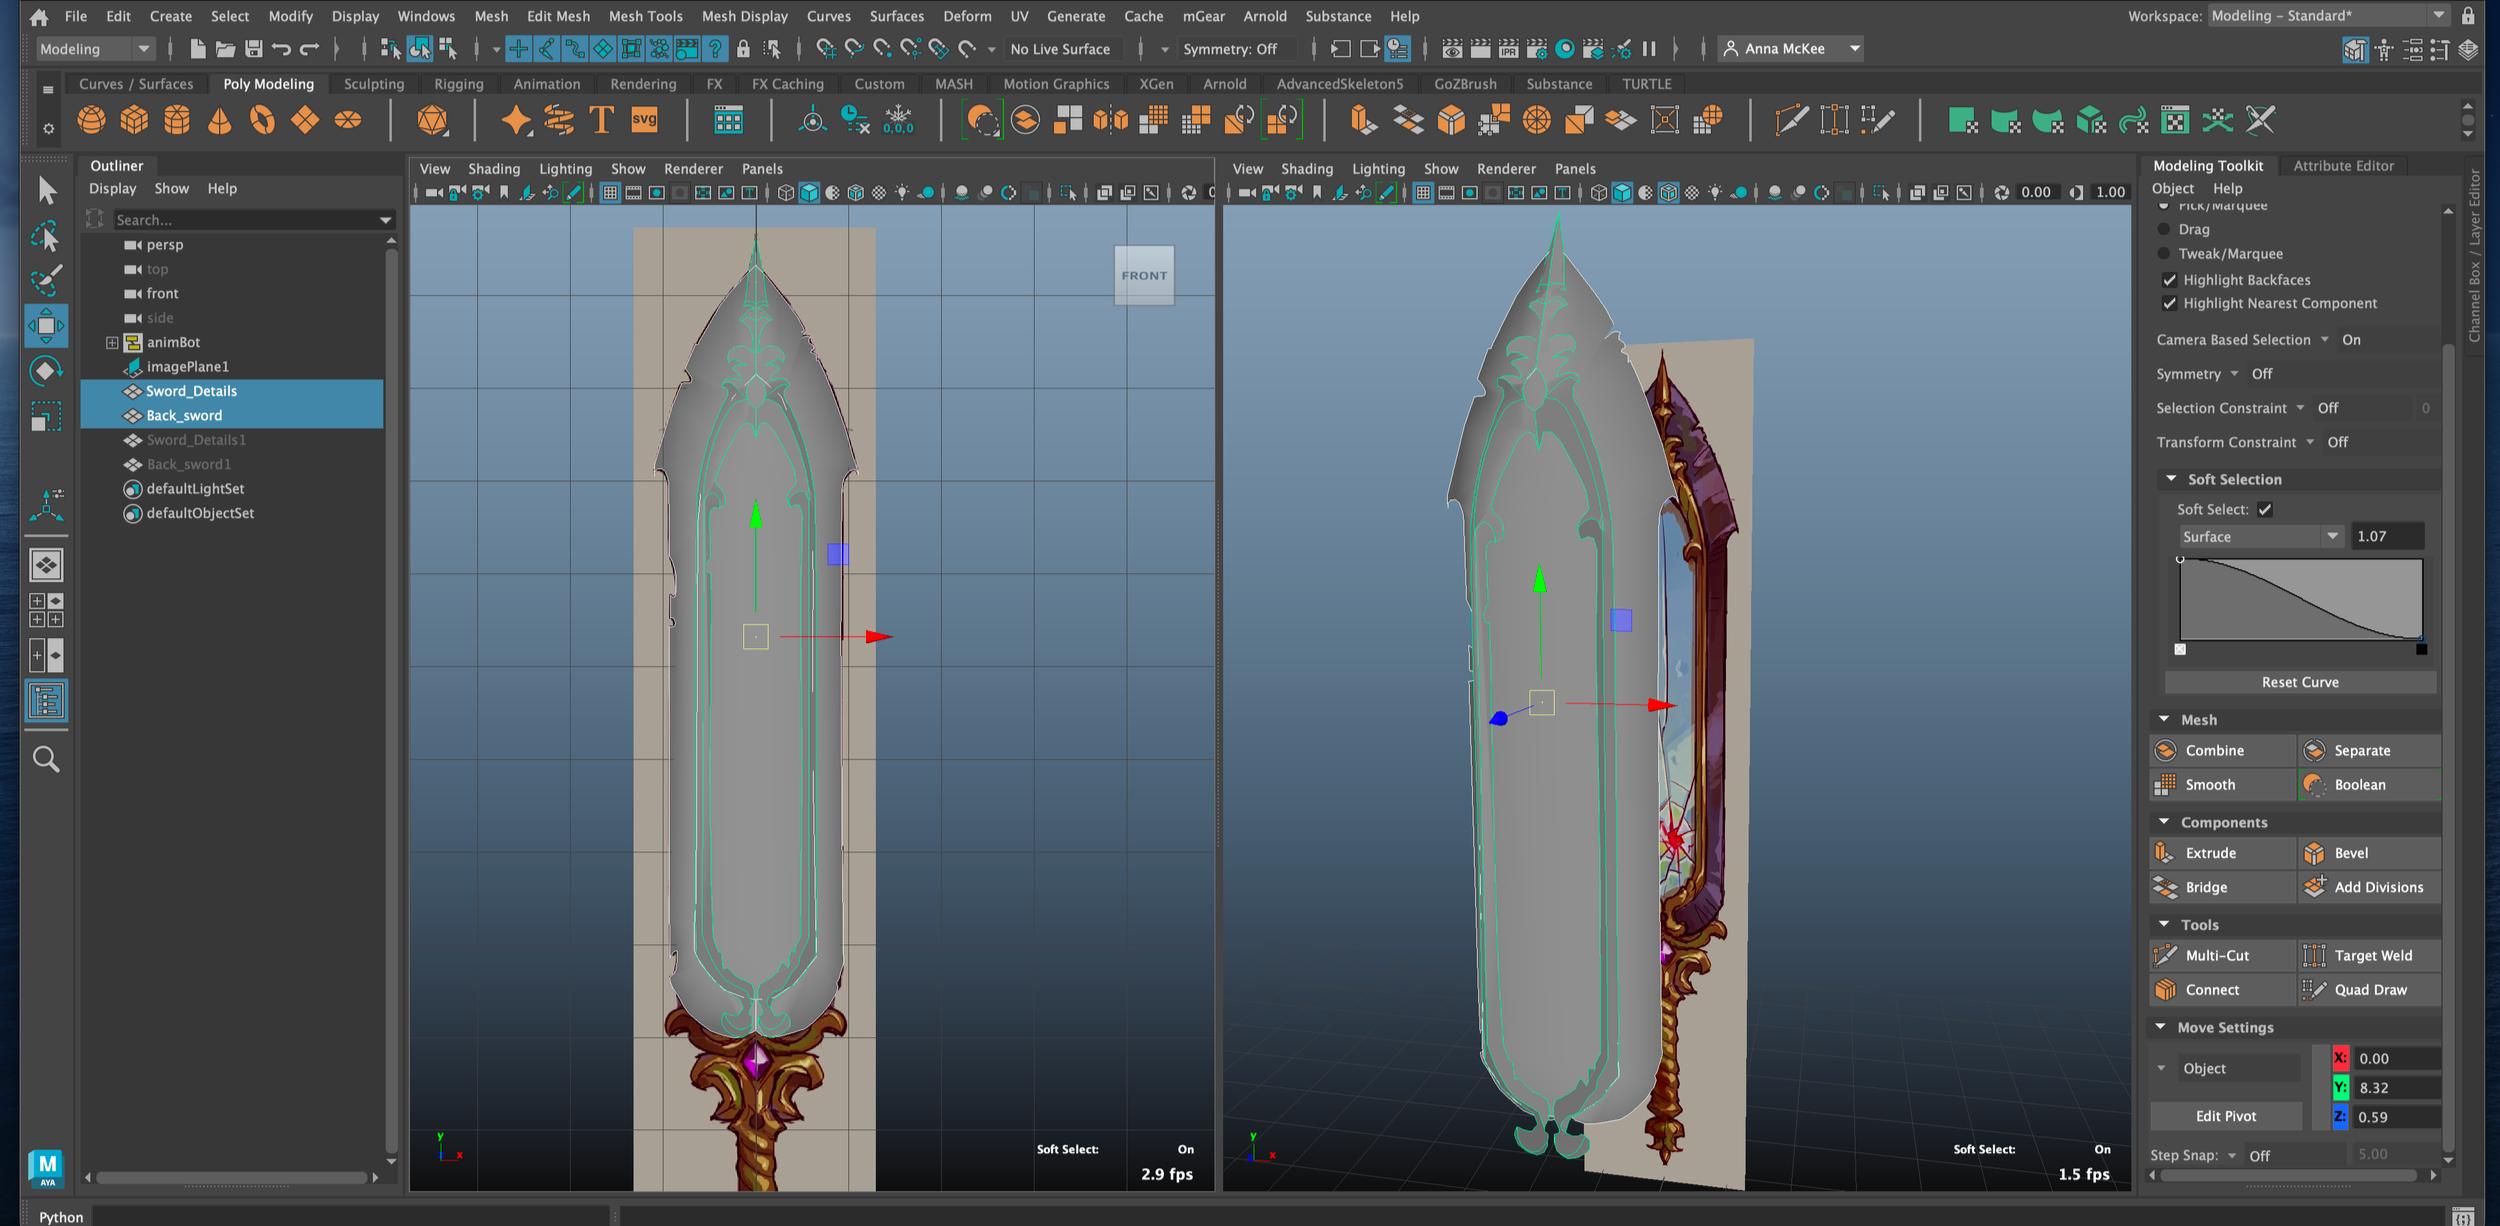
*Before using Soft Select, ensure you save and duplicate models, as topology may become damaged
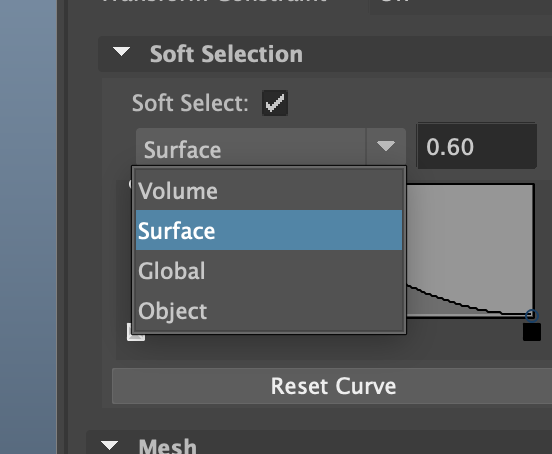
Select Vertex > Soft Select 'W > B’
Modeling Toolkit > Soft Selection > change the Falloff mode from "Volume" to "Surface"