Week 2 - Week 3

Research, pipelines, tutorials and presentations of my current workflow throughout the university course
Week 2 - Week 3
17th October 2022 - 16th October 2022
Final render and Wireframe of my “Stick Grenade” Internal Tutorial
Week 2-

I created this Mind Map as I wanted to help visualise the 3D industry pipeline and how my level of understanding (from an Illustration background) compares with what is expected at a professional level.
I decided to split each text box into two different sections: “Action” and “Research”.
The “Action” part displays steps / tips that I would need to complete to achieve the titled category. For example, to achieve a professional “Lighting” setup, the “Action” within the text box portrays that I would need to use a reference, 3 point lighting / smart combination of lighting, take Visual Narrative into consideration, HDRIs and the use of colour temperature. Each of these areas covered within the “Action” section help to remind me and ‘keep me on track’ towards creating a successful lighting setup.
As I am still currently quite new to Maya and 3D in general, I felt that adding in “Research” section would also be beneficial, as there are many areas within the 3D pipeline that I lack professional insight / exposure to.
Within this “Research” section I decided to create a bullet point list, showing categories that I would need to expand my level of understanding within. This could be as simple as literature research or watching an online tutorial regarding the ‘research’ category.

Week 2 - “Stick Grenade” - INTERNAL TUTORIAL
Introduction to 3D Modelling video lecture series - Modelling in Maya
A Beginner's Hard-Surface Modelling Workshop
Tutorial - Completed
Rendered: Arnold
Software used: Maya, Arnold, Adobe Photoshop
Personal Difficulty Level: 6/10
This “Grenade Stick” tutorial was my second internal University tutorial that I completed.
Although there were many internal hard-surface tutorials to pick from, I decided to select this “Stick Grenade” modelling tutorial due to the positive feedback and reinforcement from my peers regarding the specifics of this modelling video.
This is because I had previously struggled with the first internal tutorial titled, “USB Drive”. I felt that tutorial (USB Drive) was notably challenging and perplexing, which made me feel inadequate as a student due to it being presented as the ‘easiest’ tutorial to follow.
After much discussion with my peers regarding this issue, they encouraged me to proceed with the “Stick Grenade” tutorial as they themselves felt that it was simple, concise and continuously expanded on fundamentals within the hard-surface modelling process in Maya, (ie, Extrude, Bevel, Scale).
Within this tutorial there were many tools / processes used that I had never experienced before, such as the method of using the “Fill Hole” tool, which allows us to fill a gap with a connecting face. This was useful for the creation of the cap within the Stick Grenade.
Another process that was used throughout the tutorial was the “Freeze Transformations” button. Previously I had never experienced the use of this button, although within the tutorial this process was explained as a way to “Lock the positions of objects within your scene”.
This was particularly useful when moving the lid / cap on to the body of the “Stick Grenade”, as it allowed me to keep the lid / cap attached effectively on to the Stick Grenade.


“I also decided to create two Wireframe renders, as this would allow the viewer (and myself) to study the hidden topology of the hard-surface model. ”
During the completion of this “Stick Grenade” tutorial I possessed no previous knowledge of knowing how to create a ‘Wireframe Render’, therefore I decided to take control of the situation and begin my own research in to this specific area.
Through the use of further exploration, self-study and perseverance, I found my answer within a Youtube video titled:
“How to render a wireframe in Maya 2020 | Intro to Maya 2020” - Credit: Creative Tap
Studying this video allowed me to take advantage of the knowledge I had gained and apply it to not only this “Stick Grenade” tutorial, but also my previous “USB Drive” tutorial. Although the process was slightly difficult to become accustomed to, I now feel that applying this “aiArnoldWireframe” material to all of my models is quite simple and effective. I also enjoy how the wireframe render looks visually, as it can help to ‘show-off’ clean topology to to any viewer / educator / recruiter.
Topics covered within the tutorial:
Pureref - A screen display reference programme
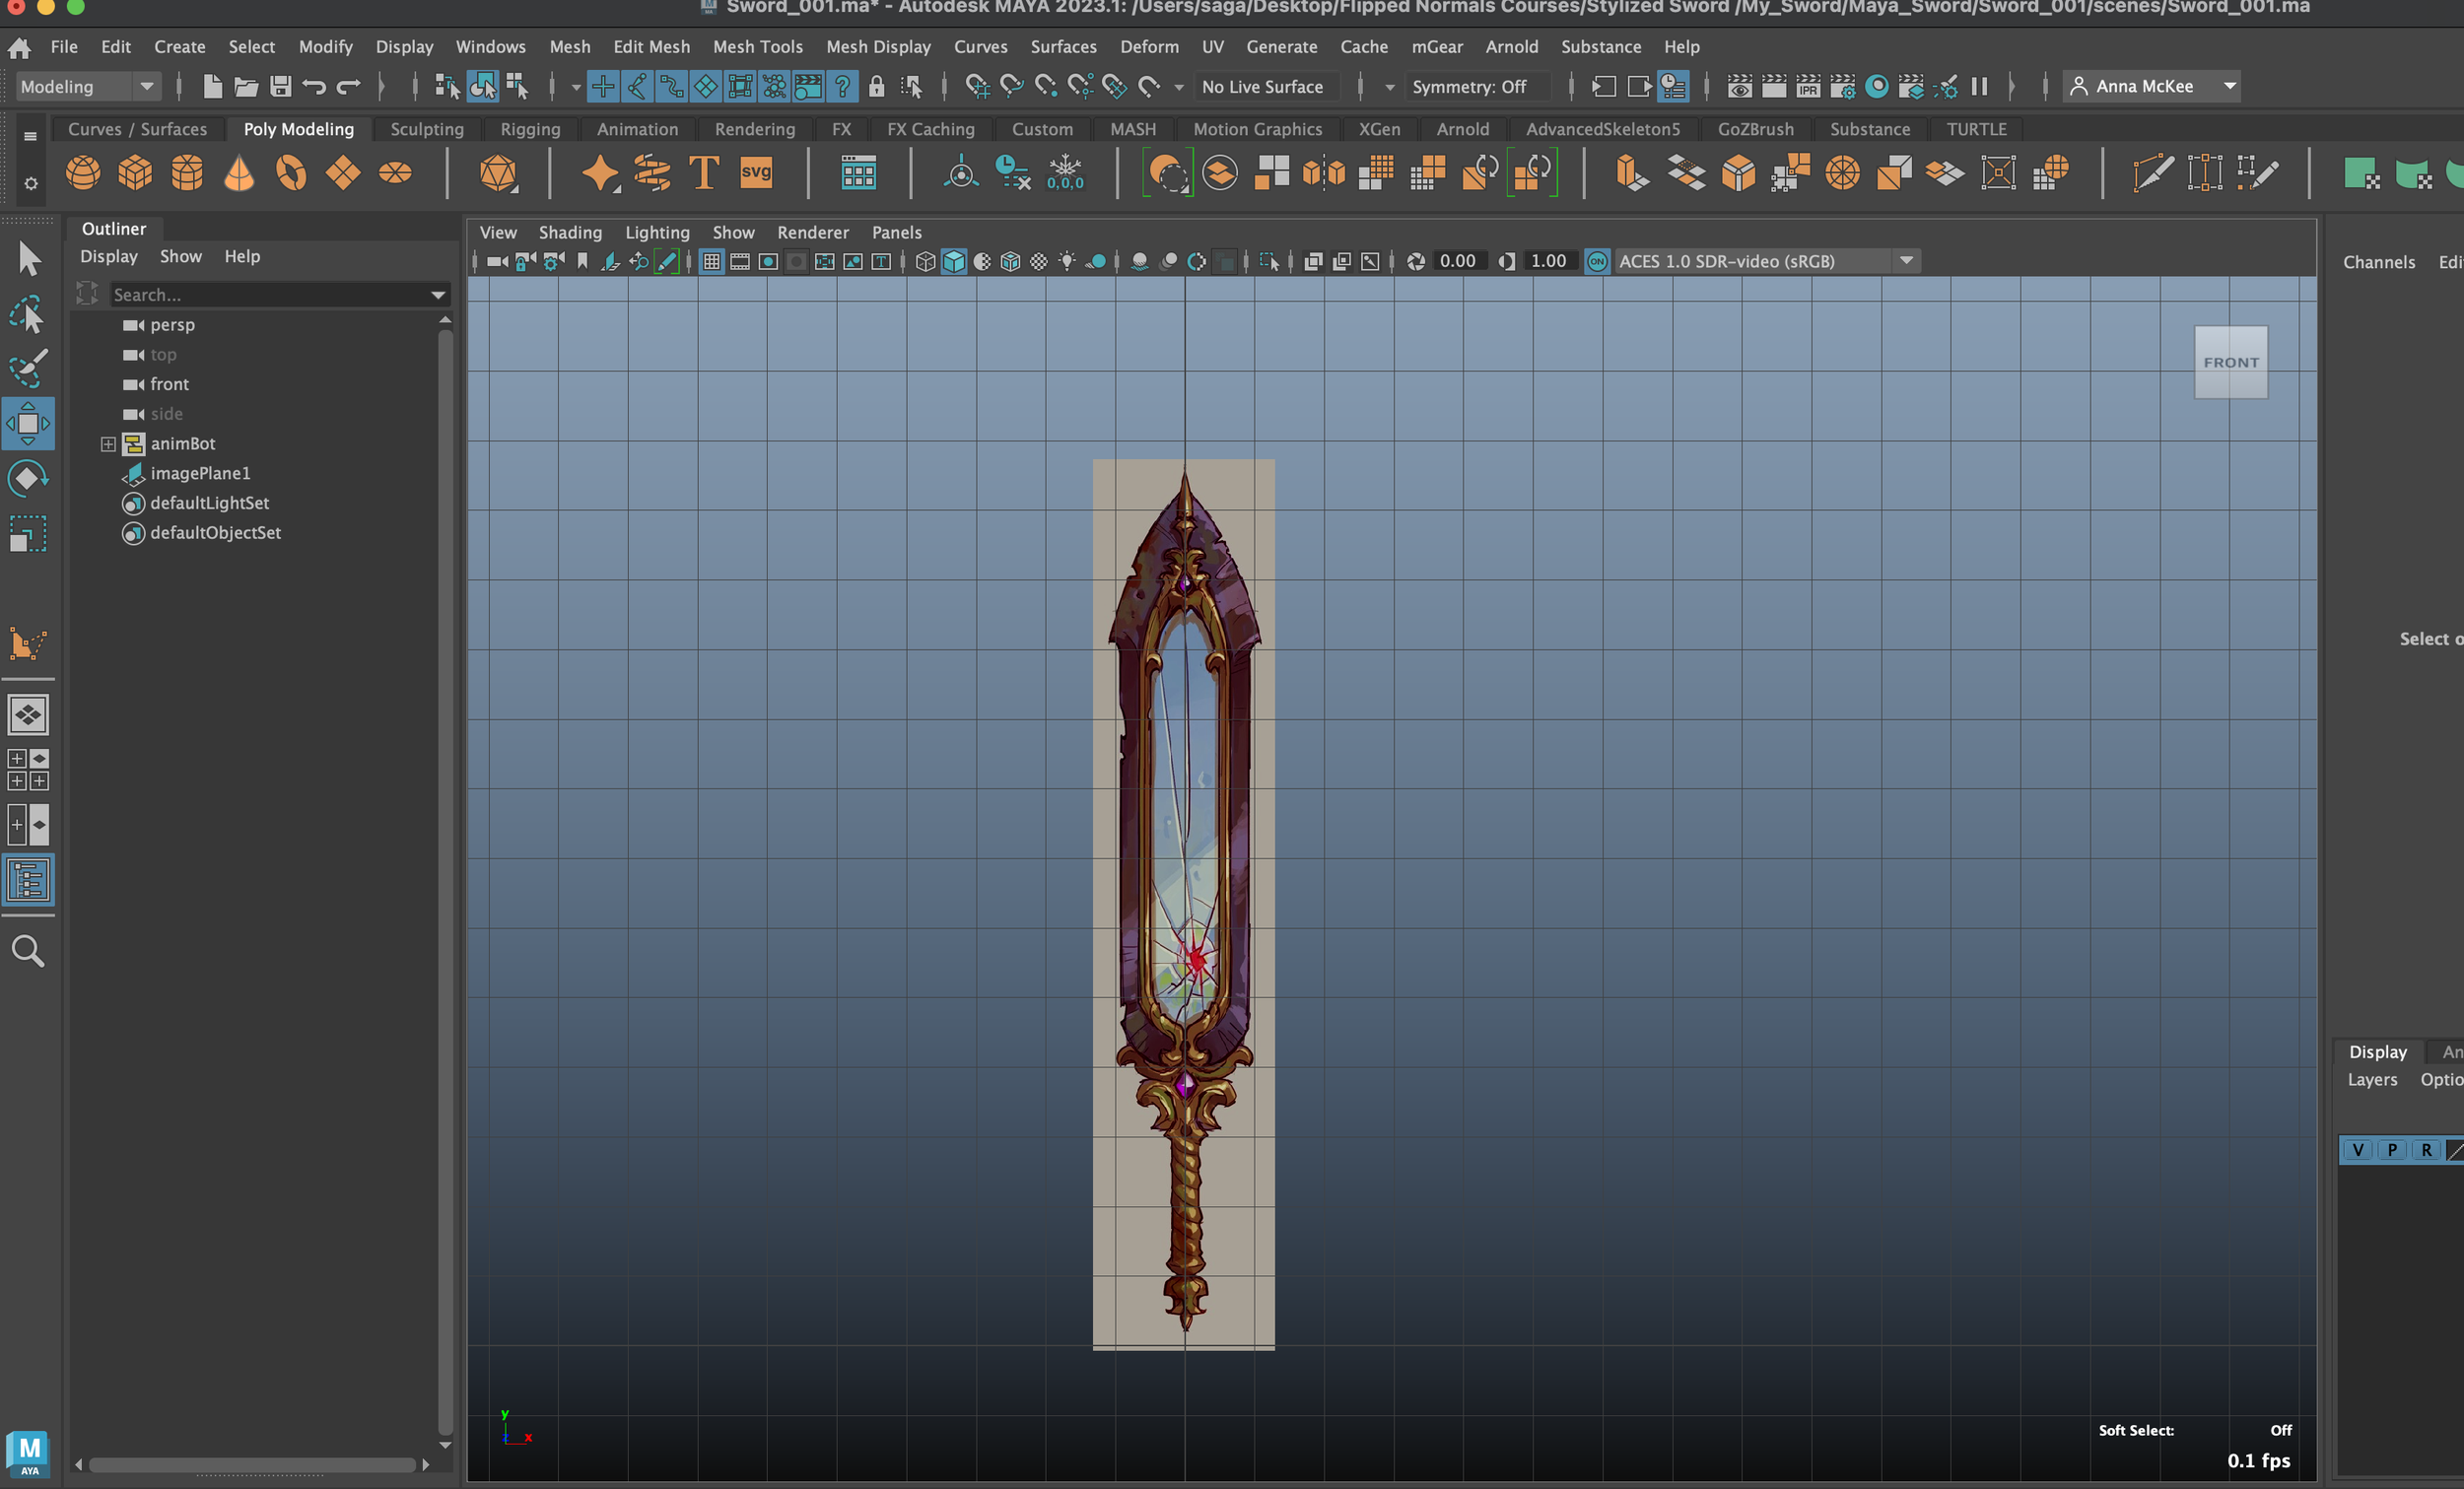
Importing an Image Plane
Bevel Tool - Softens hard edges
Converting Vertices to Faces
Pivot Points
Adding Subdivisions to Primitives using the Attribute Editor
Changing a Helix Primitive to look like a ‘swirled cap’
Utilisation of Marking Menus - Orthographic mode, X-Ray mode, Perspective
Append to Polygon tool
Fill Hole tool
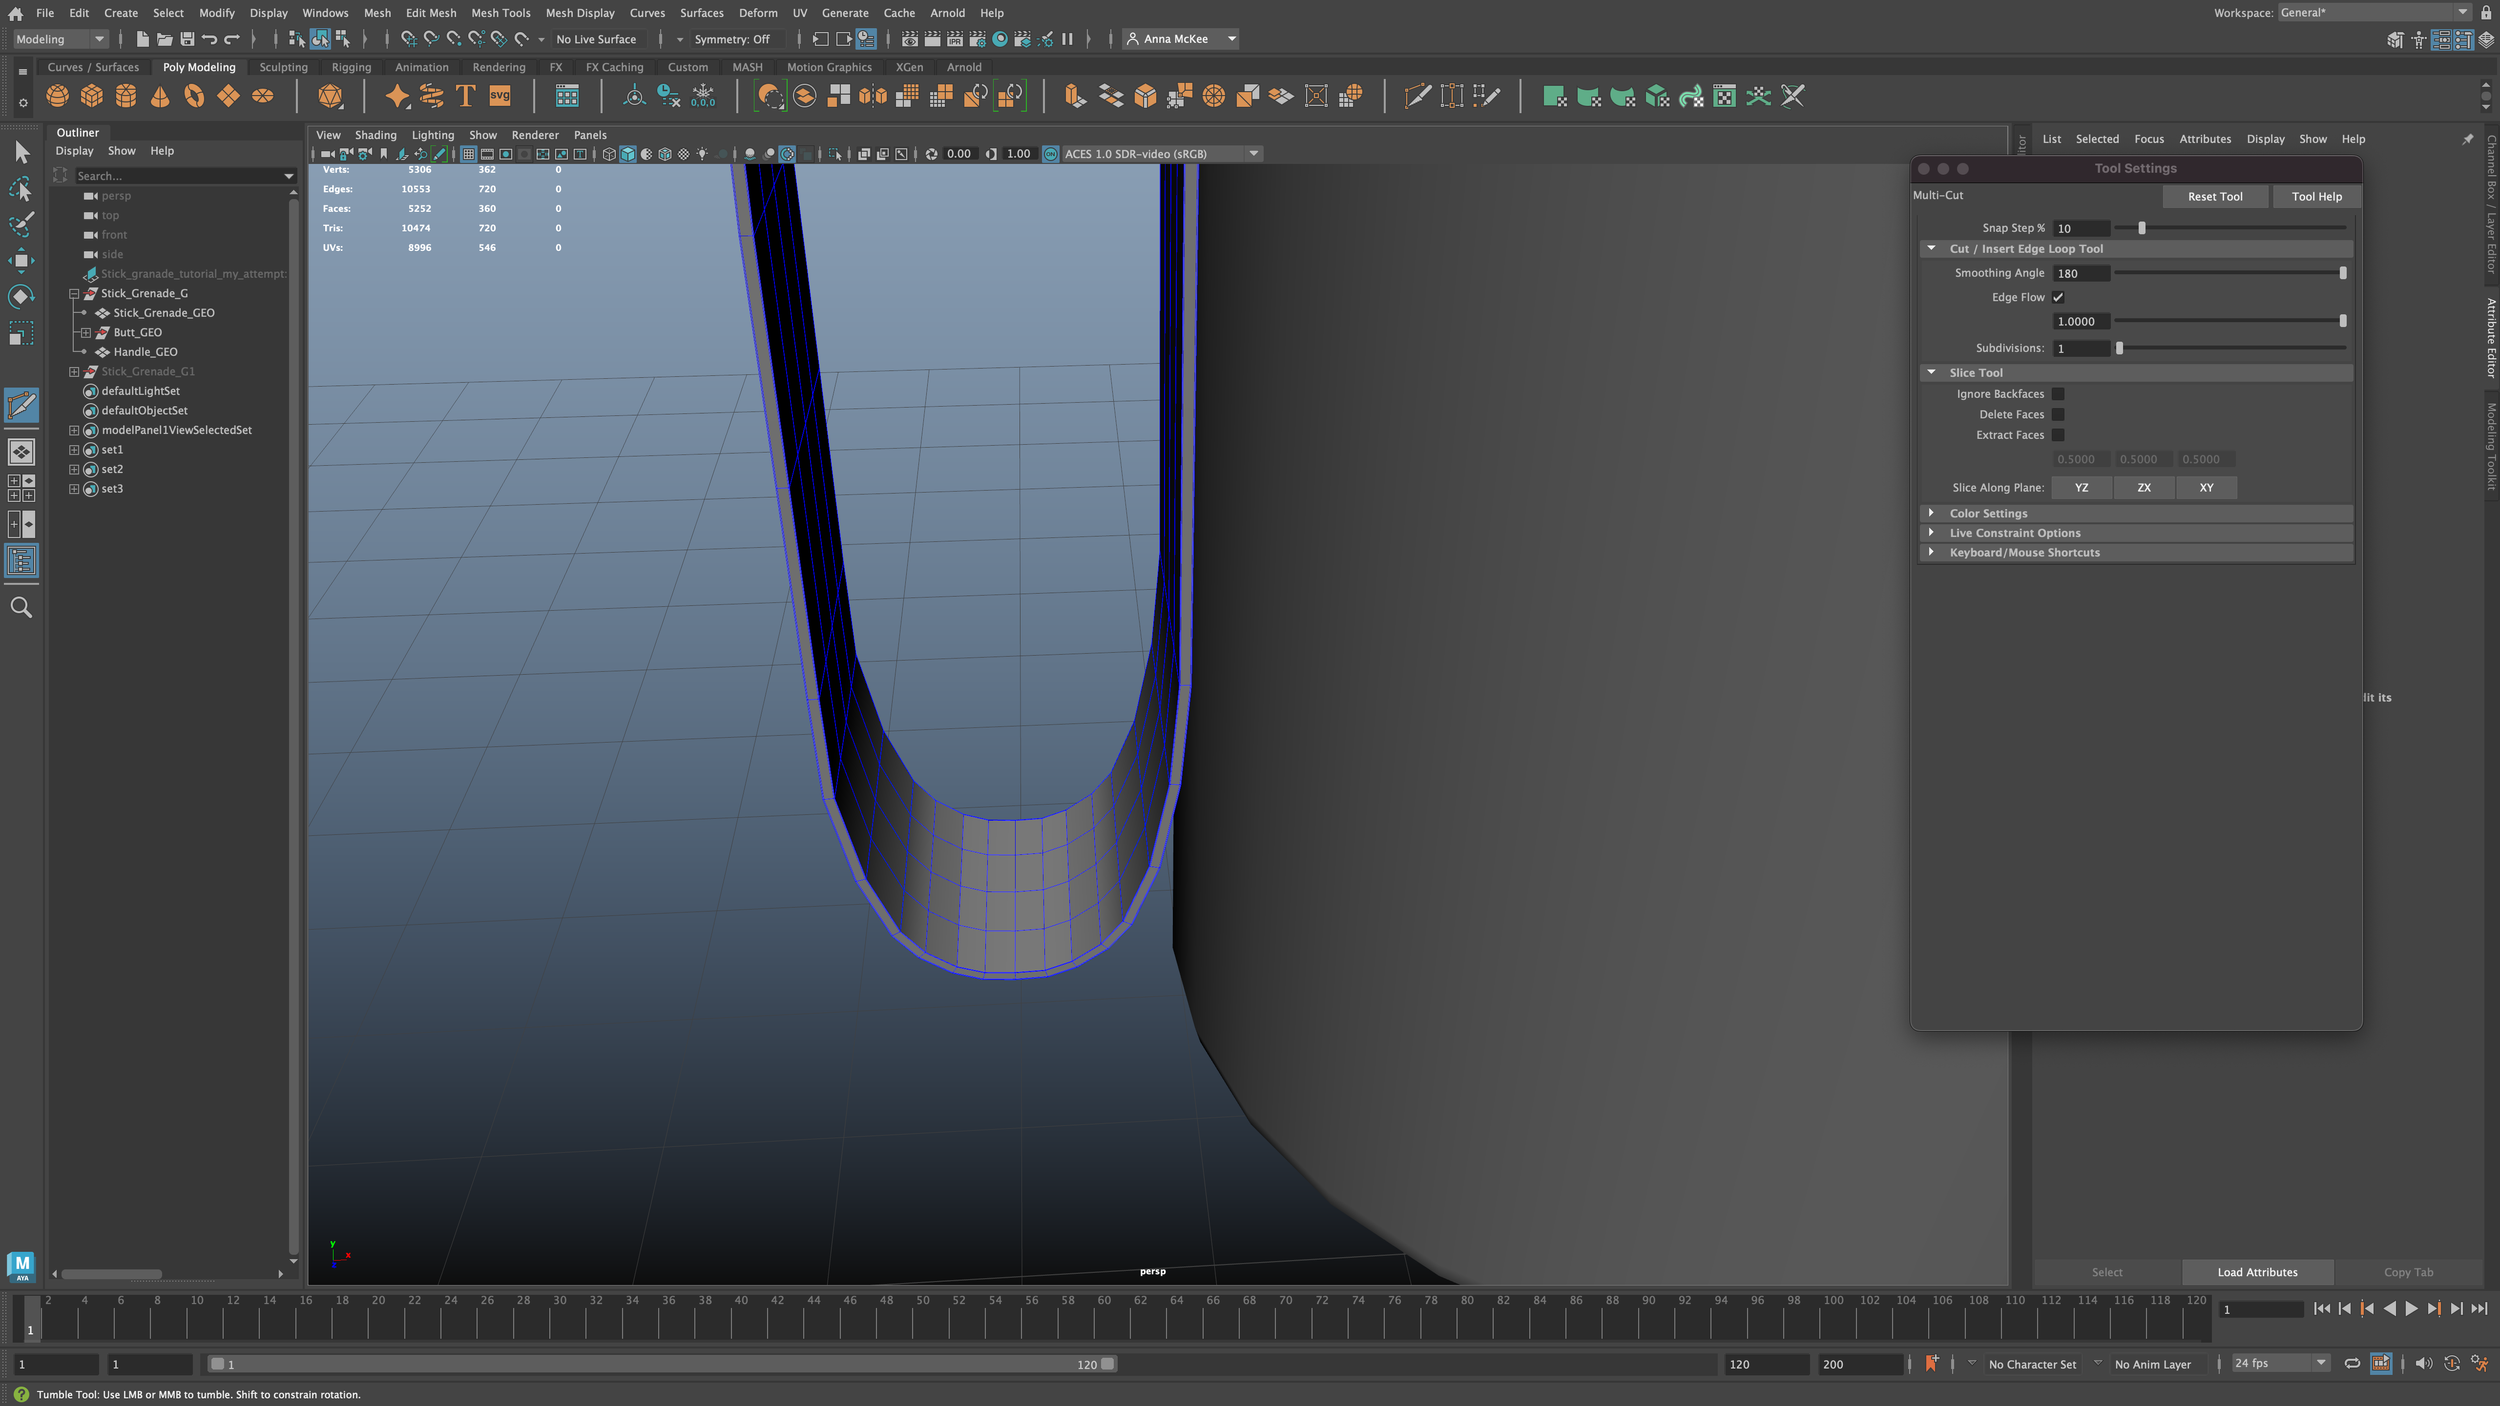
Multicut tool / adding Edge Loops
Isolate Select tool - Only shows objects that are currently selected
Converting N-Gons to Quads and Tris
Smooth Preview -
Extrude, Scale, Transform, repeat
Turning on / off Chamfer
Grow Selection
Renaming meshes in Outliner, creating organised groups
Cleaning up your scene, deleting history, Delete All By Type > History
Freeze Transformations
Show hard Edges - Allows us to view where we would need to add a bevel/bevels
Using a locator to measure real-world distance - Helps to adjust the scale accordingly
Assign Blinn shaders - Allows for colour to be added
Topics covered myself when pushing the tutorial further:
Adding materials / colour
Attempted to use PBR Shaders, need to UV Unwrap first
Lighting setup (3 Point Lighting and Sky Dome)
Creating a Wireframe render


“Wanting to push myself and learn, I attempted to add simple materials for the first time within Maya”
Redirecting Edge Flows - Stick Grenade
Week 2


Self Critique:
If I were to retry this same tutorial, I feel that I would attempt to pay more attention to the use of the “Show hard Edges” button / process. This is because even though the tutorial showed me how to use the “Show Hard Edges” button and where to find it, I felt that I did not actually understand the concept and meaning of this process.
To solve this issue I believe that I would need to partake within further self-study of the “Show Hard Edges” button, as this could be an important and relevant tool to use within my own work, therefore it is necessary to understand what a button’s process really is.
My second piece of self critique would be to attempt to grasp a full understanding of how Shaders really work. This is because although within this Stick Grenade tutorial I did manage to assign Blinn Shaders, in reality I did not understand the overall Shader process and how each individual shader works. For example, in the future I would like to try and achieve a more ‘realistic’ look whilst using shaders in Maya, such as creating a material that looks rusty, shiny, polished etc.
I feel that this process could also be achieved by UV Unwrapping the model and then exporting the UVs into a texturing programme such as “Substance Painter”.
My third piece of Self critique would also be to learn how to implement a professional lighting setup within an Arnold render. This is because I struggled with portraying a strong Arnold render of my Stick Grendage, as I had many lighting errors such as:
Examples of my struggle creating a lighting setup can be seen within the “Experimental Renders” section shown below.
Experimental Render_001 - Strange backlight effects created on the edge of the clip, along with harsh vertical lines of intense light / strange dark shadows on the front of the mesh. This was an issue that I could not prevent / understand, although I felt that this was my most successful “Experimental render” due to it’s high resolution quality
Experimental Render_002 - Lighting appearing too strong along the front of the object, creating a unprofessional glare. This render also produced uneven material colours within the lower green half of the mesh
Experimental Render_003 - Model rendering too dark, as there is not sufficient / efficient lighting
Experimental Renders
Week 2 -


Shown above are a few examples of my experimental renders for the “Stick Grenade” internal tutorial.
Due to my lack of knowledge of Mayas’ Arnold rendering system, many hours were spent trying to achieve the ‘perfect render’. Although frustrating at times, many lessons were learned through the ‘trial and error’ process of rendering. My goal was to achieve a beautifully lit and clear PNG image of the Stick Grenade, shown within a simple grayscale backdrop.
A common theme within many of my (experimental) renders, happened when the lighting set-up (using the Arnold Skydome) achieved its desired result. I would then notice inconsistencies with the material / textures of the model. This issue of inconsistent textures / material colours was resolved after changing / experimenting with the Attribute Editor, Diffuse, Reflectivity and general Point Light intensity setup.
Conclusion:
In conclusion I feel that completing this tutorial helped to further push my skills within areas that I was quite uncomfortable with in Maya, such as adding colour, bevelling, extruding and using the “Close Holes” button.
For example, after I had finished this Stick Grenade Internal tutorial, I then revisited my previous completed Internal tutorial “USB Drive” and decided to use the skills that I had learned within this “Stick grenade” tutorial to add bright colours (instead of leaving the model Greyscale) to the USB Drive.
Overall, this “Stick grenade” tutorial was definitely a more positive experience than the previous “USB Drive” tutorial. This is because I felt that I had learned through the tough experiences of my first internal tutorial, therefore through completing a second tutorial university tutorial, I felt that I could utilise the previous skills that I had learned throughout the class and independent study.
Support Sessions-
Week 2
Using Booleans


Credit - My Maya file + screenshots
19/10/2022 -
During this remote support session with our tutor Richard, we began a simple exercise which explained the methods of creating a Boolean and how this common method can be put into practice within many modelling techniques.
What is a Boolean:
A Boolean is an operation that can be performed within Maya. This process will allow you to combine two objects together or use one object to cut-away a part from the other mesh, (example shown in the screenshots shown above).
They allow you to add, subtract, and intersect multiple mesh objects.
Why use a Boolean:
Using a Boolean within your workflow is a quick way to easily slice through objects without permanently changing them (as long as you do not delete history until you are happy with the outcome).
Self critique / conclusion:
Overall I felt that I understood the concept behind the Boolean and why it can be very helpful to a successful workflow when using one. Although I still feel that I may not be able to exactly remember how to access and ‘setup’ the Boolean process within Maya.
I do remember that I have previously tried using Live Booleans within Zbrush, although it was somewhat successful, I feel that I may want to apply this methodology to my own workflow, as Booleans offer a quick and effective solution to many modelling processes.
Support Sessions-
Week 2
Metal Pipe Tutorial


Credit - My Maya file + screenshots
19/10/2022 -
During this remote support session we revisited the “Metal Pipe Tutorial”, which was previously an internal exercise that we were assigned to complete within class-time.
Unfortunately I could not complete this “Metal Pipe Tutorial” within university, as I could not keep up with the pace of the class and found it very difficult to understand the Hard-Surface modelling deformers within Maya.
Topics covered:
Twist Deformers - This allows the user to ‘twist’ a mesh using a deformer which allows it to be edited / changed (until history is deleted).
Self critique / conclusion:
Although I was pleased we revised this topic during our Wednesday support session, I still struggled with many of the processes and did not manage to complete the tutorial.
This worried me greatly, as I felt that I should not be falling behind this early within the University year, although I am happy that I did manage to make some progress with this “Metal Pipe Tutorial” during our Wednesday support session, (which was more progress than I had made previosuly during class time).
In conclusion I feel that this issue reminds me of why the Wednesday support sessions are so important, as even though I still found all of the processes difficult, I was able to slightly improve my understanding of using the “Twist deformers”.
Project Management Plan
Week 3 -

This photograph shown above directly displays my current process of thinking and planning.
I decided to create this quick Project Management Plan to help keep myself focused on the dual projects that need to be worked on simultaneously, such as the Blog (including the final organic and hard-surface model) and my Digital Studio Practice group work.
I felt that this diagram was important to create as I am currently feeling overwhelmed and extremely behind my work schedule which is very worrying. Therefore I decided to be proactive and ‘break-down’ the simple steps / processes that I would need to work on if I wanted to catch up with the rest of the class and meet group deadlines.
Although I will have to carefully plan and simultaneously work on both projects at the same time, I am trying to keep in consideration each of the project deadlines. This is because my very first deadline is the 13th of November 2022, which is the date that my Digital Studio Practice group need the bird model that I am going to create. Meaning that I need to carefully balance completing this task and take in to consideration my blog as well.
Conclusion:
Overall I feel that writing down a plan / project management list is helping me to visualise my own workload and split up my tasks according to their hand-in date, which then helps to improve my prioritisation skills.
UV Mapping-
Week 3
I attempted to complete each of these UV mapping internal tutorials (“UV Mapping a Pallet”, “UV Mapping a Magnifying Glass” and “UV Mapping a Character - Warrior”) Internal tutorial during class, although I could not progress through it as I did not understand the basics of UV Mapping (in Maya) and the tools involved.
My previous experience with UV Mapping is within Blender, therefore some of the tools / hotkeys are different.
I feel that the best way to tackle this issue is to rewatch the internal class videos and complete my own external research regarding the area of UV mapping in Maya.
Once my further research has been completed, I will revisit each of these tutorials and reattempt them again, as I want to learn and understand the process by showing a completed outcome.
The final outcomes of each of these UV Mapping tutorials will be shown within future blog entries as I try to set-aside time to spend revising this area.

Week 3 - UV Mapping
“UV Mapping a Pallet”
Participating within Introductory Class Tutorials
24th October 2022
UV Mapping - 24/10/2022 - “UV Mapping a Pallet”
Today marks the beginning of week 3 and although I am still behind schedule, it was exciting to move on to another topic within the 3D Modelling Pipeline.


Week 3 - UV Mapping
“UV Mapping a Magnifying Glass”
Participating within Introductory Class Tutorials
24th October 2022
UV Mapping - 24/10/2022 - “UV Mapping a Magnifying Glass”
Our second task of the day during class time was to attempt to UV Map this Magnifying Glass.


Week 3 - UV Mapping
“UV Mapping a Character (Hard-Surface and Organic Models)” - Warrior
Participating within Introductory Class Tutorials
24th October 2022
UV Mapping - 24/10/2022 - “UV Mapping a Character (Hard-Surface and Organic Models)” - Warrior
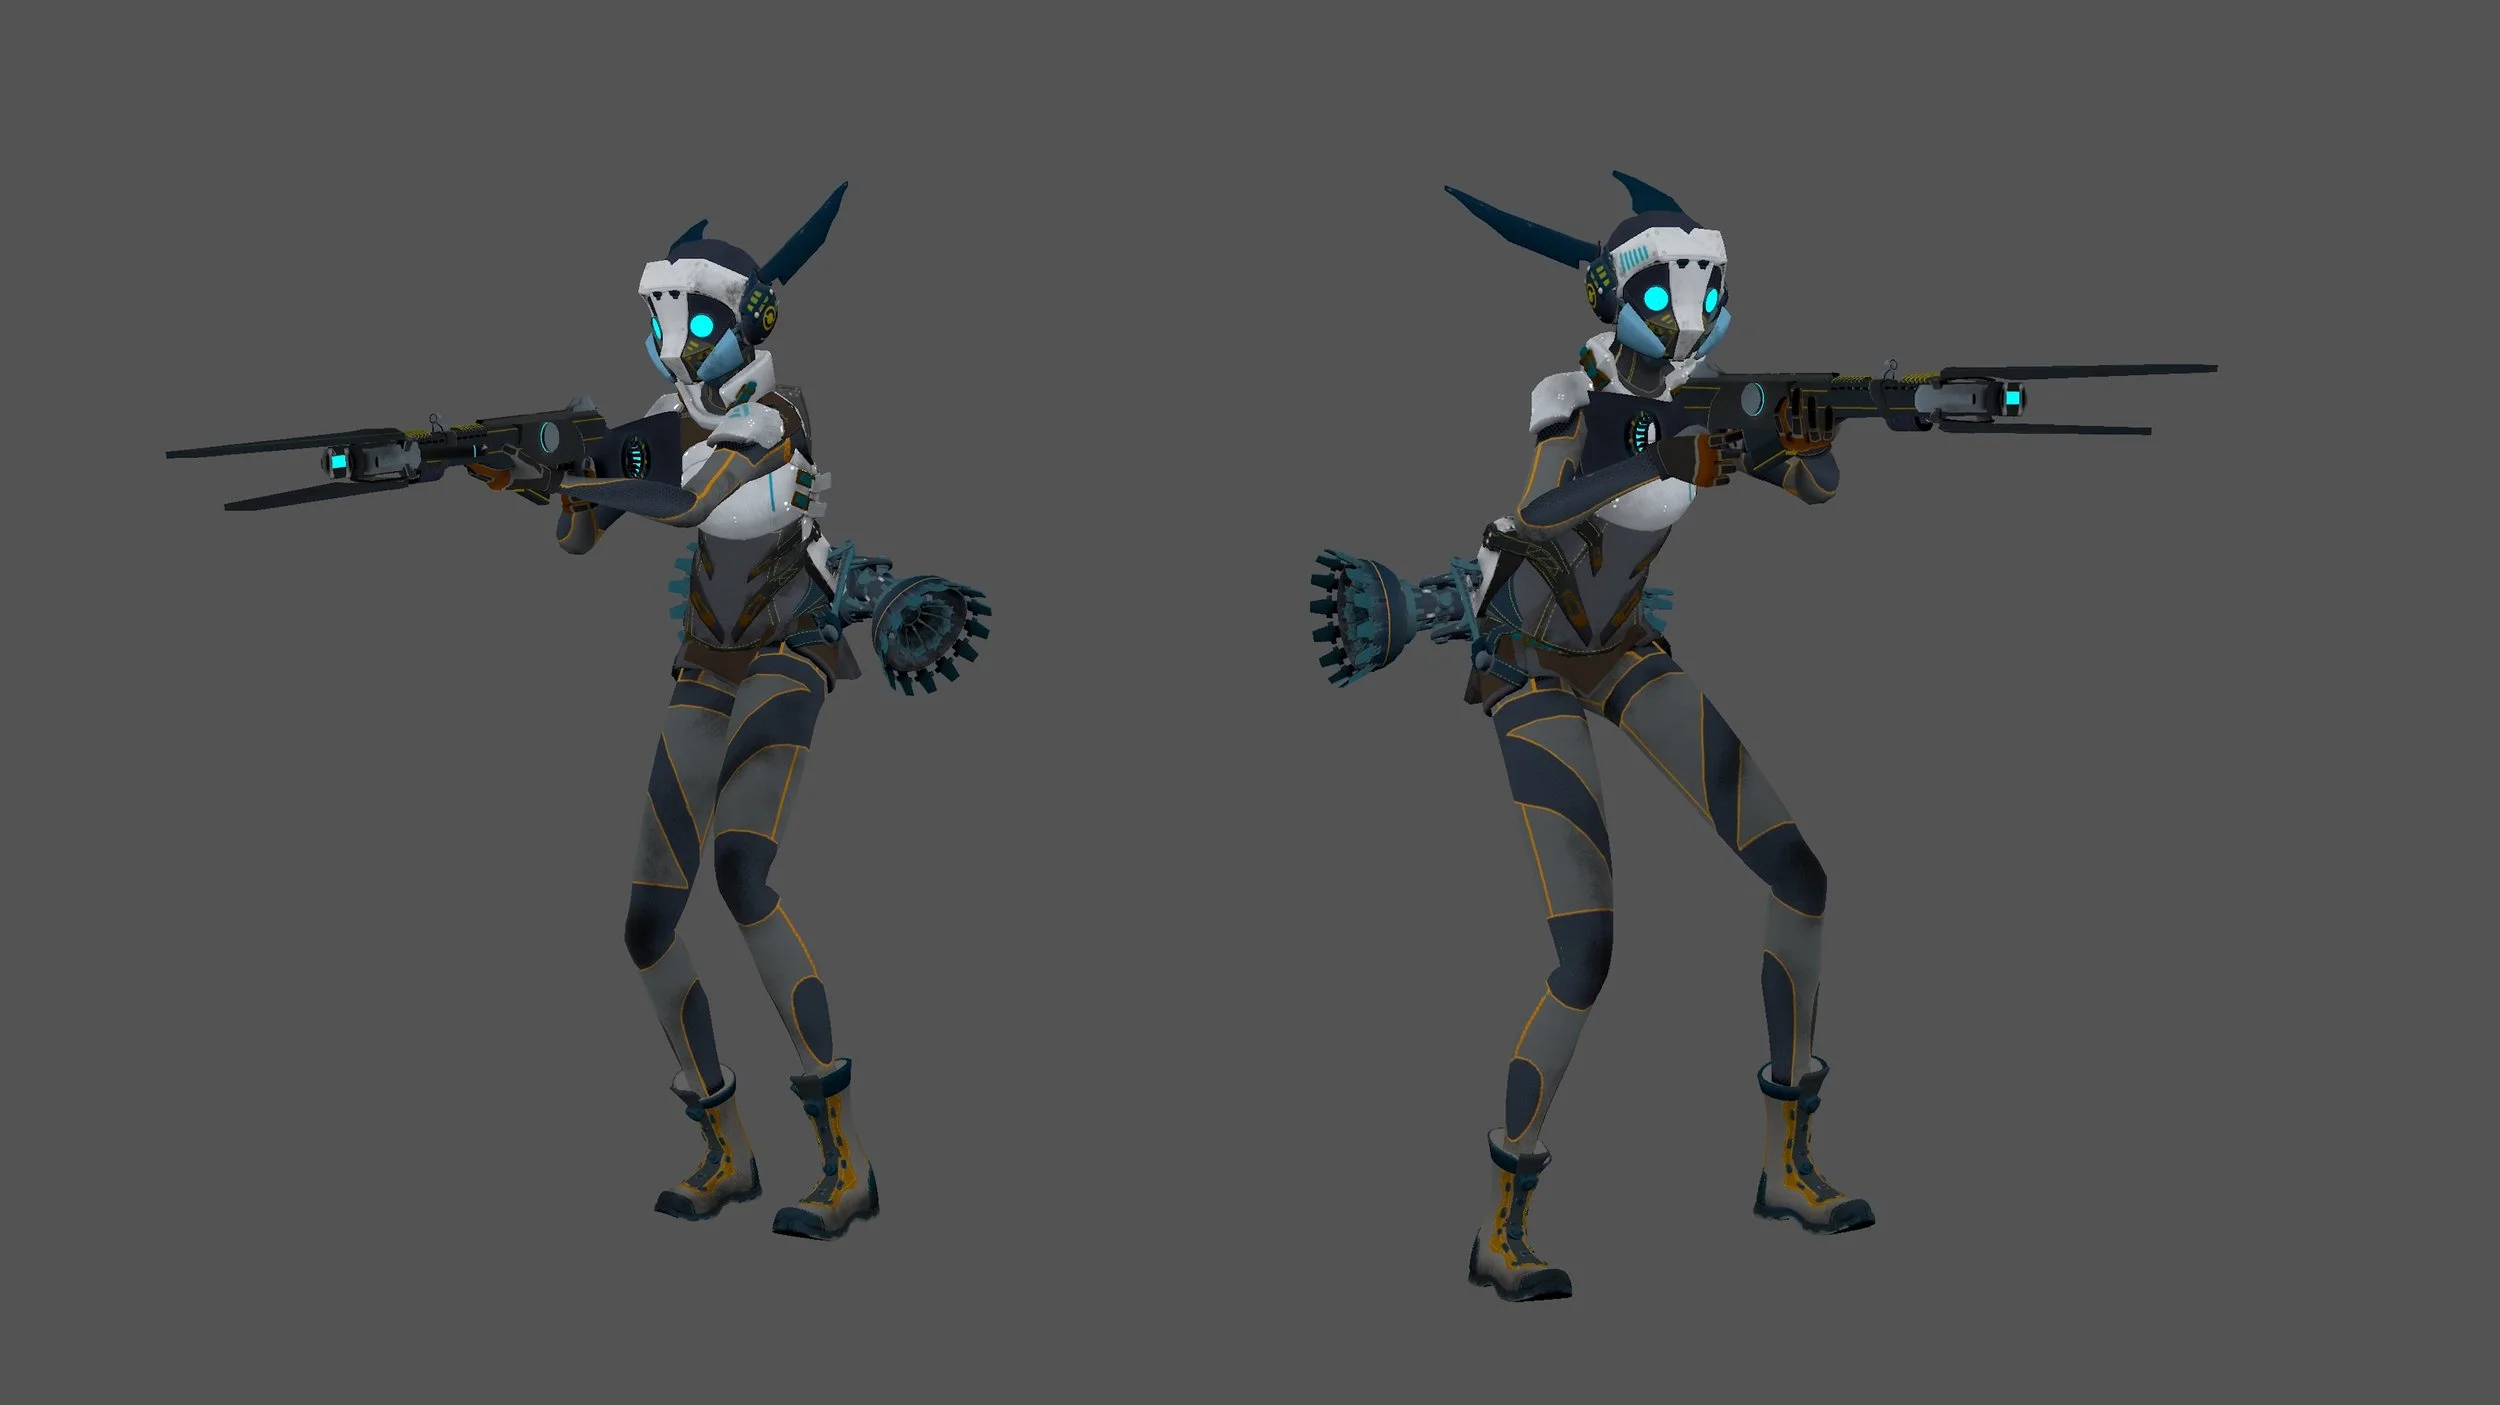
The third objective we were tasked with during class time was to UV Map a “Warrior” character.


Week 2-3
Self Reflection
Overall my self-reflective thoughts are still quite negative / worrisome, this is because during week 2-3 I feel that I am consecutively falling behind class schedule, my peers and Canvas material.
It is quite difficult not to compare yourself with others, although it is important to realise that each and every one of us have begun our 3D modelling journeys from different angles and levels of experiences.
On a positive note, I am pleased with the final outcome of my “Stick grenade”, as I felt that completing this tutorial provided an incredible learning experience that allowed me to expand my Maya modelling skillset. (Although there is still much to learn!)