Animation Workshop: Walk and Run Cycles
Creating a walk cycle animation using a simple rig
Semester 2
25th February 2023 -
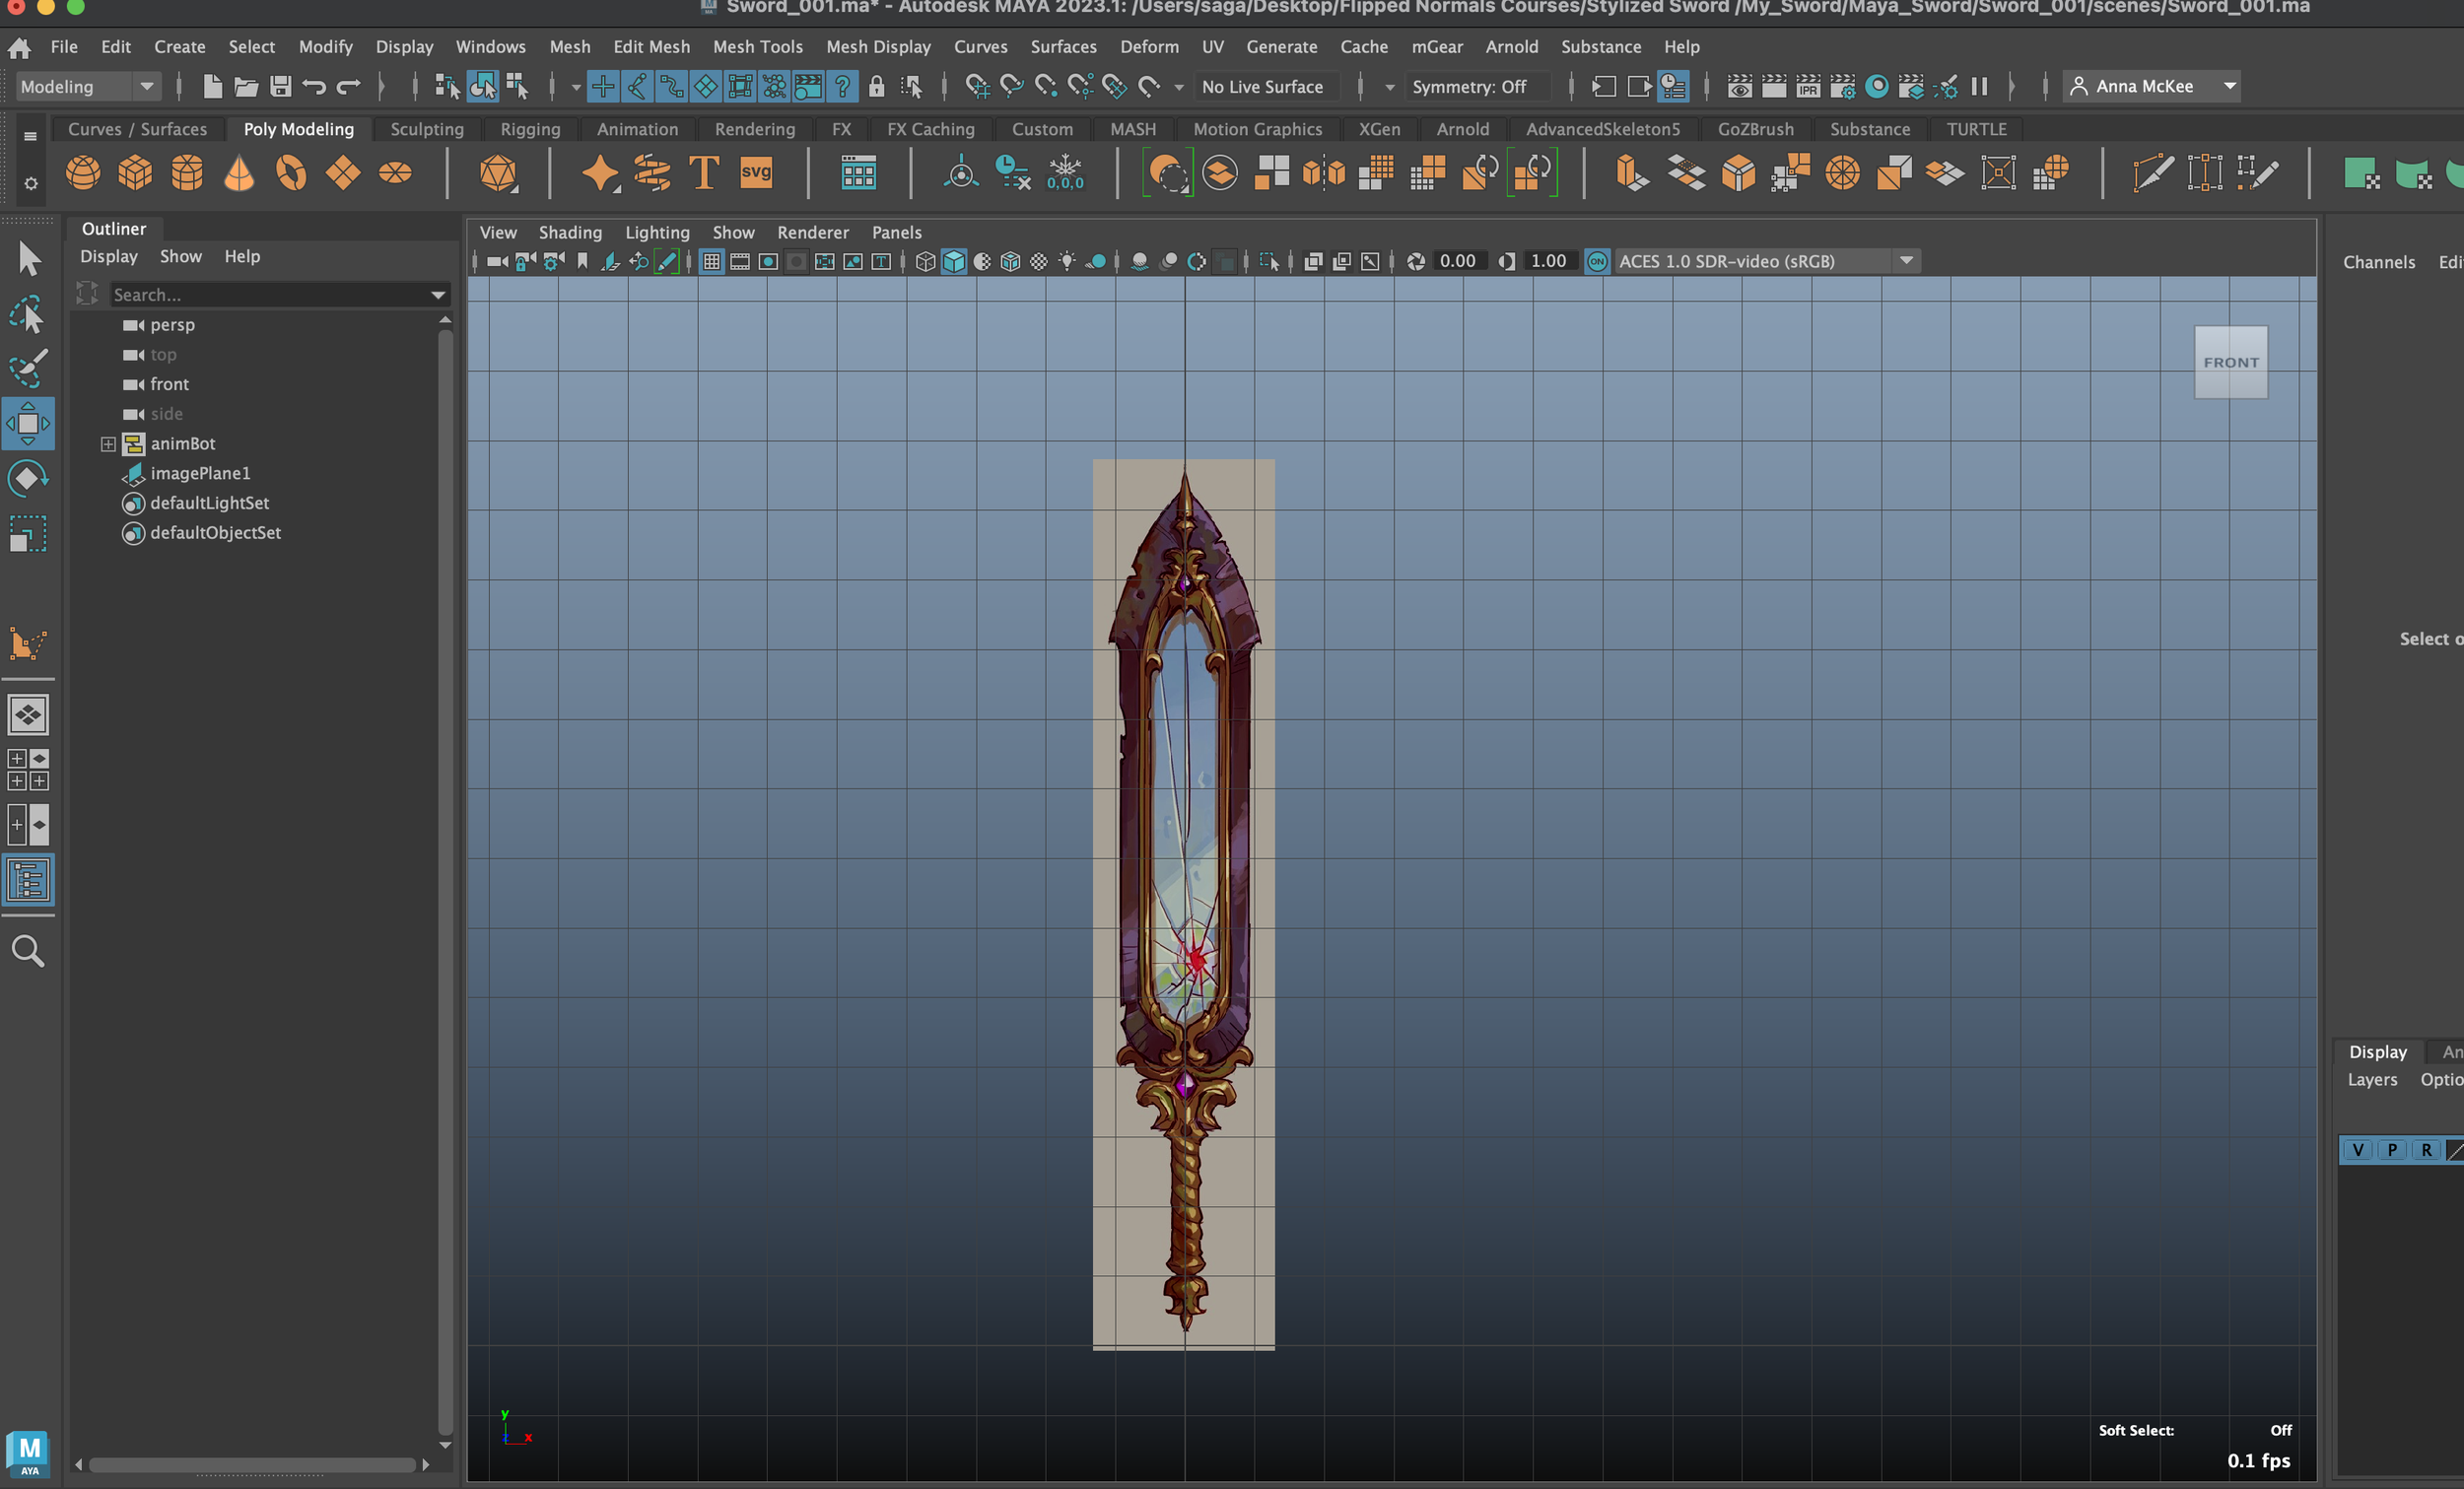
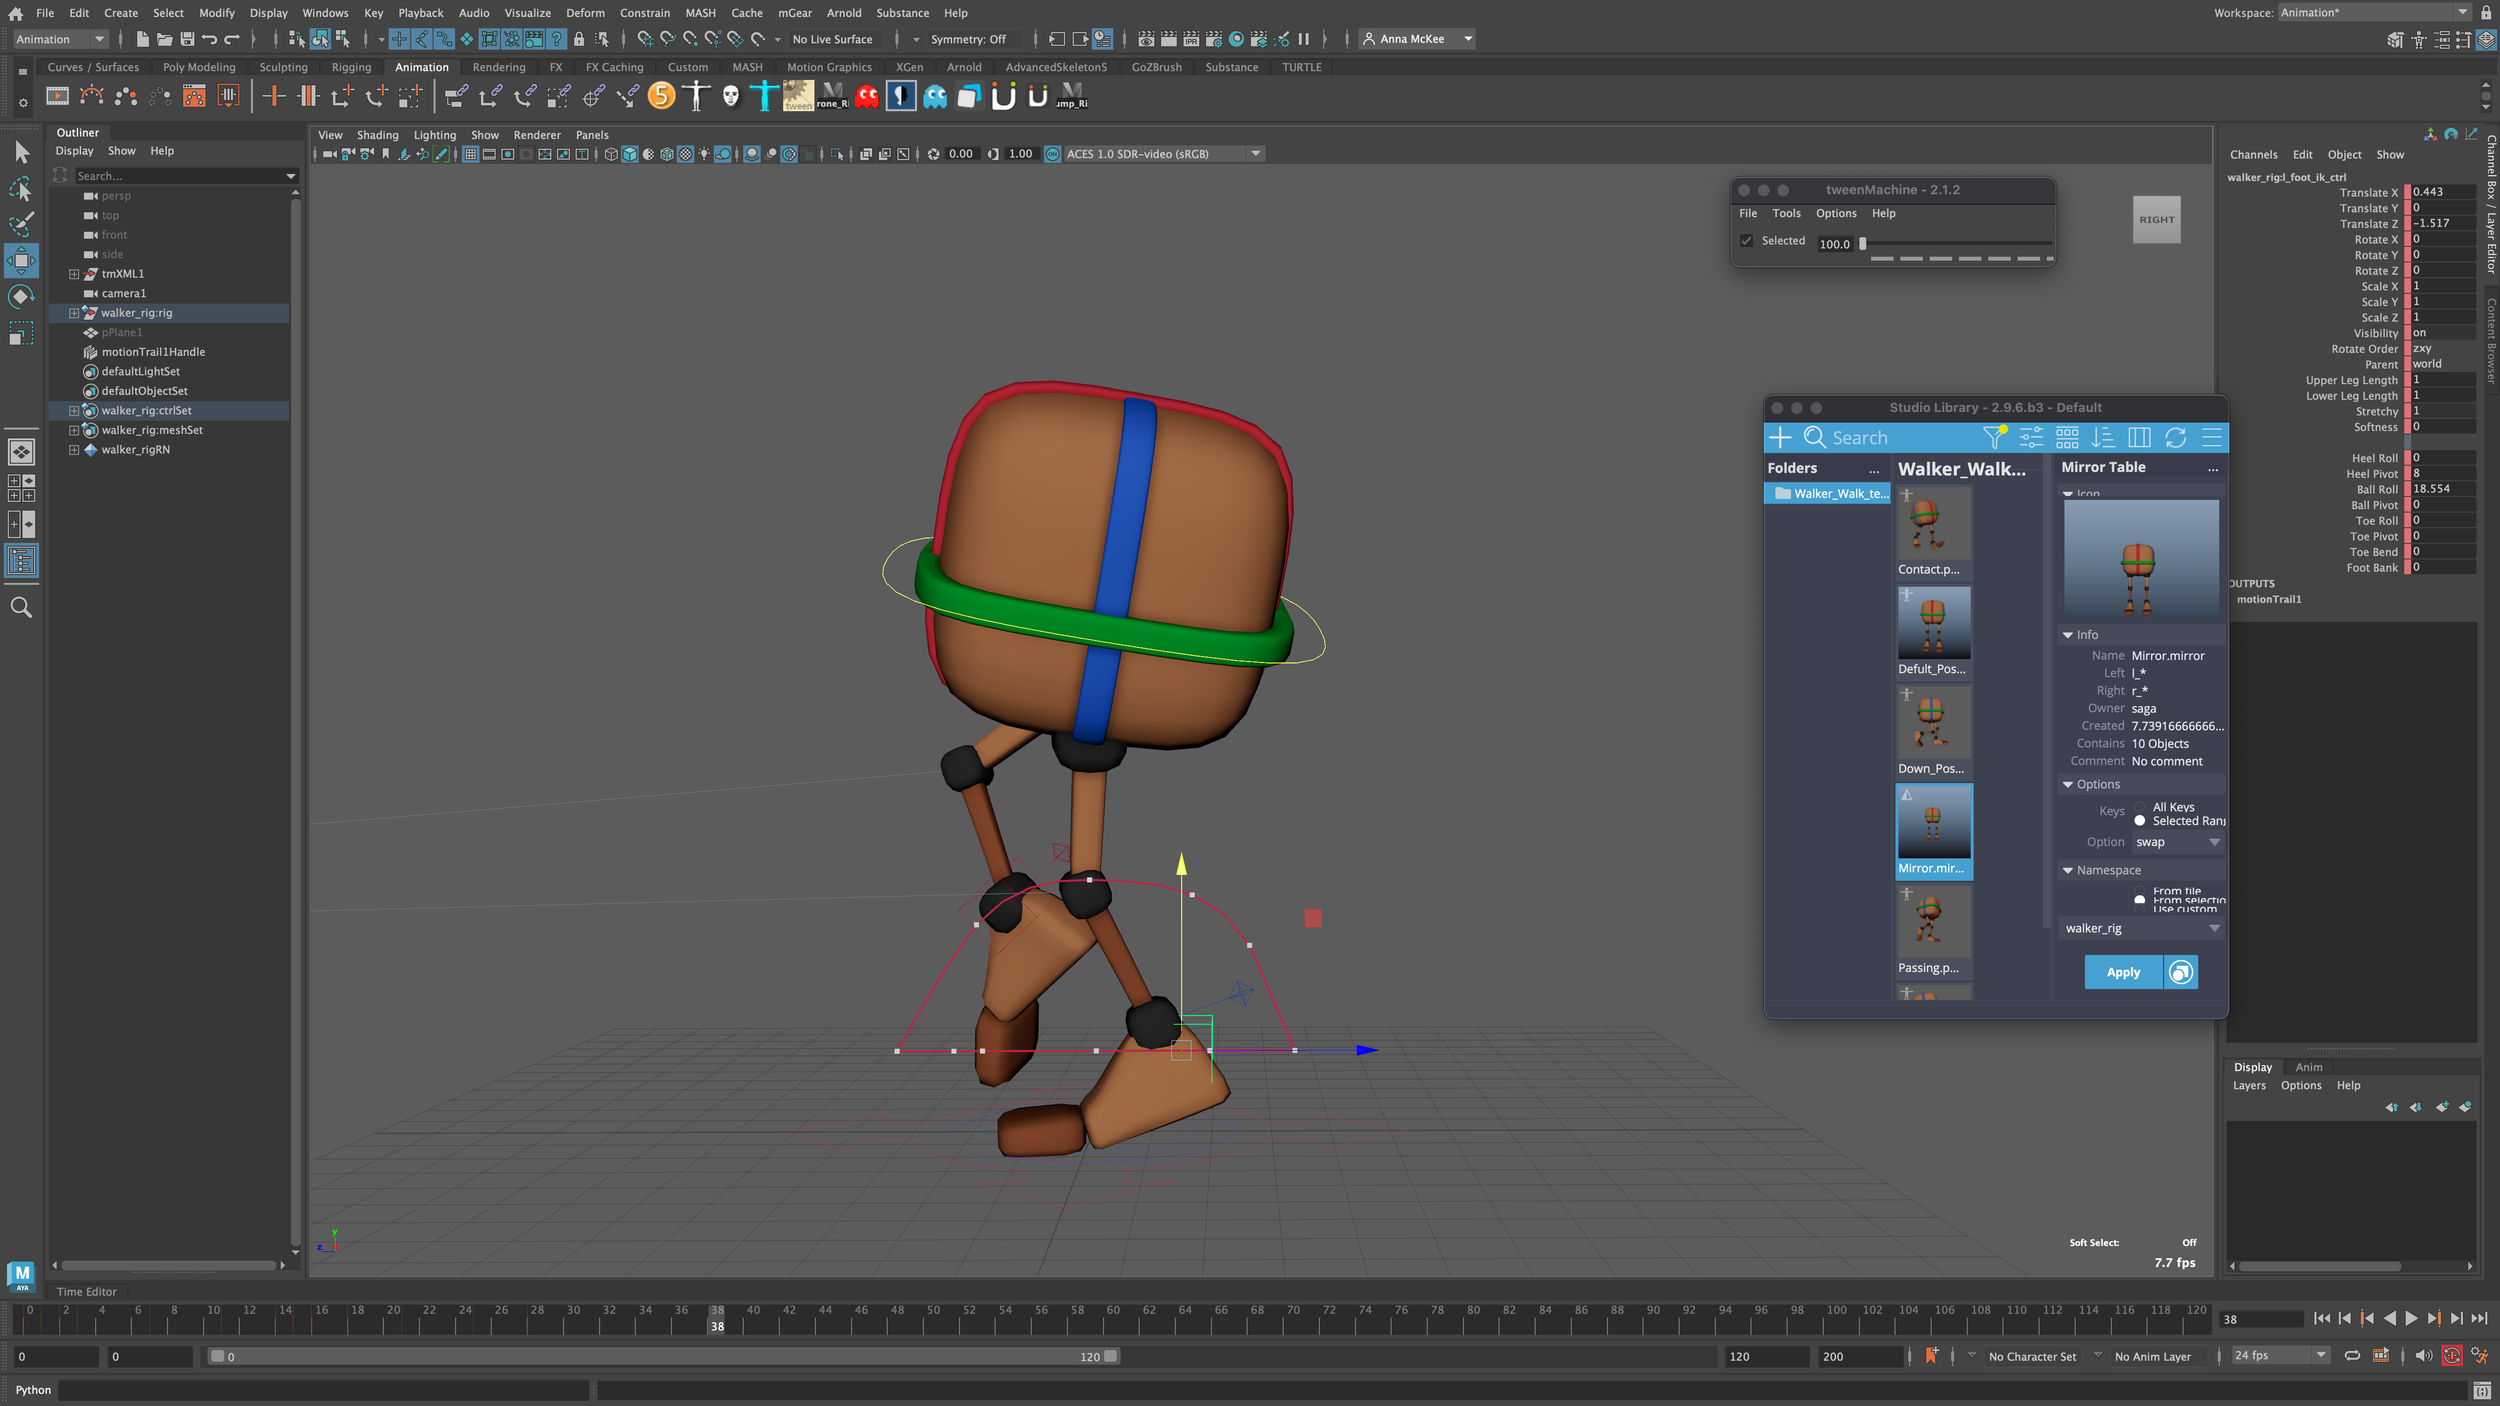
Credit: Anna McKee - Screenshot from “Animating a Walk Cycle (Basic)”
Animating a Walk Cycle (Basic)
Click below to play video
3D Animation made in Maya.
I created this simple walk cycle animation whilst following an internal tutorial provided by Kingston University.
Credit: Video by Anna McKee, Internal Tutorial created by Kingston University
Tutorial: Completed
Software used: Maya, Tween Machine
Personal Difficulty Level: 7/10
28/02/2023 -
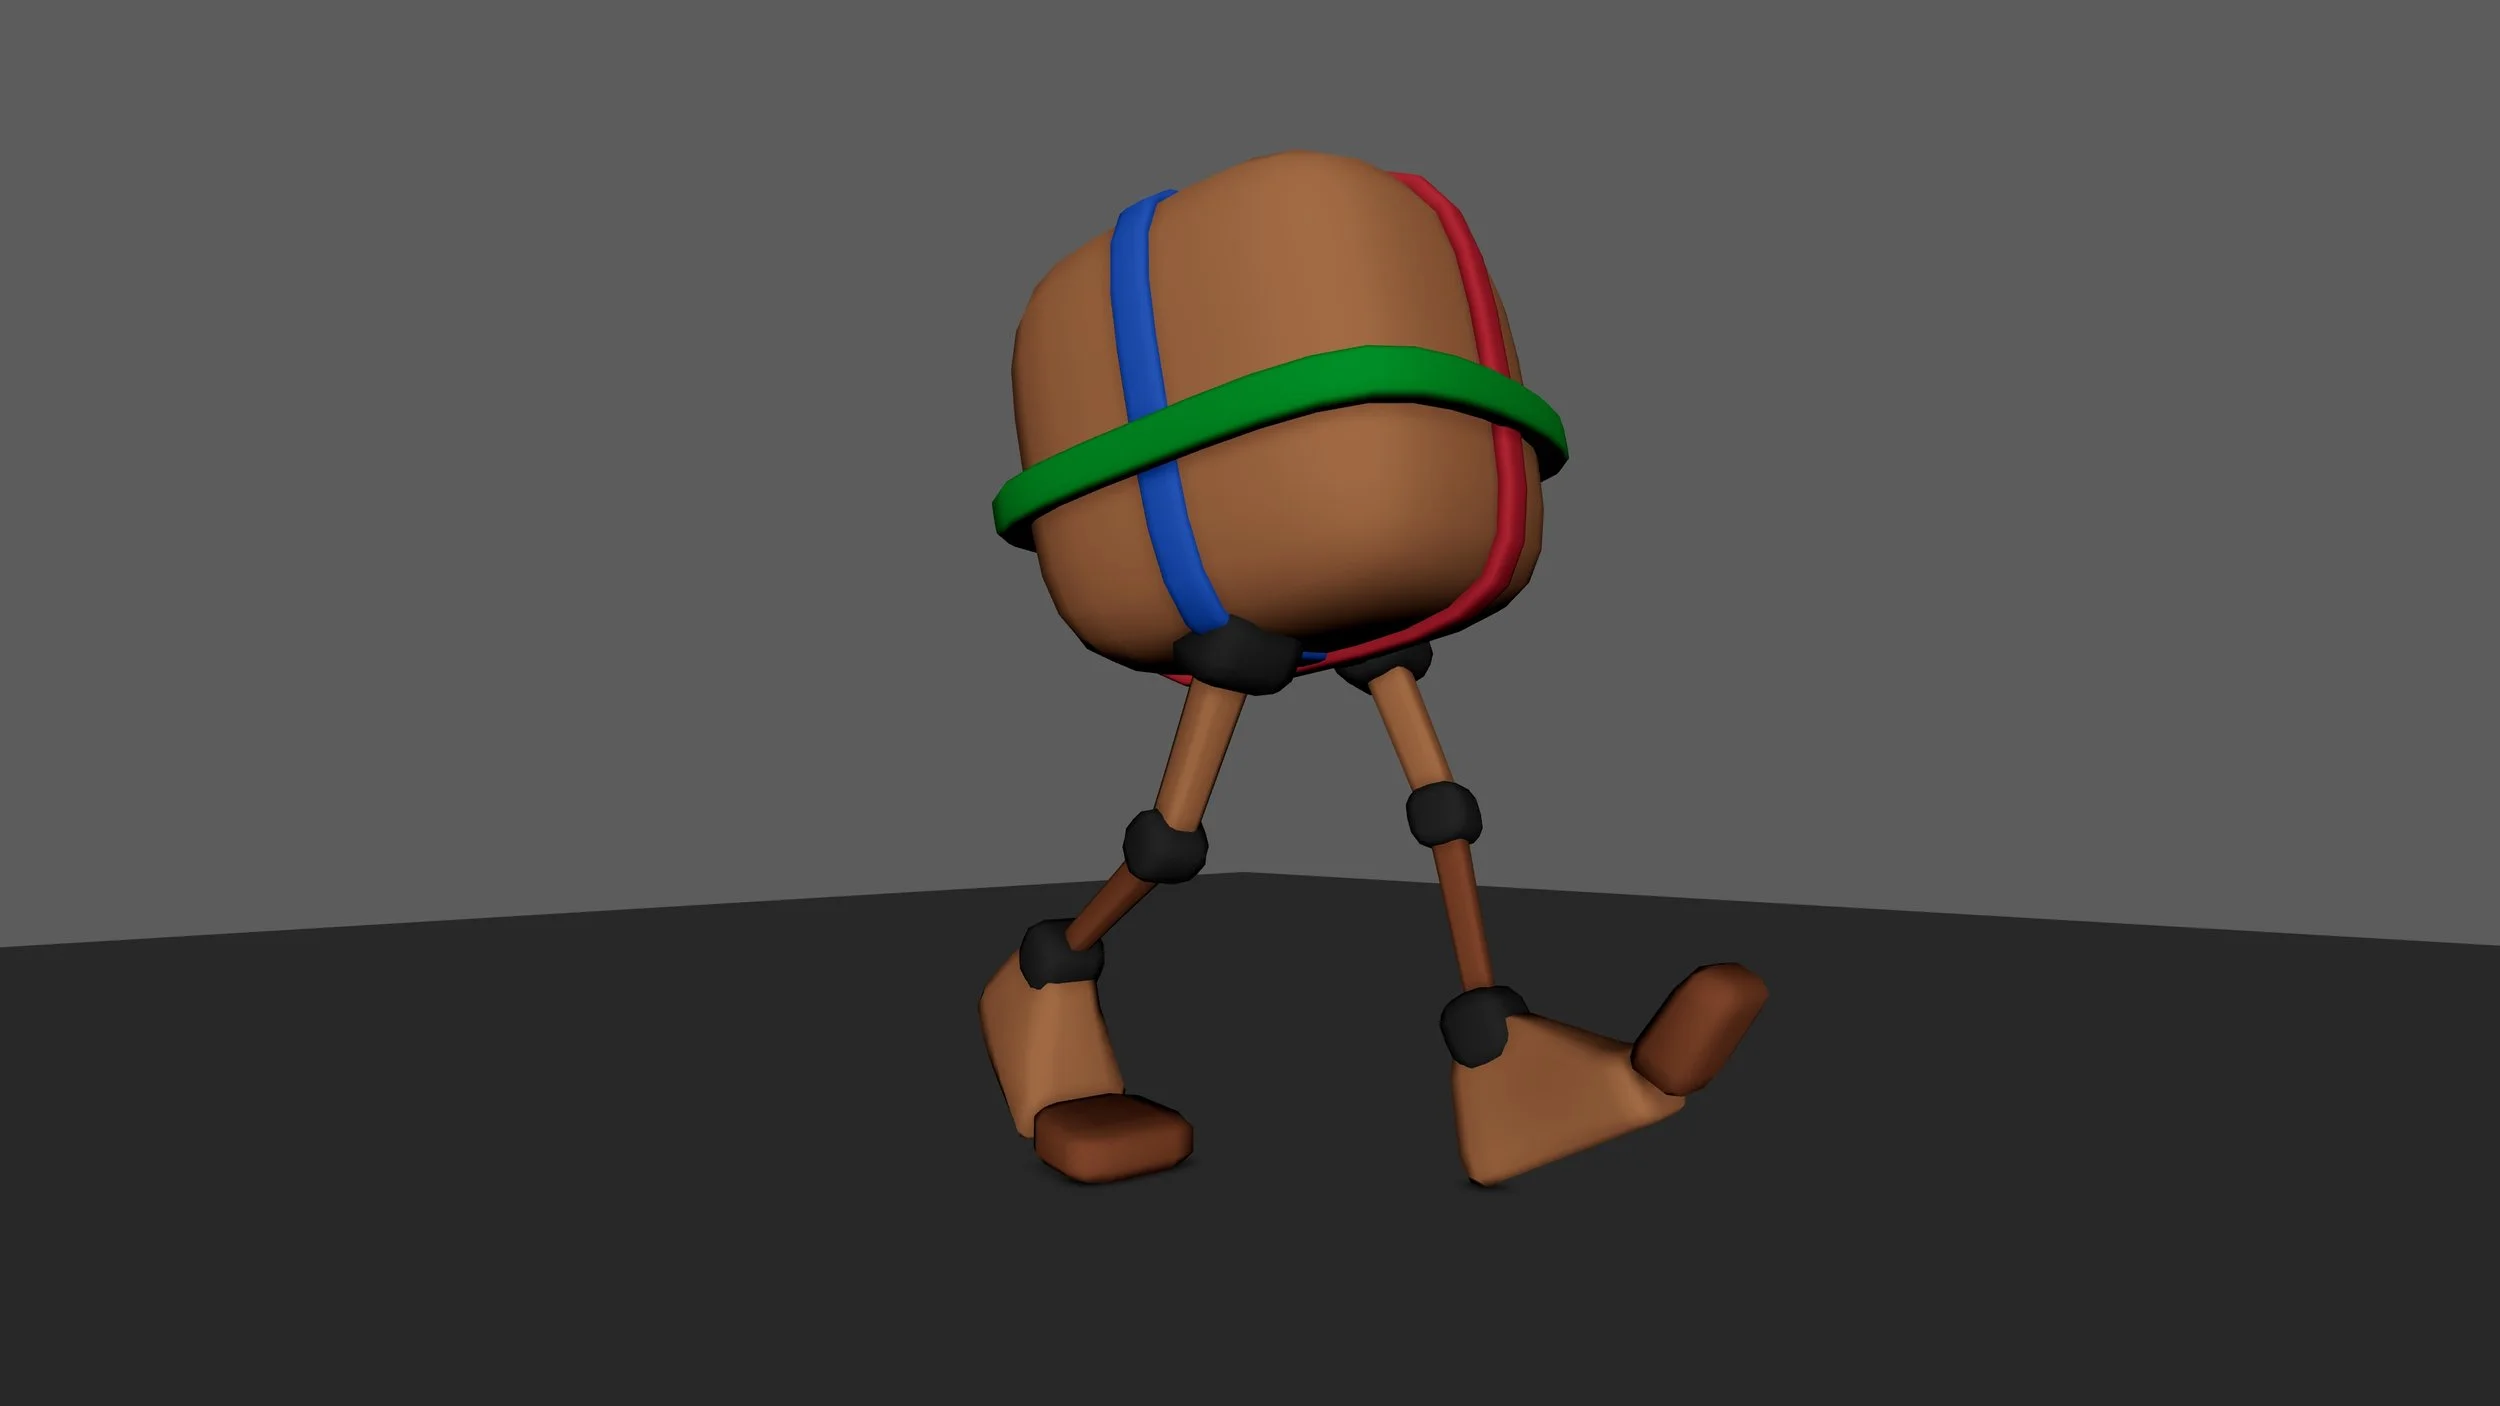
The goal of this internal tutorial was to create a simplistic walk cycle using a very basic rig. This would allow for a greater amount of focus to be placed on the overall fundamentals of animation during the walk cycle.
Tips -
Phases of a simple walk cycle:
Contact Pose > Down Pose > Passing Pose > Up Pose > Contact Pose
Contact = Both feet on the ground - Toes and Heel can be peeling off the ground
First and last frames should always be the same within a cycle
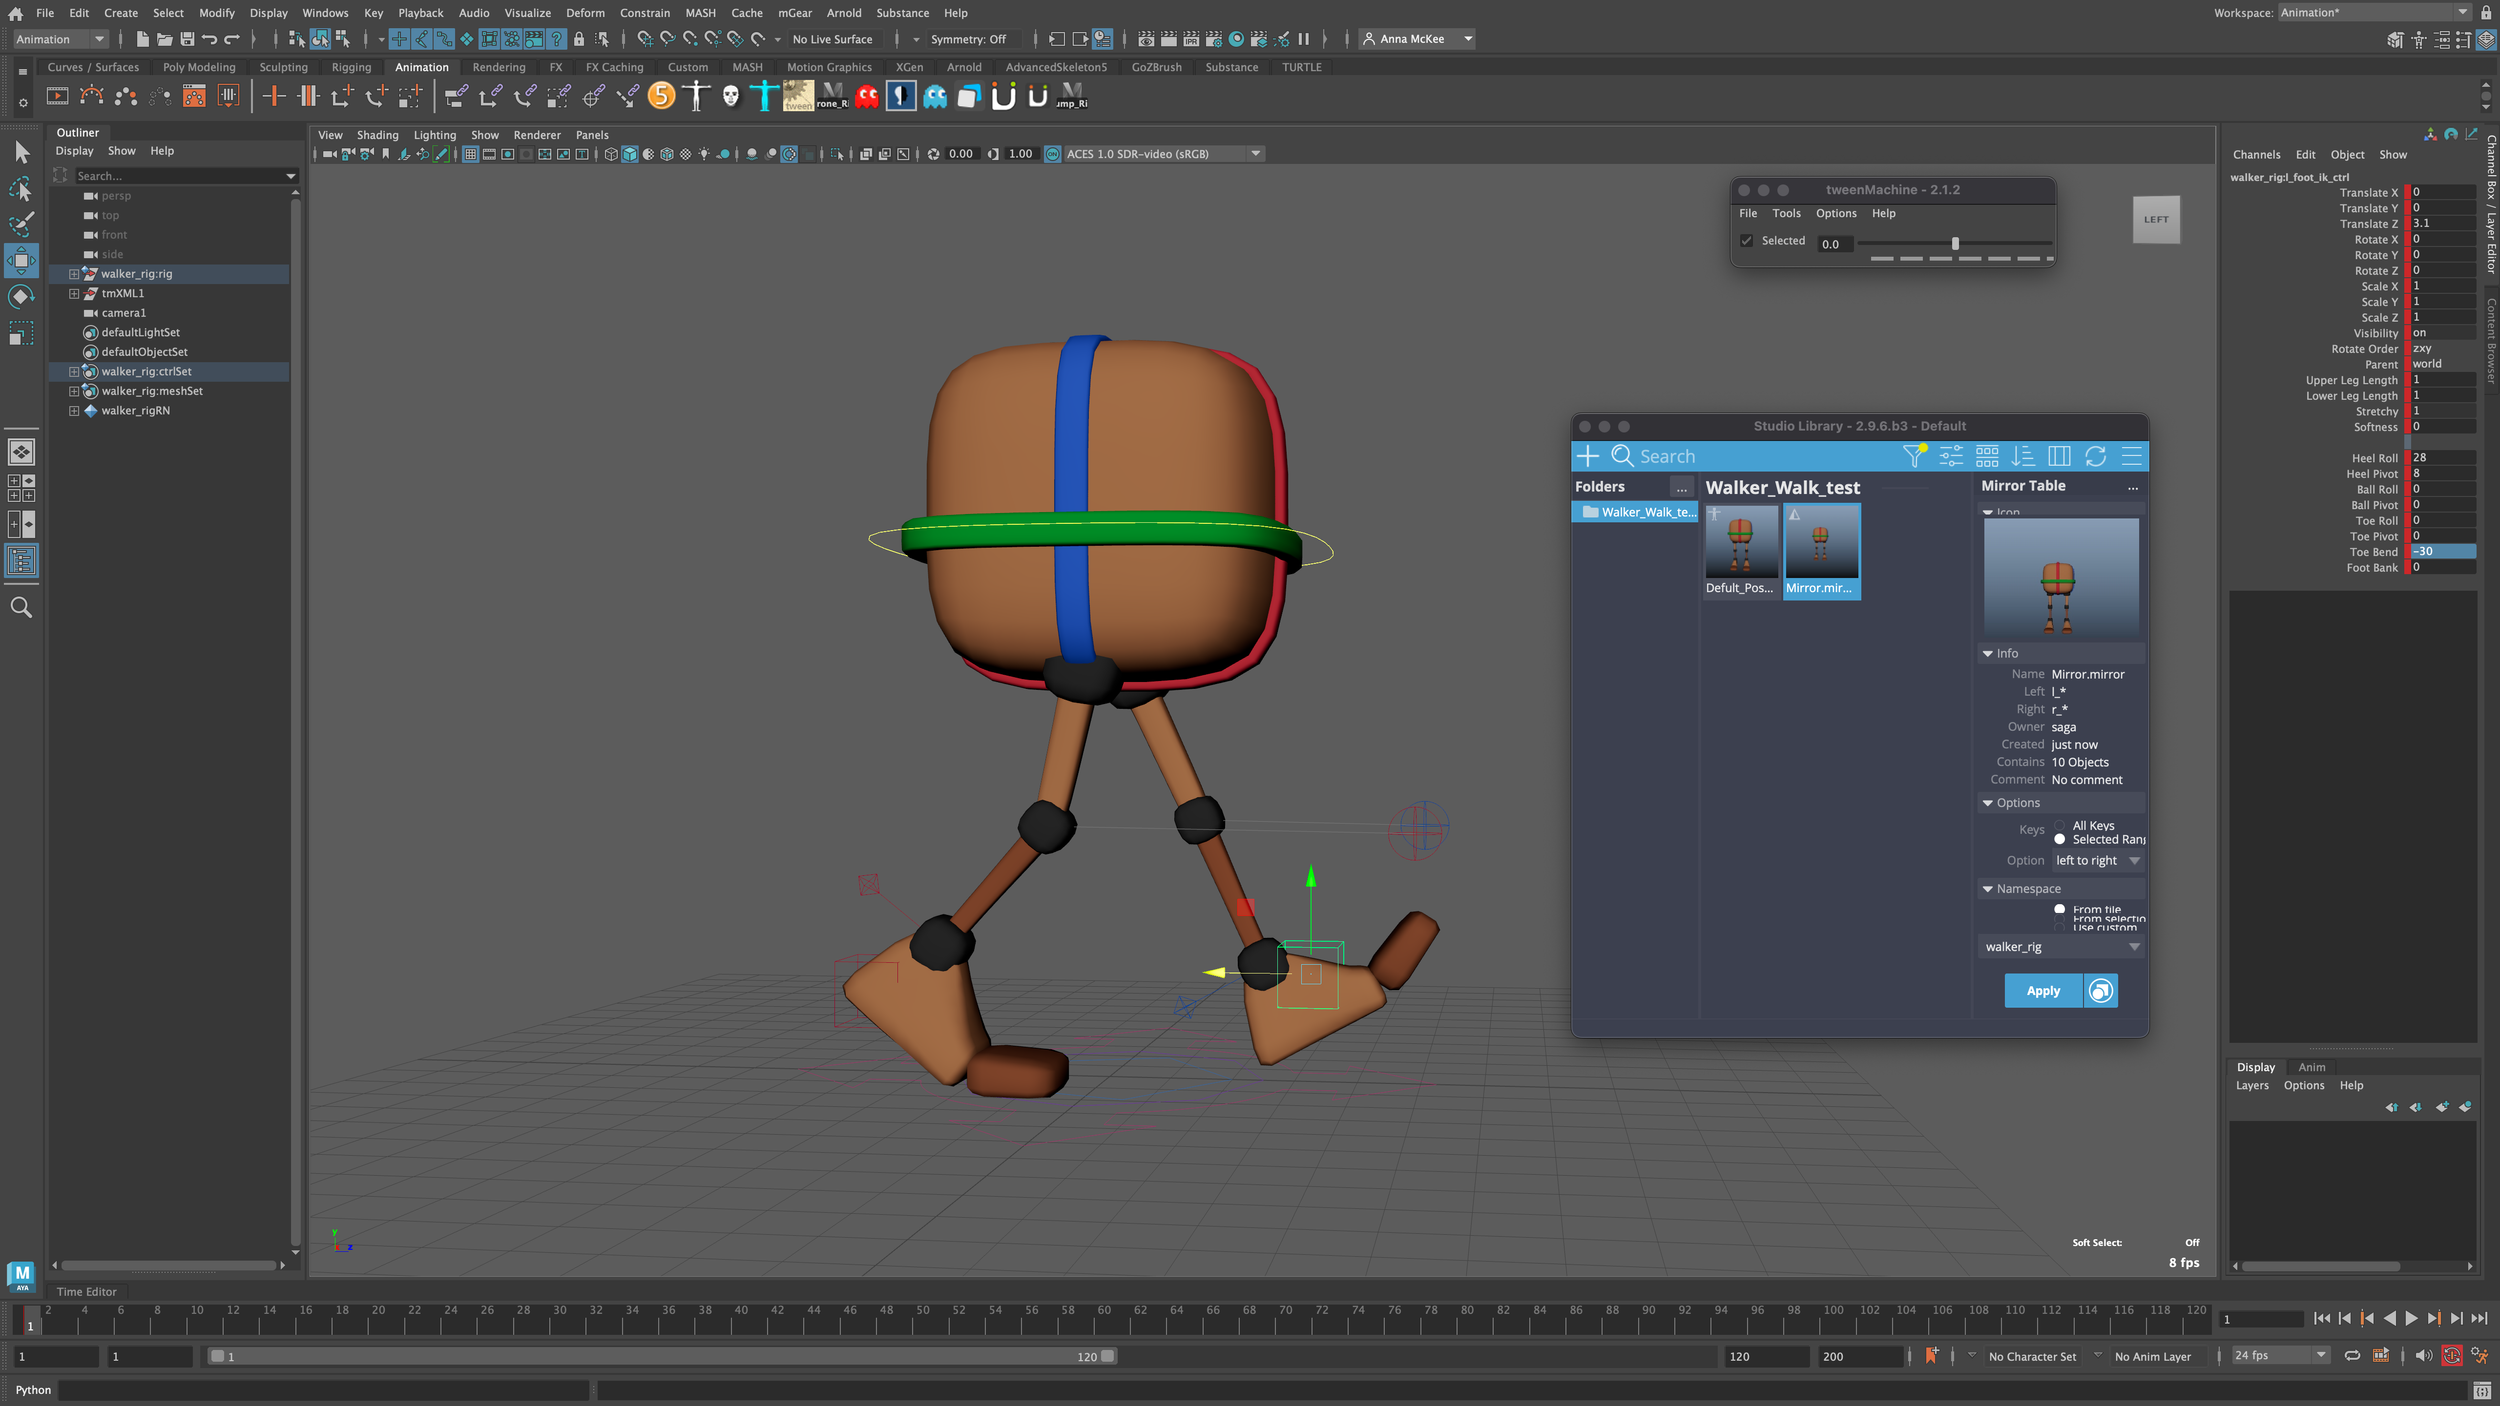
Studio Library: BEFORE ANIMATION
Before animating, make sure to highlight all of your rig controls, and add the default pose to Studio Library.
Select rig > Right-click within Studio Library > New > Pose > Title pose + add image > SAVE
Next add the ‘Mirroring’ pose to Studio Library - (This pose will be the same as your default pose, although with different options selected)
Select Rig > Right-click within Studio Library > New > Mirror Table > Title pose + add image > Set Mirror Plane to YZ > Option ‘Left to right’ > SAVE


Studio Library: DURING ANIMATION
After you have created you Contact Pose, save it to your Studio Library
Highlight rig > Right click within Studio Library > New > Pose > Title Pose + add image > SAVE
IMPORTANT - How to Mirror your pose using Studio Library
After you have created your contact pose > Highlight rig > copy + paste the pose to the middle of your timeline >
Double-click ‘Contact Pose’ within Studio Library > Ensure rig is selected > Press ‘S’ to set key
Select your ‘Mirrored’ pose within Studio Library > Option > Swap > APPLY
Your pose should now be Mirrored, although clean-up will be necessary
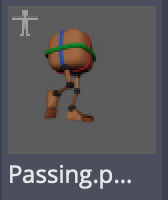
Create your ‘Passing Pose’ (This is the Pose in between your Contact Pose), then create a snapshot of it within Studio Library
Highlight Rig > Studio Library > Right-Click > New > Pose > Title Pose + add image > SAVE
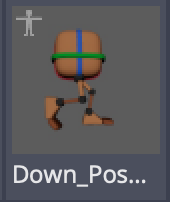
Create your ‘Down Pose’ and save it to Studio Library, then you can mirror it + add it to timeline
Highlight Rig > Studio Library > Right-Click > New > Pose > Title Pose + add image > SAVE
(You can now Mirror this pose and place it on your Timeline)
Go to the key on your timeline that you want to add the mirrored ‘Down Pose’ to
Double-click ‘Down Pose’ within Studio Library > Ensure rig is selected > Press ‘S’ to set key
Select your ‘Mirrored’ pose within Studio Library > Option > Swap > APPLY
Create your ‘Up Pose’ and save it to Studio Library, then you can mirror it + add it to timeline
Highlight Rig > Studio Library > Right-Click > New > Pose > Title Pose + add image > SAVE
Go to an area on your timeline that you want to add the Mirrored ‘Up Pose’ >
With all rig controls highlighted > Double-click on the ‘Up Pose’ from within Studio Library > Set Key > Mirror (within Studio Library) > Apply


Graph Editor - Turning on Infinity to create a continuous walk cycle
Open Graph editor
Highlight Rig > Windows > Animation Editors > Graph Editor
Turn on Infinity
Graph Editor > View > Infinity
Creating an infinite walk cycle
Highlight entire Graph Editor > Curves > Pre-Infinity > Cycle
Highlight entire Graph Editor > Curves > Post-Infinity > Cycle
Tip- Engable Stepped Preview within the timeline, instead of changing the Tangents.
Select Rig > Double-click on timeline > Right-click > Enable stepped preview


Graph Editor Tip -
To reduce extremes, ie rotations:
Select the control you want to smooth within your rig >
Go to Graph editor > go to the Tangents that you want it smooth, ie, “Rotate Z” >
Highlight all keys within Graph Editor >
Type in ‘ *=.75 ‘ into the second purple box at the top middle-left of your Graph Editor
This will smooth your keys slightly, making them less extreme
Creating the walk cycle -


Credit: Screenshots - Anna McKee, Internal tutorial provided by Kingston University
SyncSketch Link - Please feel free to review and leave feedback


Feedback received via Support Session with Constantinos Sophocleous - 02/02/2023
“Fantastic animation, although be aware that there is some ‘popping’ within the left knee joint when the character is putting weight on their left leg. You will need to add more ‘bend’ to the knee to fix this issue”. - Constantinos