Animation Workshop #2
Exploring a range of character rigs and practicing poses
Semester 2
24th February 2023 -
Screenshot: Anna McKee - Anim Workshop #2 - Internal Tutorials - Dynamic Posing
Prepping a rig before animation - Tips
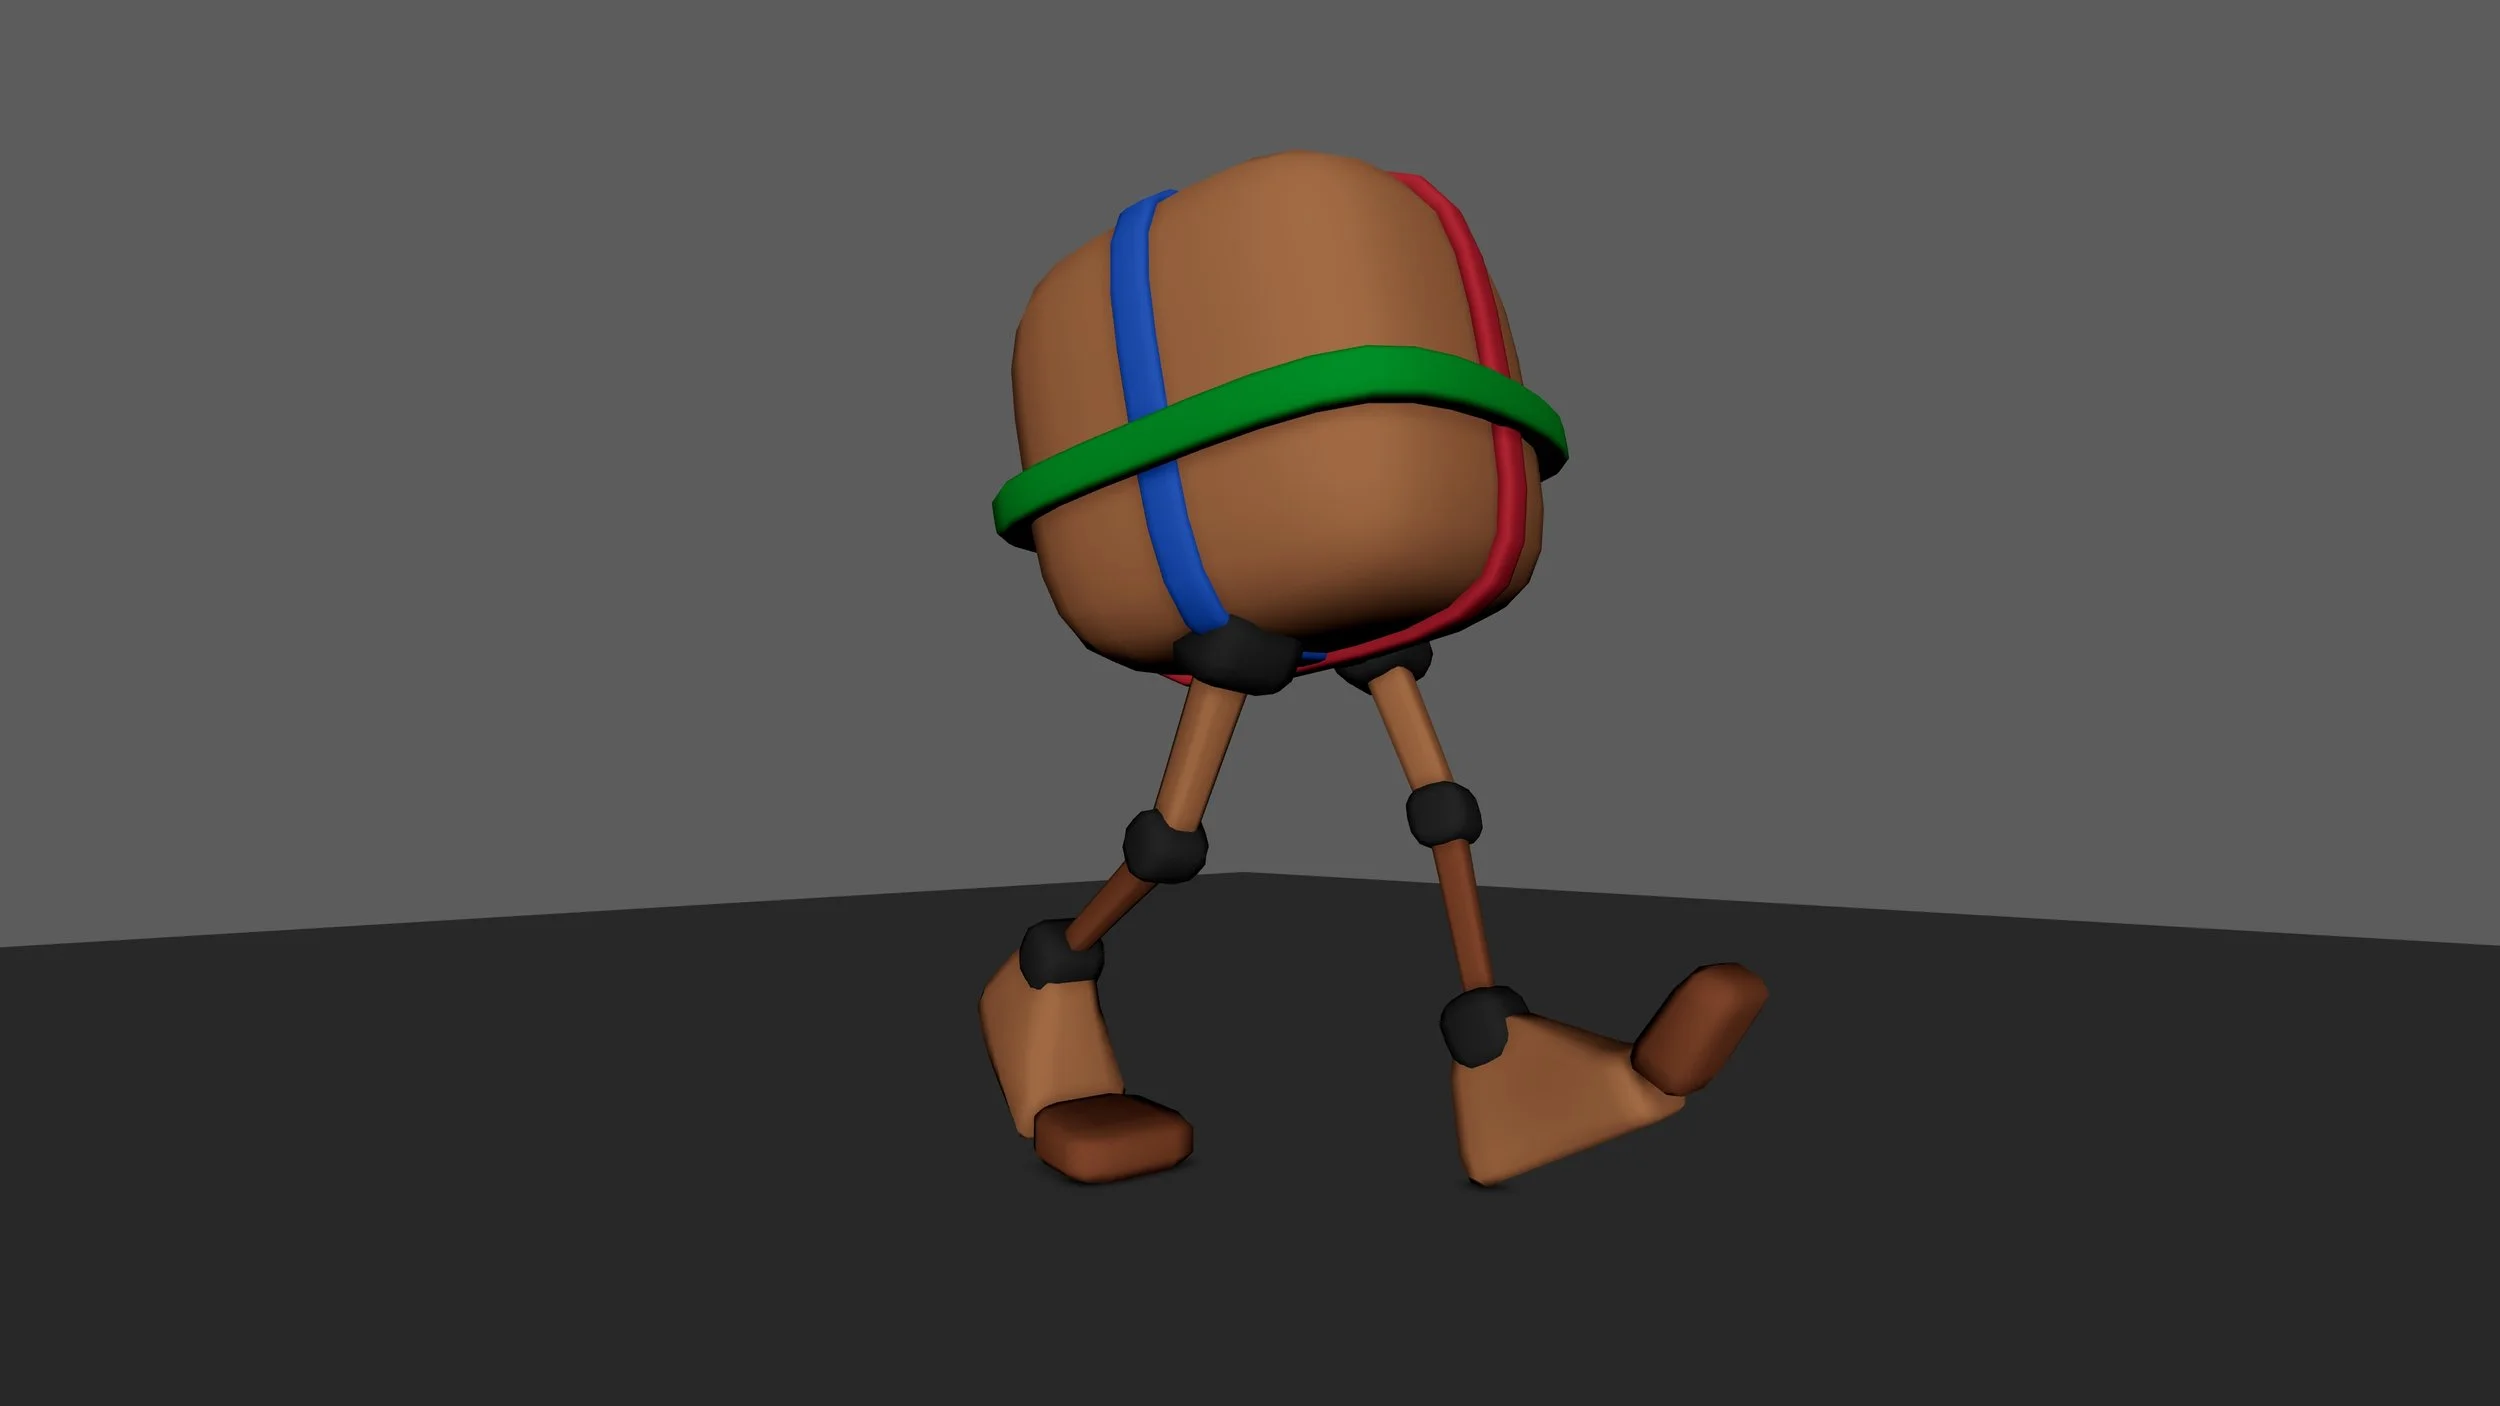
Pole Vectors - To ensure correct deformation of the knee + elbow joints, we can adjust some settings -
Select a Pole Vector within the knee/elbow joints
Got to Channel Box / Layer Editor
Set “Pole World Local” to 1
WARNING - the settings to change the orientation of the Pole Vectors may differ within each rig
Repeat this process for the other Pole Vector
IMPORTANT - This process is not necessary all the time, as Pole vectors can be adjusted manually throughout the animation
IK / FK - If a hand is planted on the floor / wall, it is more efficient for it to be changed to IK
ANIM WORKSHOP #2 - INTERNAL TUTORIALS
Dynamic Posing - “Wall Pose”

Rig by Kiel Figgins. Character Pose + Render Credit: Anna McKee
Tutorial: Completed
Software used: Maya
Personal Difficulty Level: 5/10
25/02/2023 -
The goal of this internal tutorial was to select a reference image of Spiderman and pose a simple character rig whilst utilising the reference.
I decided to challenge myself and use the “Sniper Bat” Rig I had recently downloaded via TurboSquid (created by Kiel Figgins). I selected this rig as I felt that it did not present itself as overly complicated, due to the small amount of moving facial controls and Bipedal structure.
I selected a basic ‘wall pose’ based of the original Spiderman files that we were supplied with. I then set my project, referenced the rig, imported the image plane and then began posing my character with my selected reference. (A wall plane was added to help pose the character’s hands and feet directly to the wall).
Once the pose was complete I then added a Skydome light with an HDRI image, a floor plane and a range of colourful lights within the ears, eyes and jetpack.
The character was then rendered both within Maya’s viewport and Arnold.
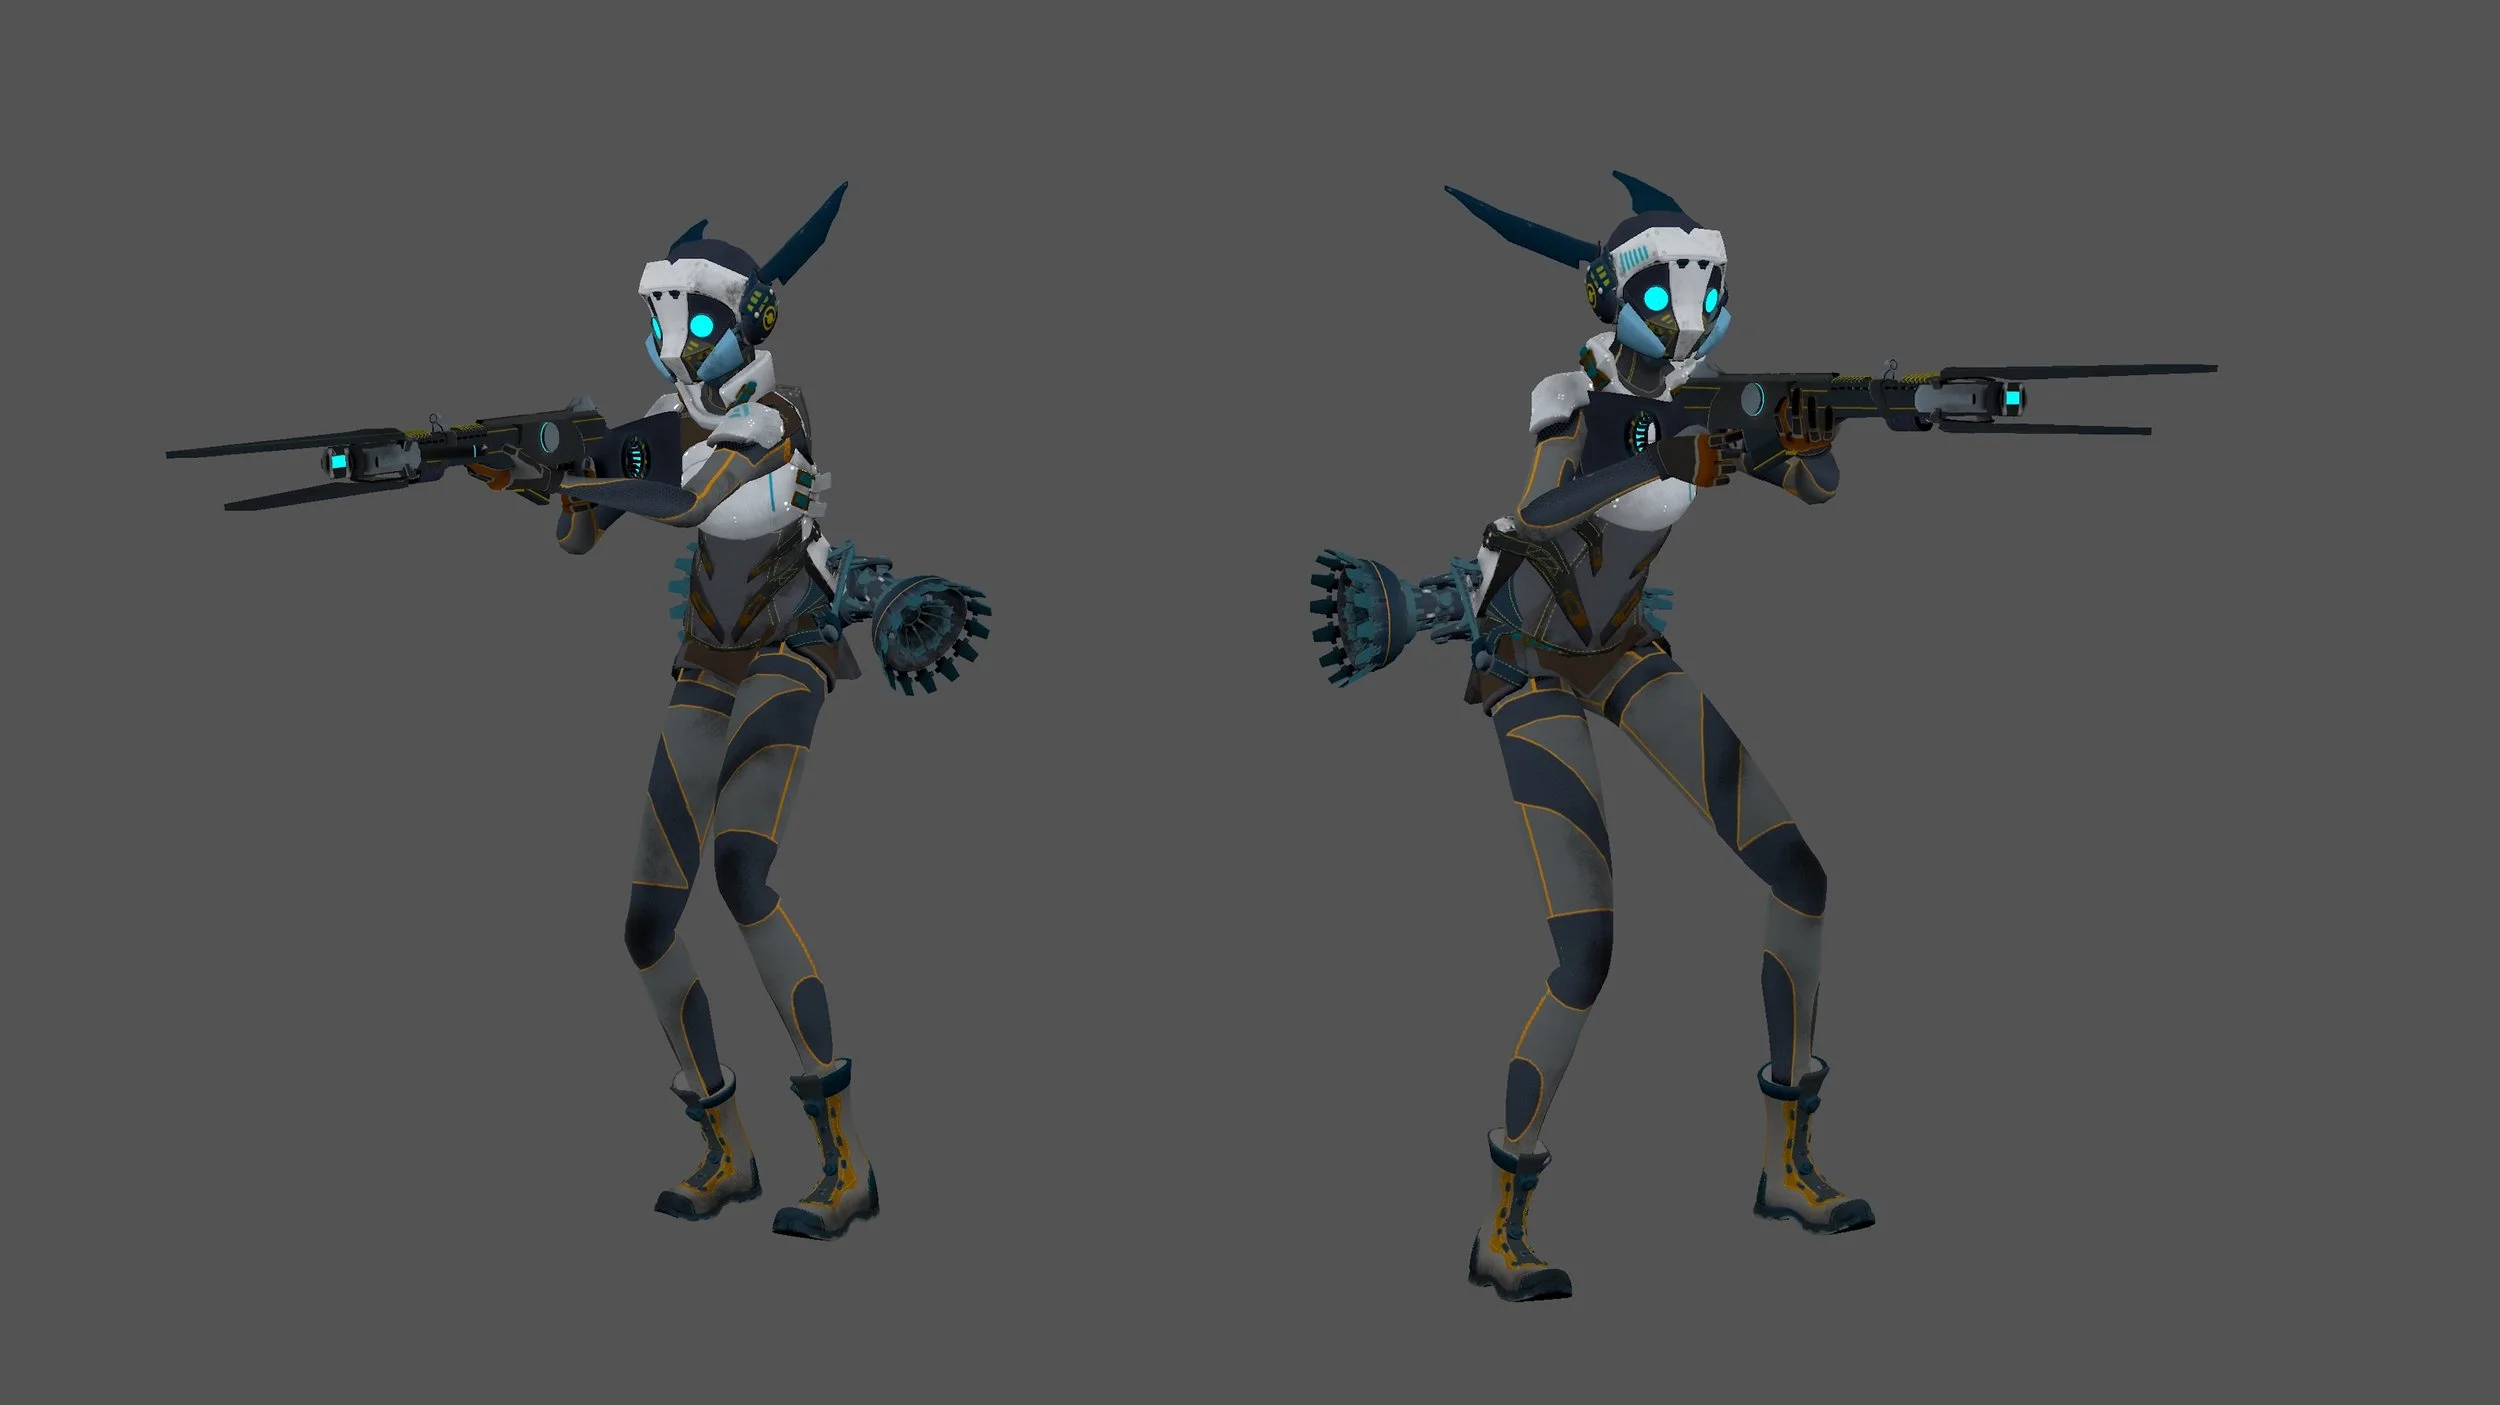
Sniper Bat - Pose Process


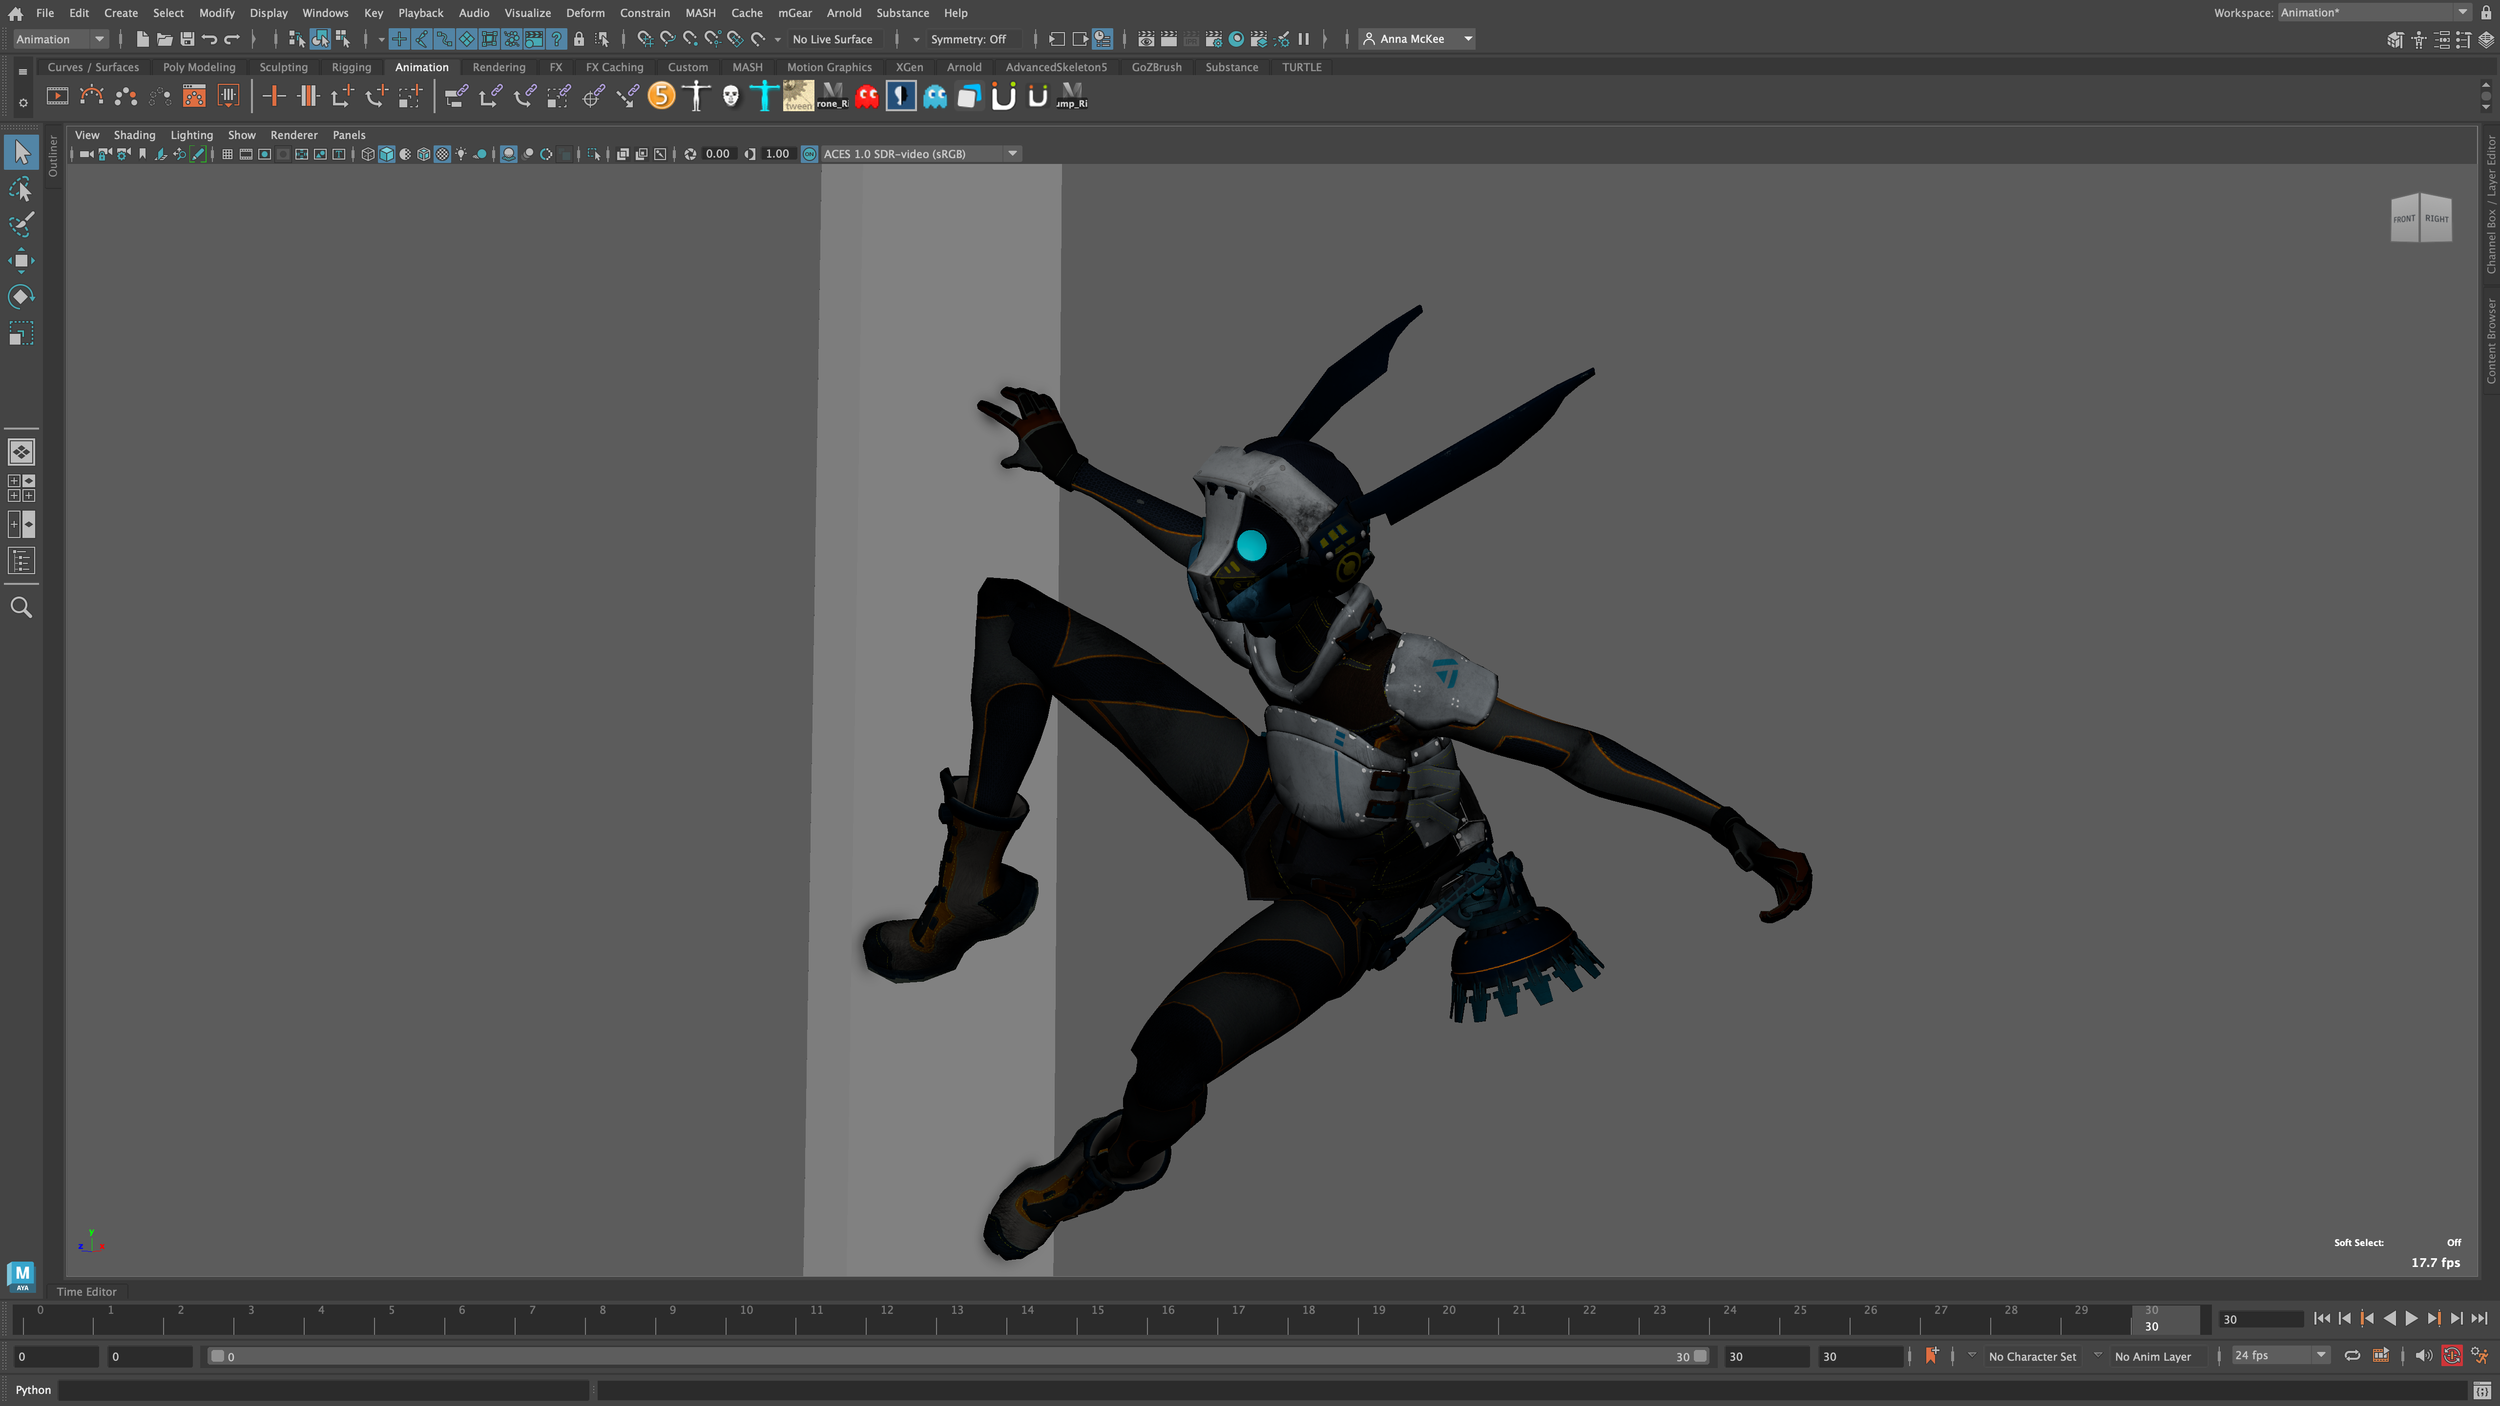


Credit: Screenshots by Anna McKee, Rig by Kiel Figgins, Model by Cameron Craig, Concept by Josh Atack
Arnold Render - “Wall Pose”

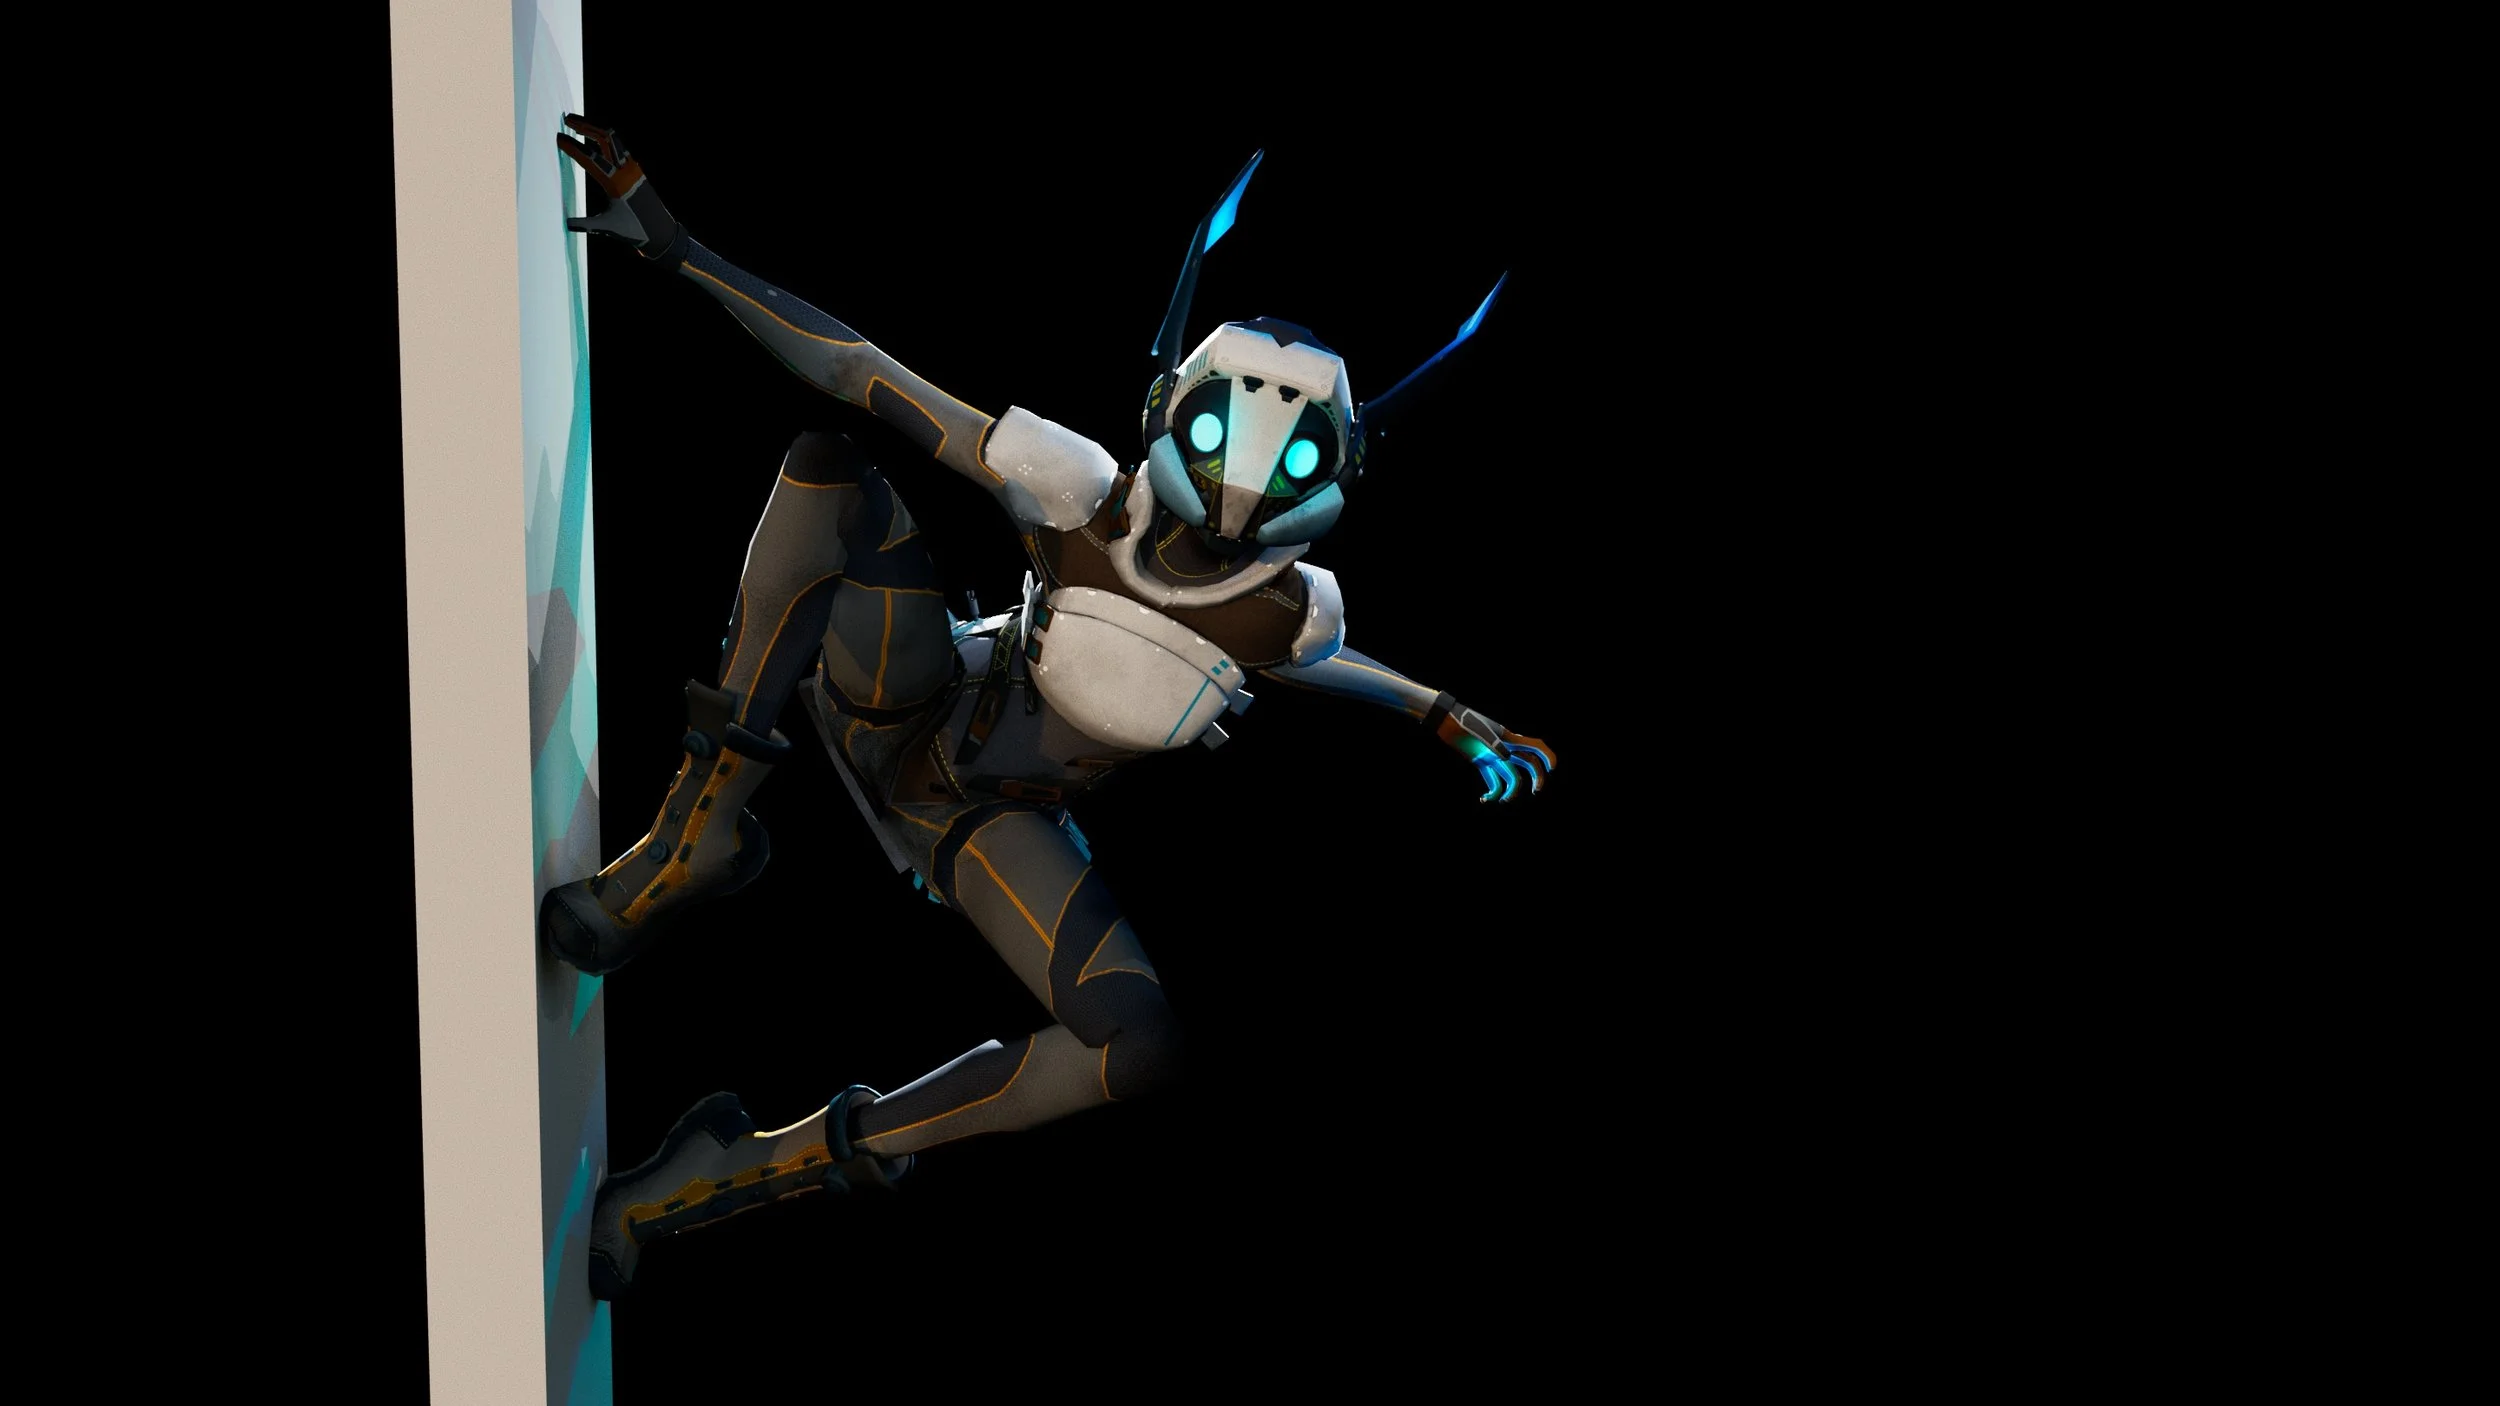
Viewport Render - “Wall Pose”


Credit: Screenshots/renders by Anna McKee, Rig by Kiel Figgins, Model by Cameron Craig, Concept by Josh Atack
Conclusion:
After looking back at my final character’s pose, I feel that many improvements can now be made, especially within the rotation of the shoulders + torso. This is because I have now realized that there needs to be a stronger sense of a ‘shift in balance’ between the right hand, all the way down to the lower left hip, (due to the majority of the weight of the character depending on the right hand).
I feel that I could have accentuated this more if the right clavicle was pushed up more (showing more strain in the muscles of the shoulder as well).
I also had issues with the ball of the right foot, as it was difficult to place the front of the foot on the wall, as this caused the ankle to twist unnaturally.
Overall I felt that this “Wall Pose” exercise was an interesting and insightful challenge to complete. Although ‘posing’ a character is more simple than animation, the process of doing so is still extremely relevant towards the progression of a multi-framed animation.