Animation Workshop #1
An introduction into the Principles of 3D Animation
Semester 2
23rd January 2023 -
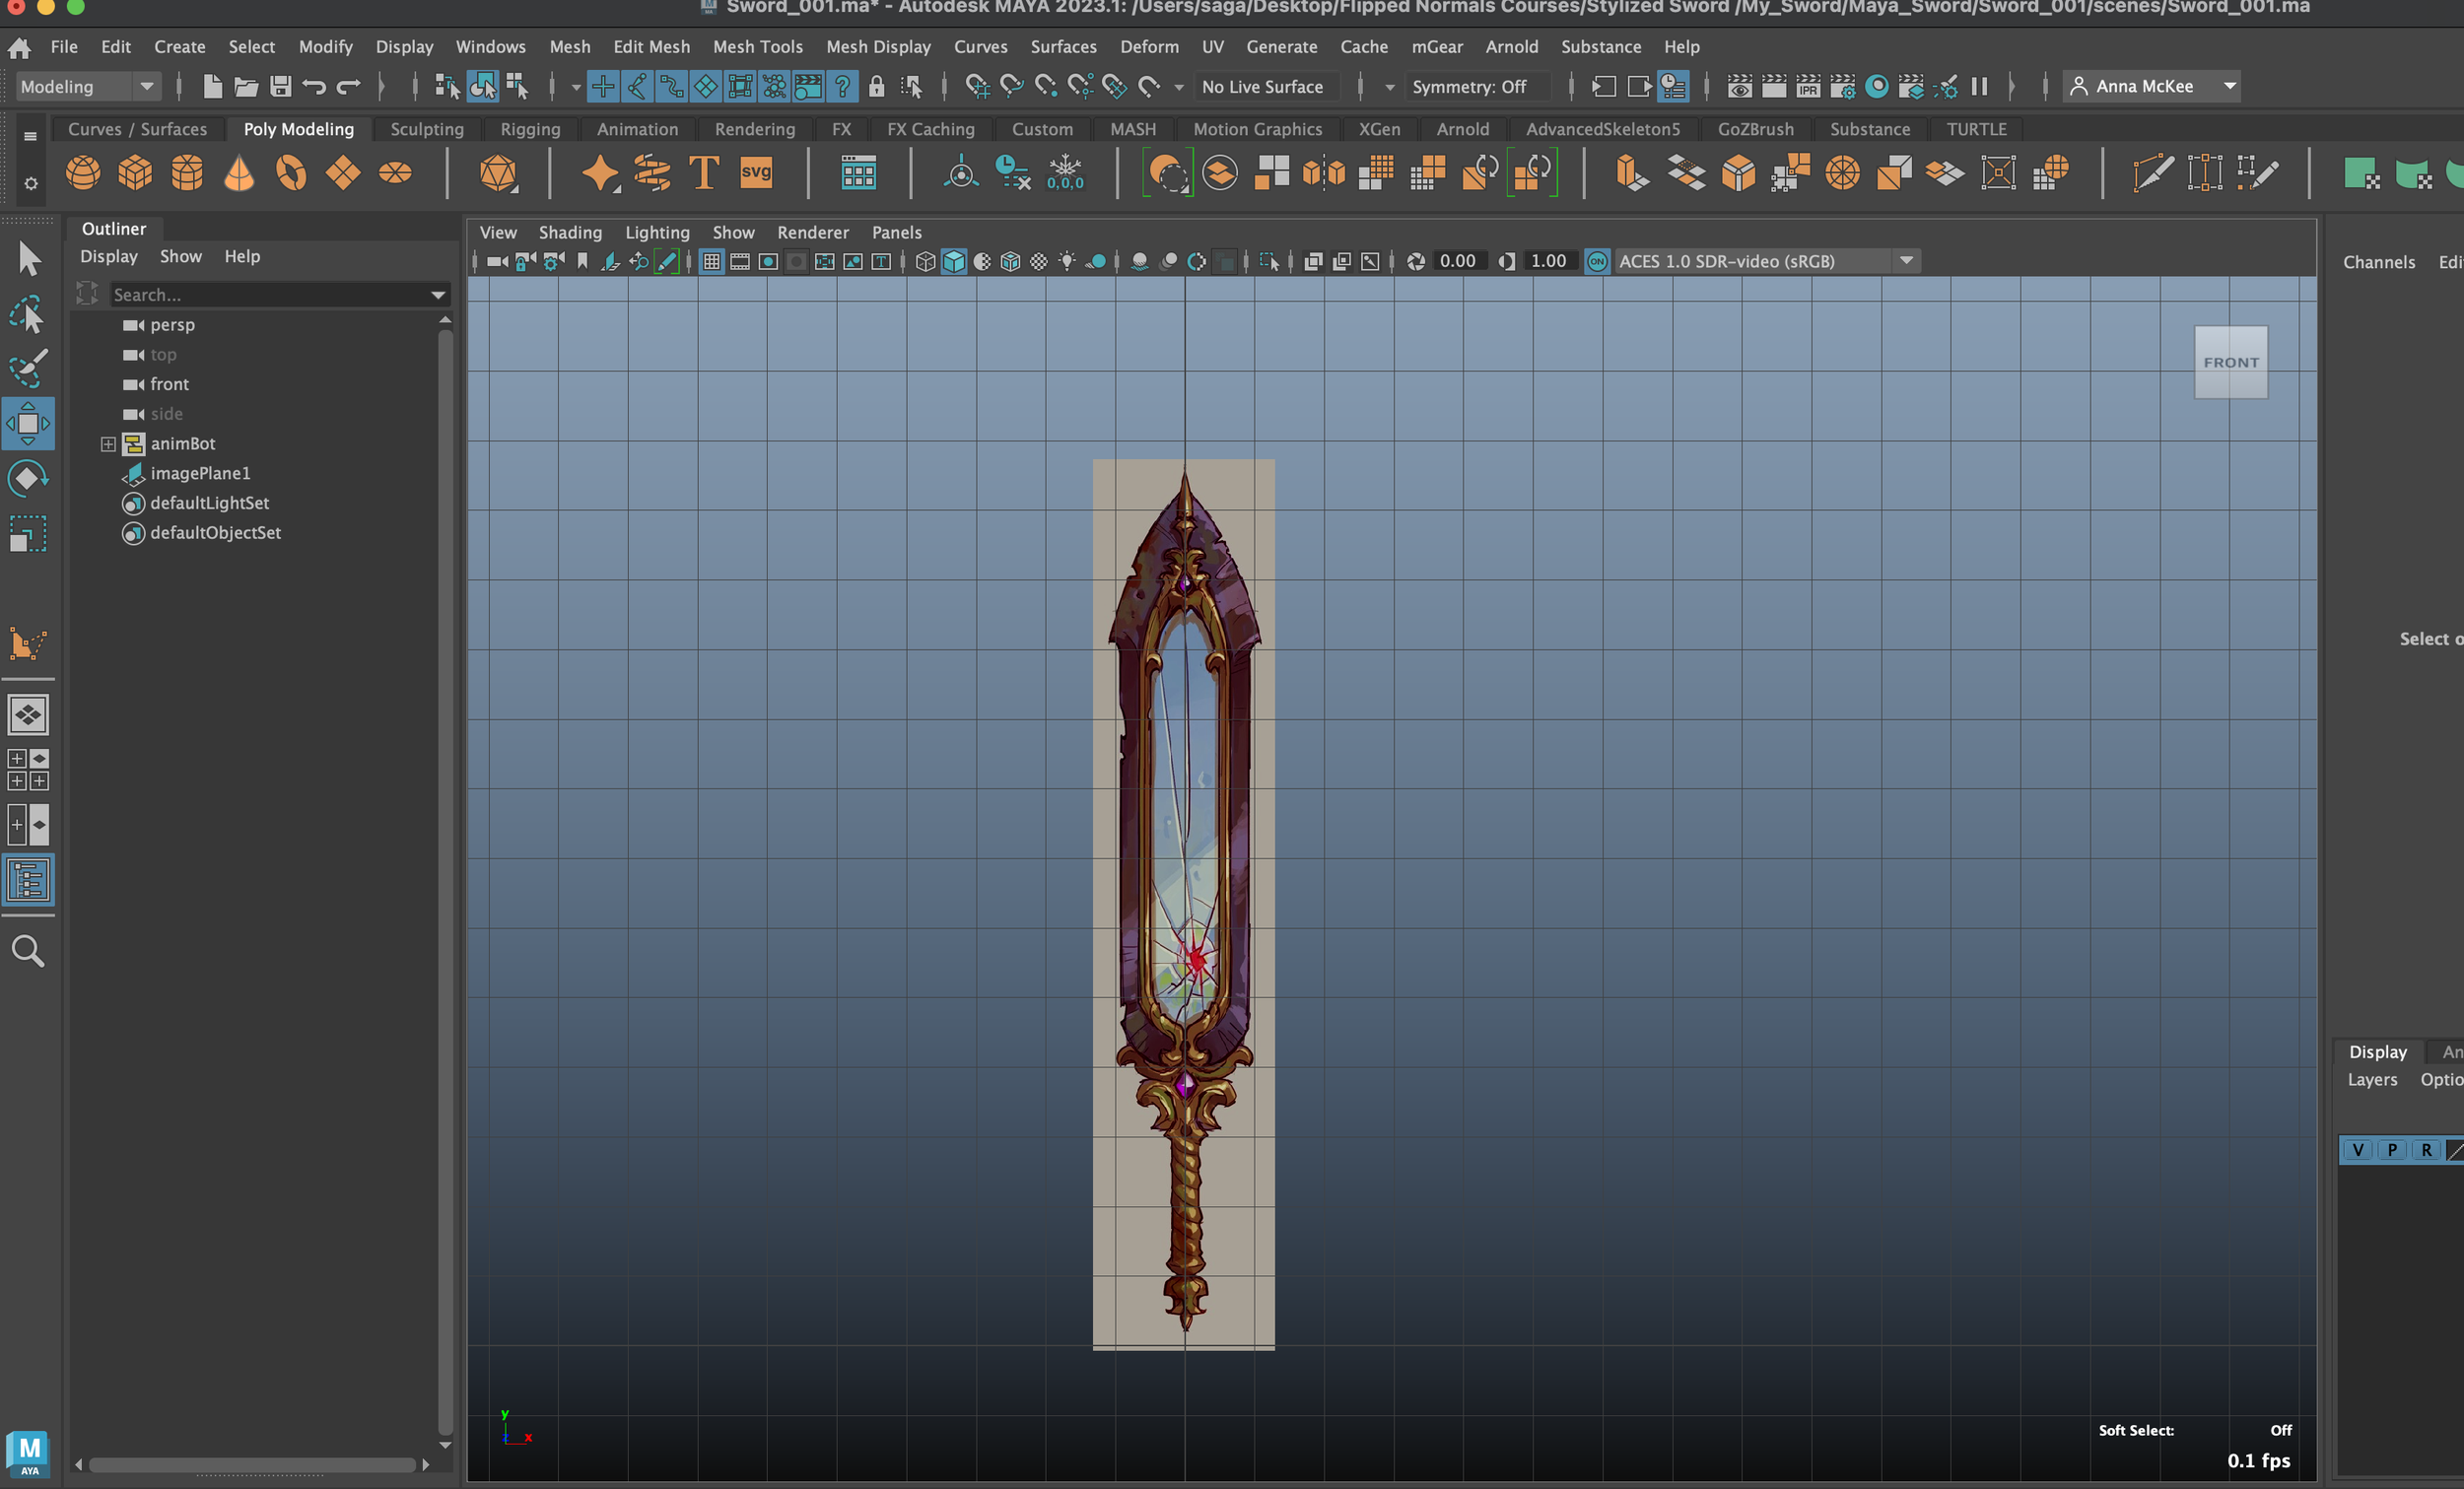
Screenshot: Anna McKee - Anim Workshop #1 - Internal Tutorials - Capoeira Jump
Testing a Rig - Tips
Why test a rig before animating: To ensure it is working correctly before beginning the animation progress. This can also save precious time in the long run.
How to check if a rig is working correctly -
The mesh will stretch ‘Volumetrically’
This can be checked by ‘stretching’ a limb within the rig, which should allow the mesh to stretch and gradually become thinner at its’ furthest point
Check that the rig has enough controllers for the type of animation / complexity that you want to create
Ensure that the legs and arms have an IK mode, as this allows for more ease of animation
Go through each of the controllers and check that they move, stretch, rotate in the direction that is needed
Test the rig with some simple poses before animating
General tips for rigs -
FK controls provide more control, but it can be slower to animate with
IK controls are less complicated, are great for walk cycles, but can be difficult to animate details with
An IK controller will help keep the feet planted to the floor
You can usually change the orientation of joints within the rig from ‘world’ to ‘local’, this will affect the direction of transform and rotation
Remember to highlight all of the rig control and set a key in the beginning
Set Squash + stretch within the rig to 1, not 0
This will allow the rig to stretch volumetrically
IMPORTANT -
Do not stagger keys, as this will create a messy timeline and make it difficult to edit what you have previously animated
Make sure to highlight all controls on your rig when setting a key
Setting up the scene for animation - Steps
Credit: Screenshot by Anna McKee
Steps needed to take when ‘setting up’ an animation within Maya:
Set Project
File > Set project > paste ‘file path’ into Directory
Reference Rig
File > Create reference > select your chosen rig > reference
Select entire Rig
Left-click drag over rig > this will highlight the rig
Set Keyframe
Press “S”
Add camera
Create > Cameras > Camera
Split the screen into two panels
Right-click panel - “Two Panes side by side”
Panels (select the panel on the left side) > Perspective > Camera 1
This will be your ‘Shot Camera’
Activate resolution Gate in left panel. This will show the aspect ratio
Frame your animated shot in your left panel, do this by ‘locking the camera’
Select the camera icon with the lock on it
Tip: Zoom in and out by holding ‘|\‘ keys and right click
Set right panel as a perspective view
Panels > Perspective > Persp
Turn off Polycount
Display > Heads Up Display > Poly Count (Turn off)
Turn on textures in viewport
Click on the checkerboard pattern
Set all of your controls on the same key in the beginning
Highlight all rig controls > Press ‘s’
Place your reference video / photos in another monitor
You are now ready to animate!
Tips for Animating -
ALWAYS use a reference - Image or video
Feel free to bend the rig/body in ‘unnatural’ ways when posing a character, as this can help to create a more dynamic pose
“Studio Library” Plugin can be very useful when mirroring poses, lip-syncing and walk cycles (It has a blue and white square logo)
Playblast information + IMPROVEMENTS -
How to create a Playblast Animation -
A Playblast is a feature that will allow you to preview your animations in ‘real-time’, without the long render times
BEFORE CREATING PLAYBLAST > Show > untick ‘lights’
ALSO - Turn off the ‘bounding box’
Set Maya workspace to Animation
Playback > Playback > Click on small options box
Playback Options box will now open > Select ‘Start/End’ > type in your desired start and end frame (or keep it on ‘time slider’)
Keep ‘View’ on
Turn off ‘Show ornaments’, if you want to hide camera information
Turn off ‘Render offscreen’
Turn off ‘Multi Camera output’ if needed
Set format to ‘qt’ (Quicktime)
Set encoding to ‘H.264’
Quality 100
Scale 1.00
Display size, set to ‘Render Settings’ > Make sure your render settings are set to ‘HD_1080’ , this is found in the icon with the gear on it
Select ‘Save to File’ > name the file. This will save your Playblast to your ‘movies’ within your set project. Or you can chose to save it somewhere else, desktop eg.
Finished > click ‘Apply’
Screenshot credit: Anna Mckee
How to improve your Playblast - Part 1
This will improve the lighting within the Playblast
Windows > Settings / Preferences > Preferences
Colour Management > Colour Transform Preferences > Set Rendering Space to ‘ACES2065-1’
(For windows), set “View Transform” to ‘ACES RRT v1.0’
Save
How to improve your Playblast - Part 2
When using a Skydome Light
Select ‘ai Skydome Light’ > Attribute Editor > Visibility > Set Camera visibility to 0.000
How to improve your Playblast - Part 3
Activate Multisample Anti-Aliasing + Screen Space Ambient Occlusion
Turn on “Screen Space Ambient Occlusion” > Select the White ball icon on top of the blue Plane, found just above your viewport
Adjust AO settings for Playblast - Render > Viewport 2.0 > ‘Screen-space Ambient Occlusion’ > Increase samples from 8-32
You can also adjust the ‘Amount, Radius and Filter’ settings for your desired Playblast result
How to improve your Playblast - Part 4
Enable shadows + smooth them for Playblast
Select the Blue sphere icon, “Shadows”, with the shadow underneath it to enable shadows
Select your lighting > Attribute editor > Depth Map Shadow Attributes > Select ‘Use Depth Map Shadows’
Resolution > Increase to full: 8192
Filter Size > Increase to full: 6
Shadows > Shadow colour > Lighten the shadow colour
Anim Workshop #1 - INTERNAL TUTORIALS
Ultimate Ball Rig
Click below to play video
Credit: Video by Anna McKee, Internal Tutorial created by Kingston University
Tutorial: Completed
Software used: Maya, Tween Machine
Personal Difficulty Level: 6/10
09/02/2023 -
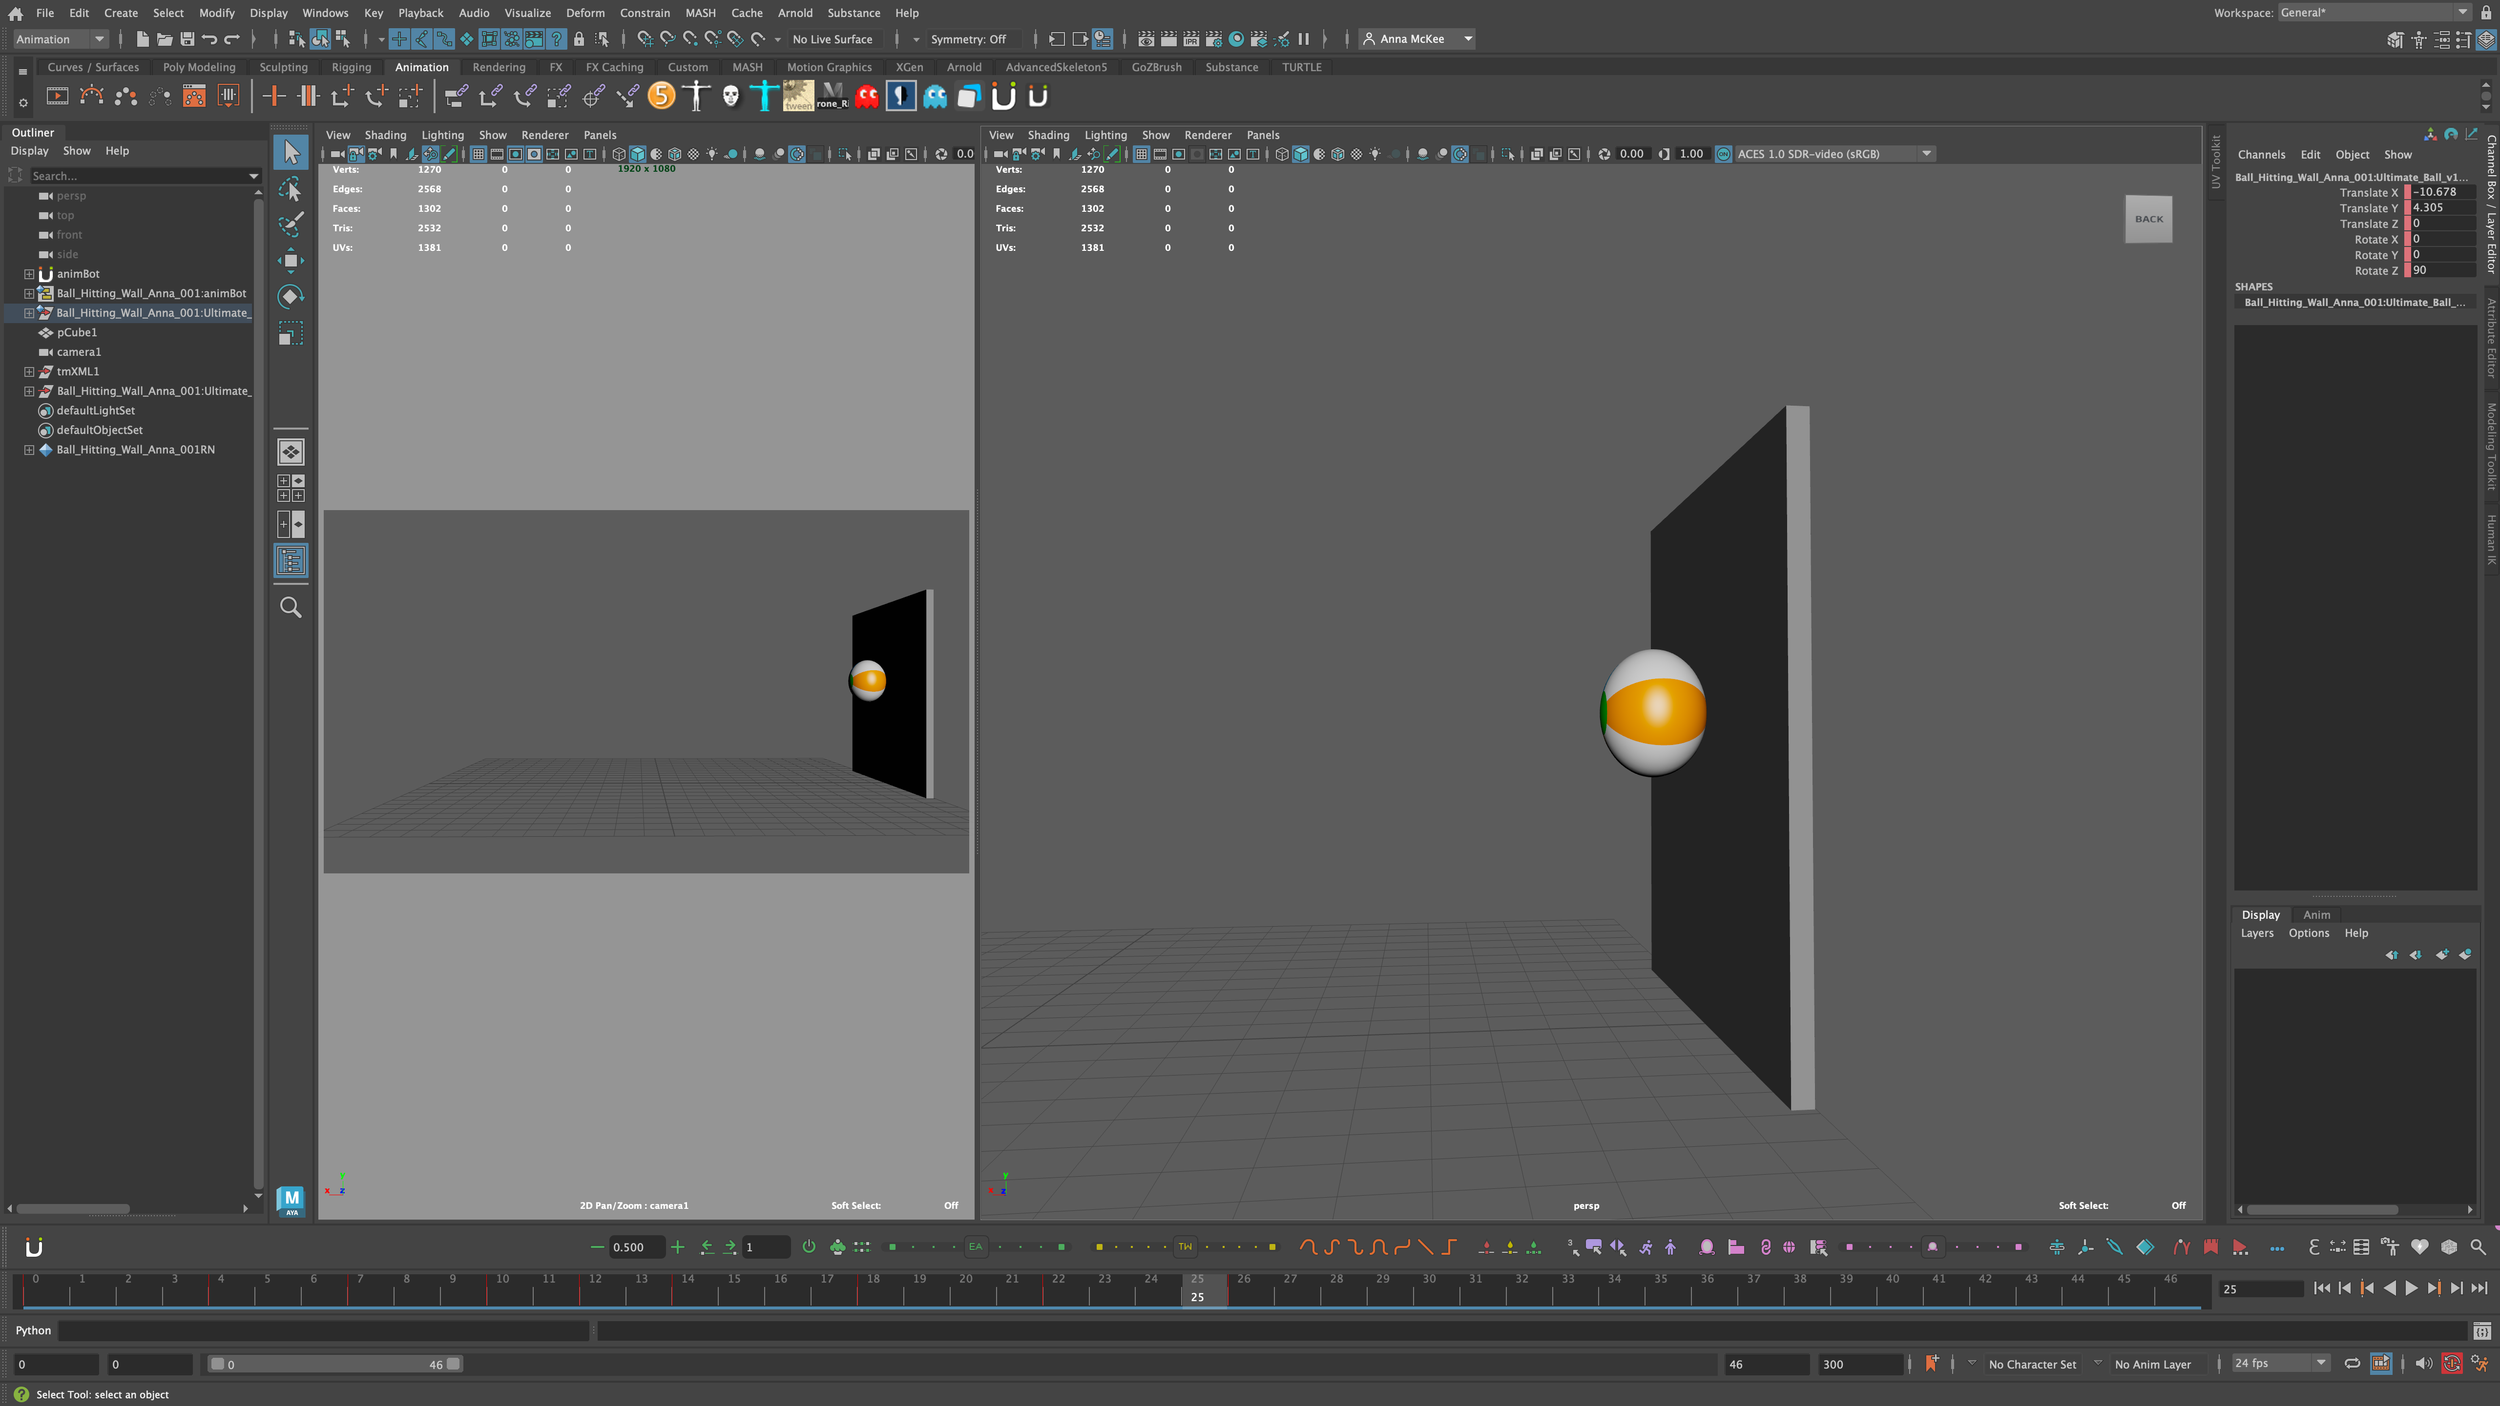
This internal tutorial presented itself as a key lesson in regards to utilising a simple ball to explore the 12 Principles of Animation.
Tween machine was used to create / adjust the Breakdowns of this animation, helping to ‘ease-in’ and ‘ease-out’ the key frames.
I personally feel that I would have liked to explore this animation further by adding an ‘opposing reaction’ after the ball hits the wall. This could be presented in the format of the ball falling away from the wall, then bouncing away on a ground plane.
Credit: Anna McKee
SyncSketch Link - Please feel free to review and leave feedback
GIF of the “Ultimate Ball Rig” in ‘Beach Ball’ mode, hitting a solid wall
— Animated in Maya
Anim Workshop #1 - INTERNAL TUTORIALS
Ultimate Pendulum Rig - Part 1
Click below to play video
Video Link - 3D Animation made in Maya using the "Ultimate Pendulum Rig".
I created this simple animation whilst following an internal tutorial provided by Kingston University.
The goal of this exercise was to explore the use of 'Overlap' and 'Follow Through', as key elements of the 12 Principles of Animation.
Credit: Video by Anna McKee, Internal Tutorial created by Kingston University
Tutorial: Completed
Software used: Maya, Tween Machine
Personal Difficulty Level: 6/10
11/02/2023 -
The goal of this internal tutorial was to create a simple animation of a Pendulum, that would also explore the visual appeal of ‘Follow-Through’ and ‘Overlap’ (which are both part of the 12 Principles of Animation).
Overall I did find this tutorial to be slightly more challenging than the previous one. I feel that this is due to the challenge of integrating more of the ‘12 Principles of Animation’, especially within the rotating action of the Pendulum. I still do feel that something is ‘off’ within this animation, particularly within the ‘settlening / end stages’ of the Pendulum swing. This issue could be fixed with further studying regarding the basics of follow through and overlap, specifically within a similar rig.
I feel that with further practice and understanding of this topic, the concept will be easier to grasp and I hope to successfully implement the act of Follow through and overlap into my own animations one day.
Credit: Anna McKee
SyncSketch Link - Please feel free to review and leave feedback
GIF of the “Ultimate Pendulum Rig ”, a simple transition
— Animated in Maya
Anim Workshop #1 - INTERNAL TUTORIALS
Ultimate Pendulum Rig - Part 2
Click below to play video
Video Link - 3D Animation made in Maya using the "Ultimate Pendulum Rig".
I created this simple animation whilst following an internal tutorial provided by Kingston University.
The goal of this exercise was to explore the use of 'Overlap' and 'Follow Through', as key elements of the 12 Principles of Animation.
Credit: Video by Anna McKee, Internal Tutorial created by Kingston University
Tutorial: Completed
Software used: Maya, Tween Machine
Personal Difficulty Level: 7/10
12/02/2023 -
Similar to the previous tutorial this animation utilised the same rig, “Ultimate Pendulum Rig”, although the goal of this internal tutorial was to study the principles of Follow-Through’ and ‘Overlap’ to a more in-depth and complex level.
Overall, this was a slightly more challenging animation to create, due to the sudden change of directions (including the stop and start motions).
Creating this animation helped to push my skills and further develop my own understanding of the 12 Principles of Animation.
Credit: Anna McKee
SyncSketch Link - Please feel free to review and leave feedback
GIF of the “Ultimate Pendulum Rig ”, a complex transition
— Animated in Maya
Anim Workshop #1 - INTERNAL TUTORIALS
Capoeira Jump
Click below to play video
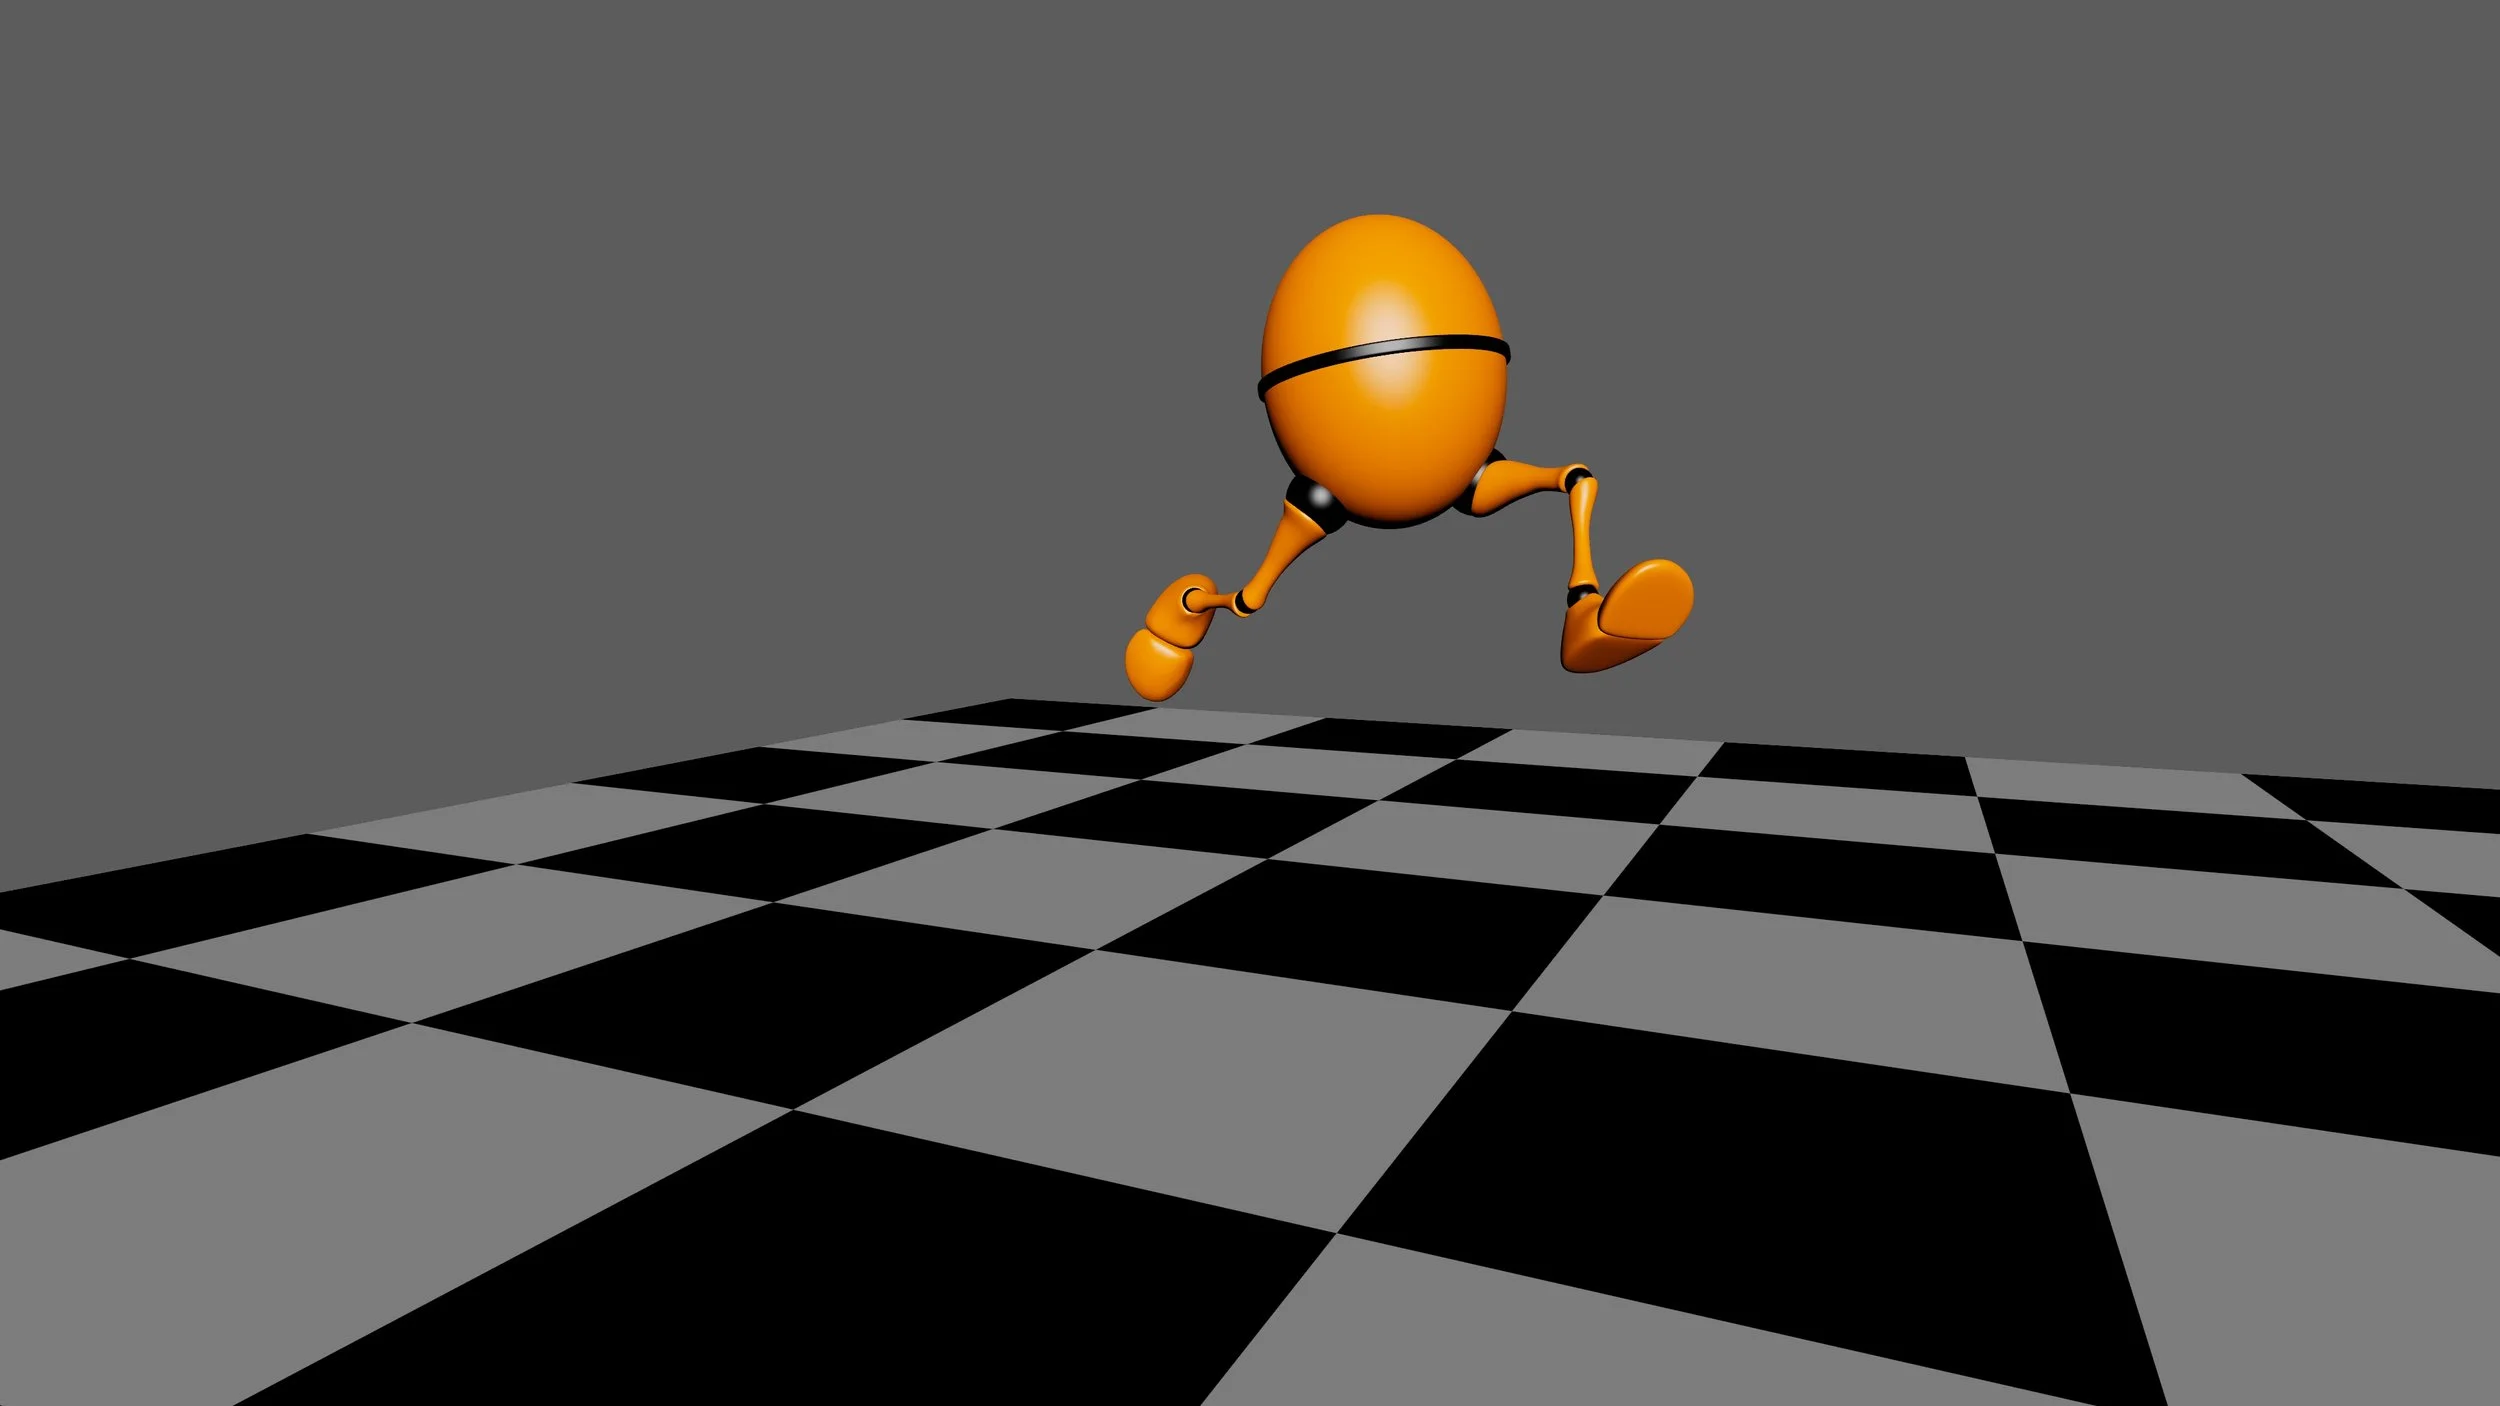
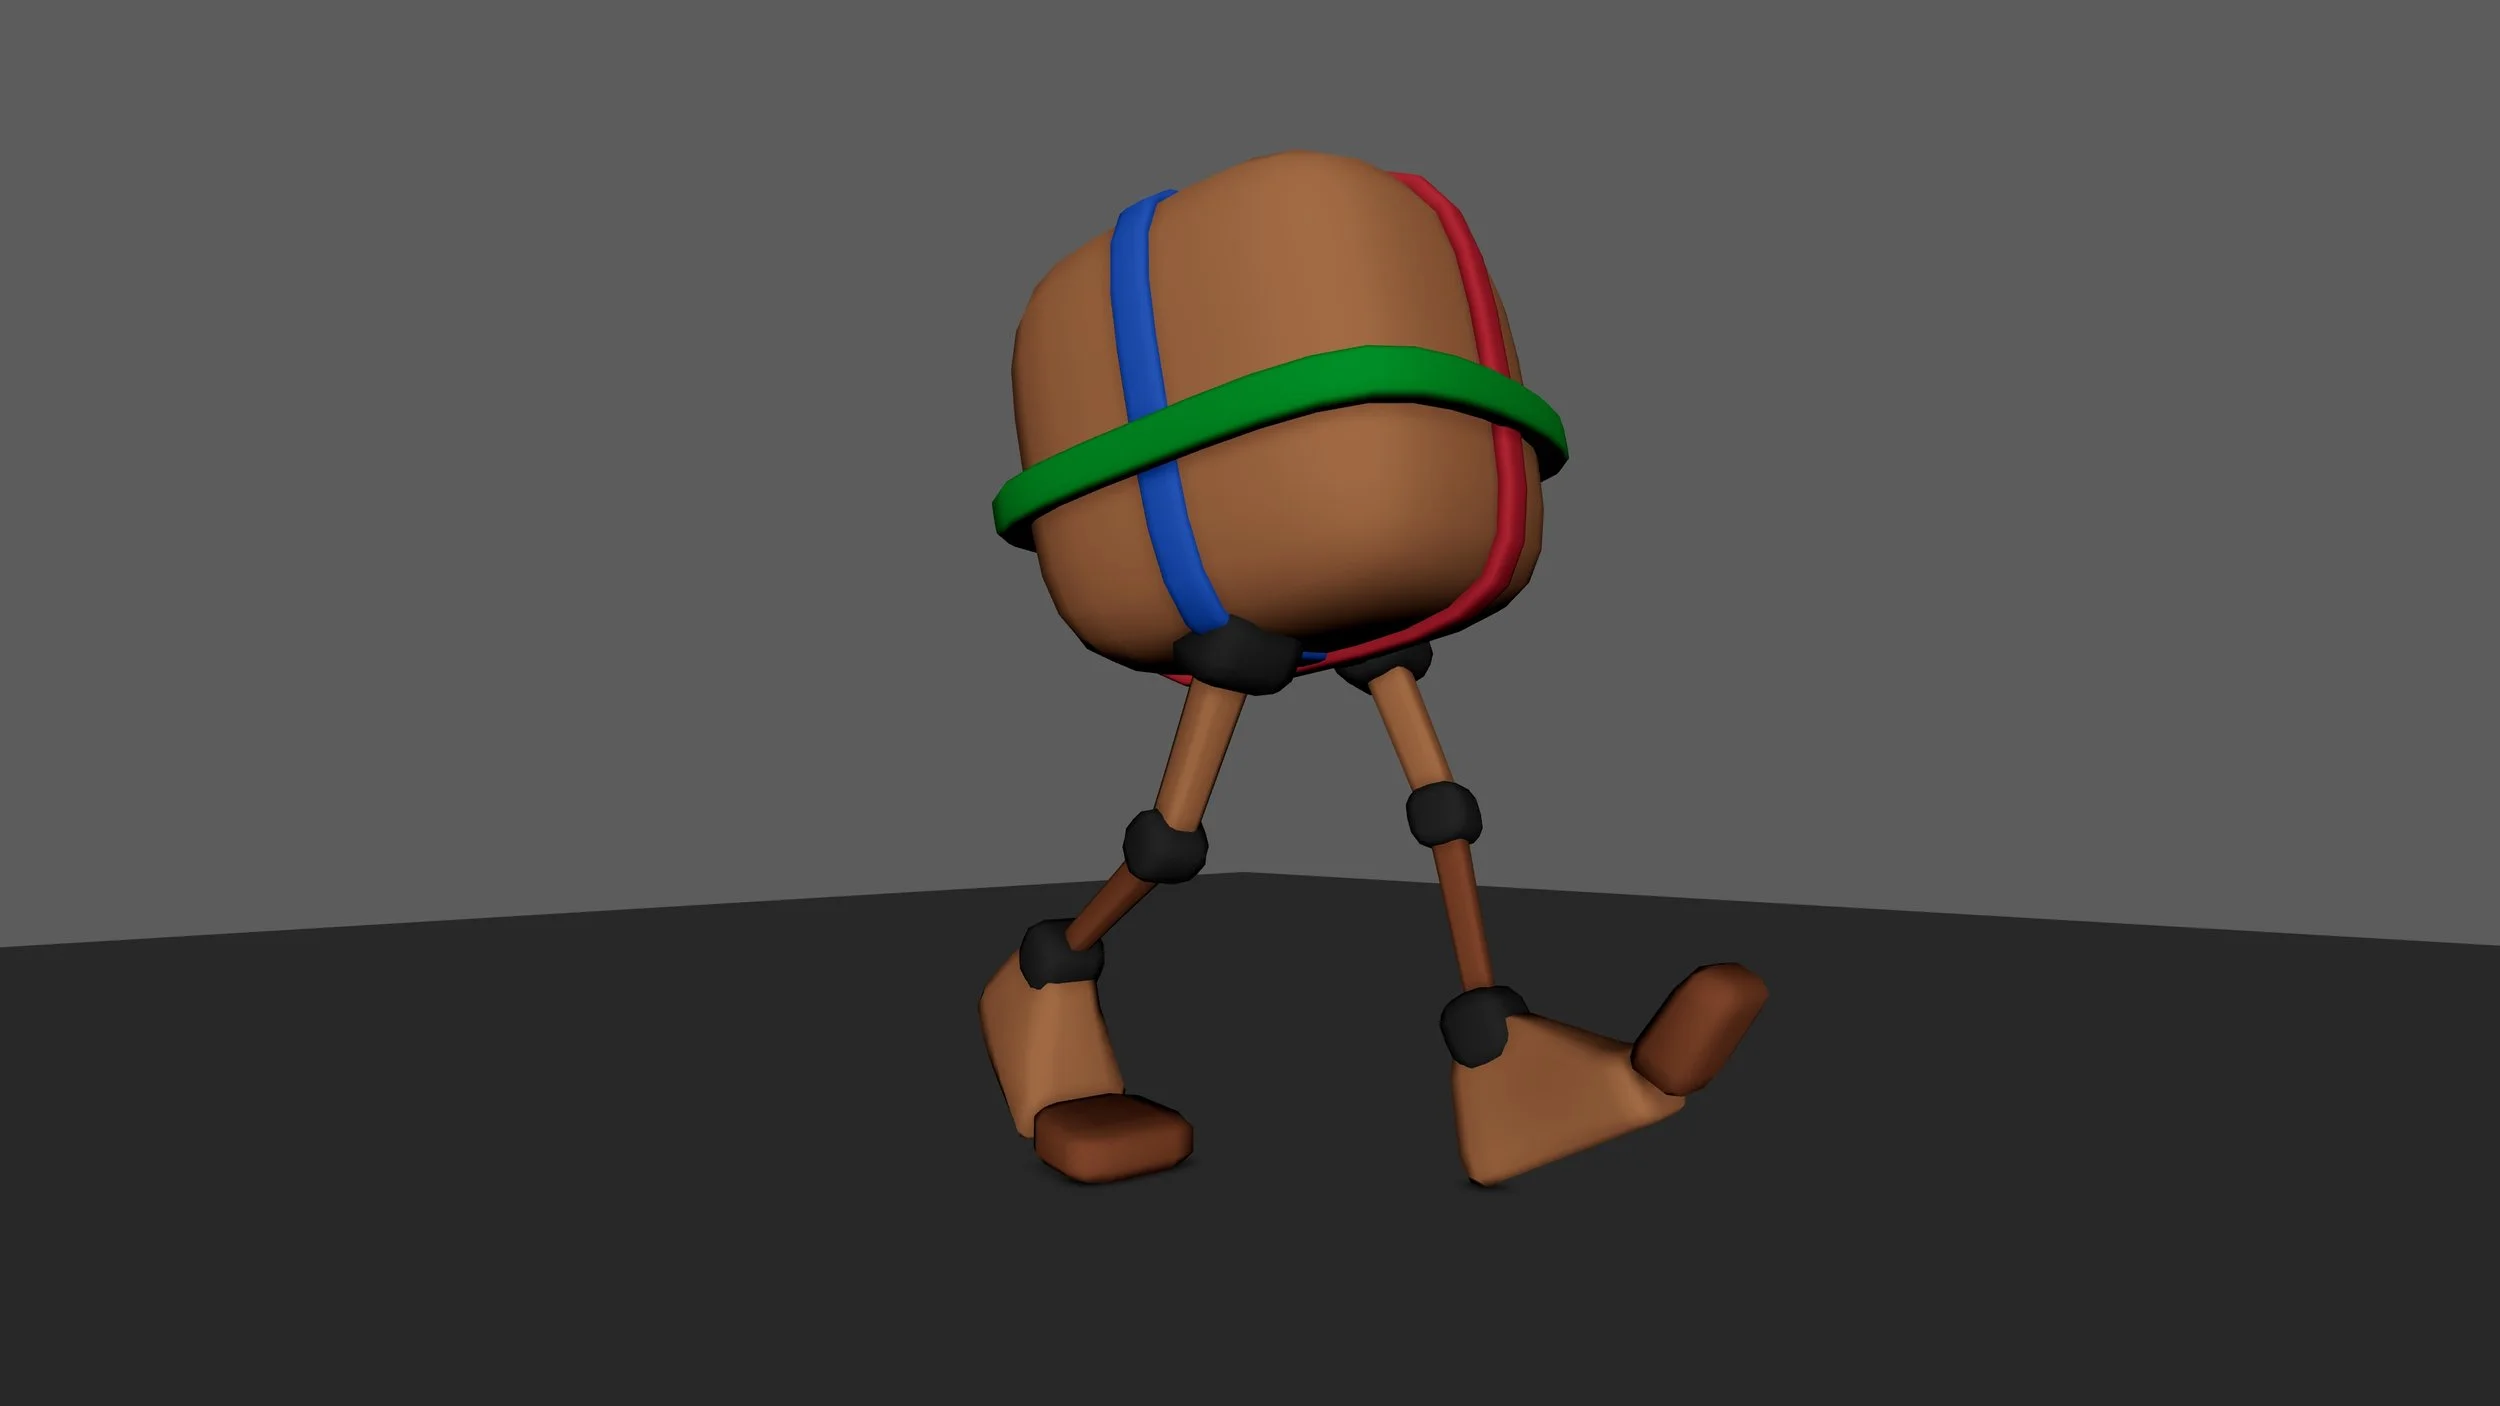
3D Animation made in Maya using the "Ultimate Walker Rig".
I created this simple animation whilst following an internal tutorial provided by Kingston University.
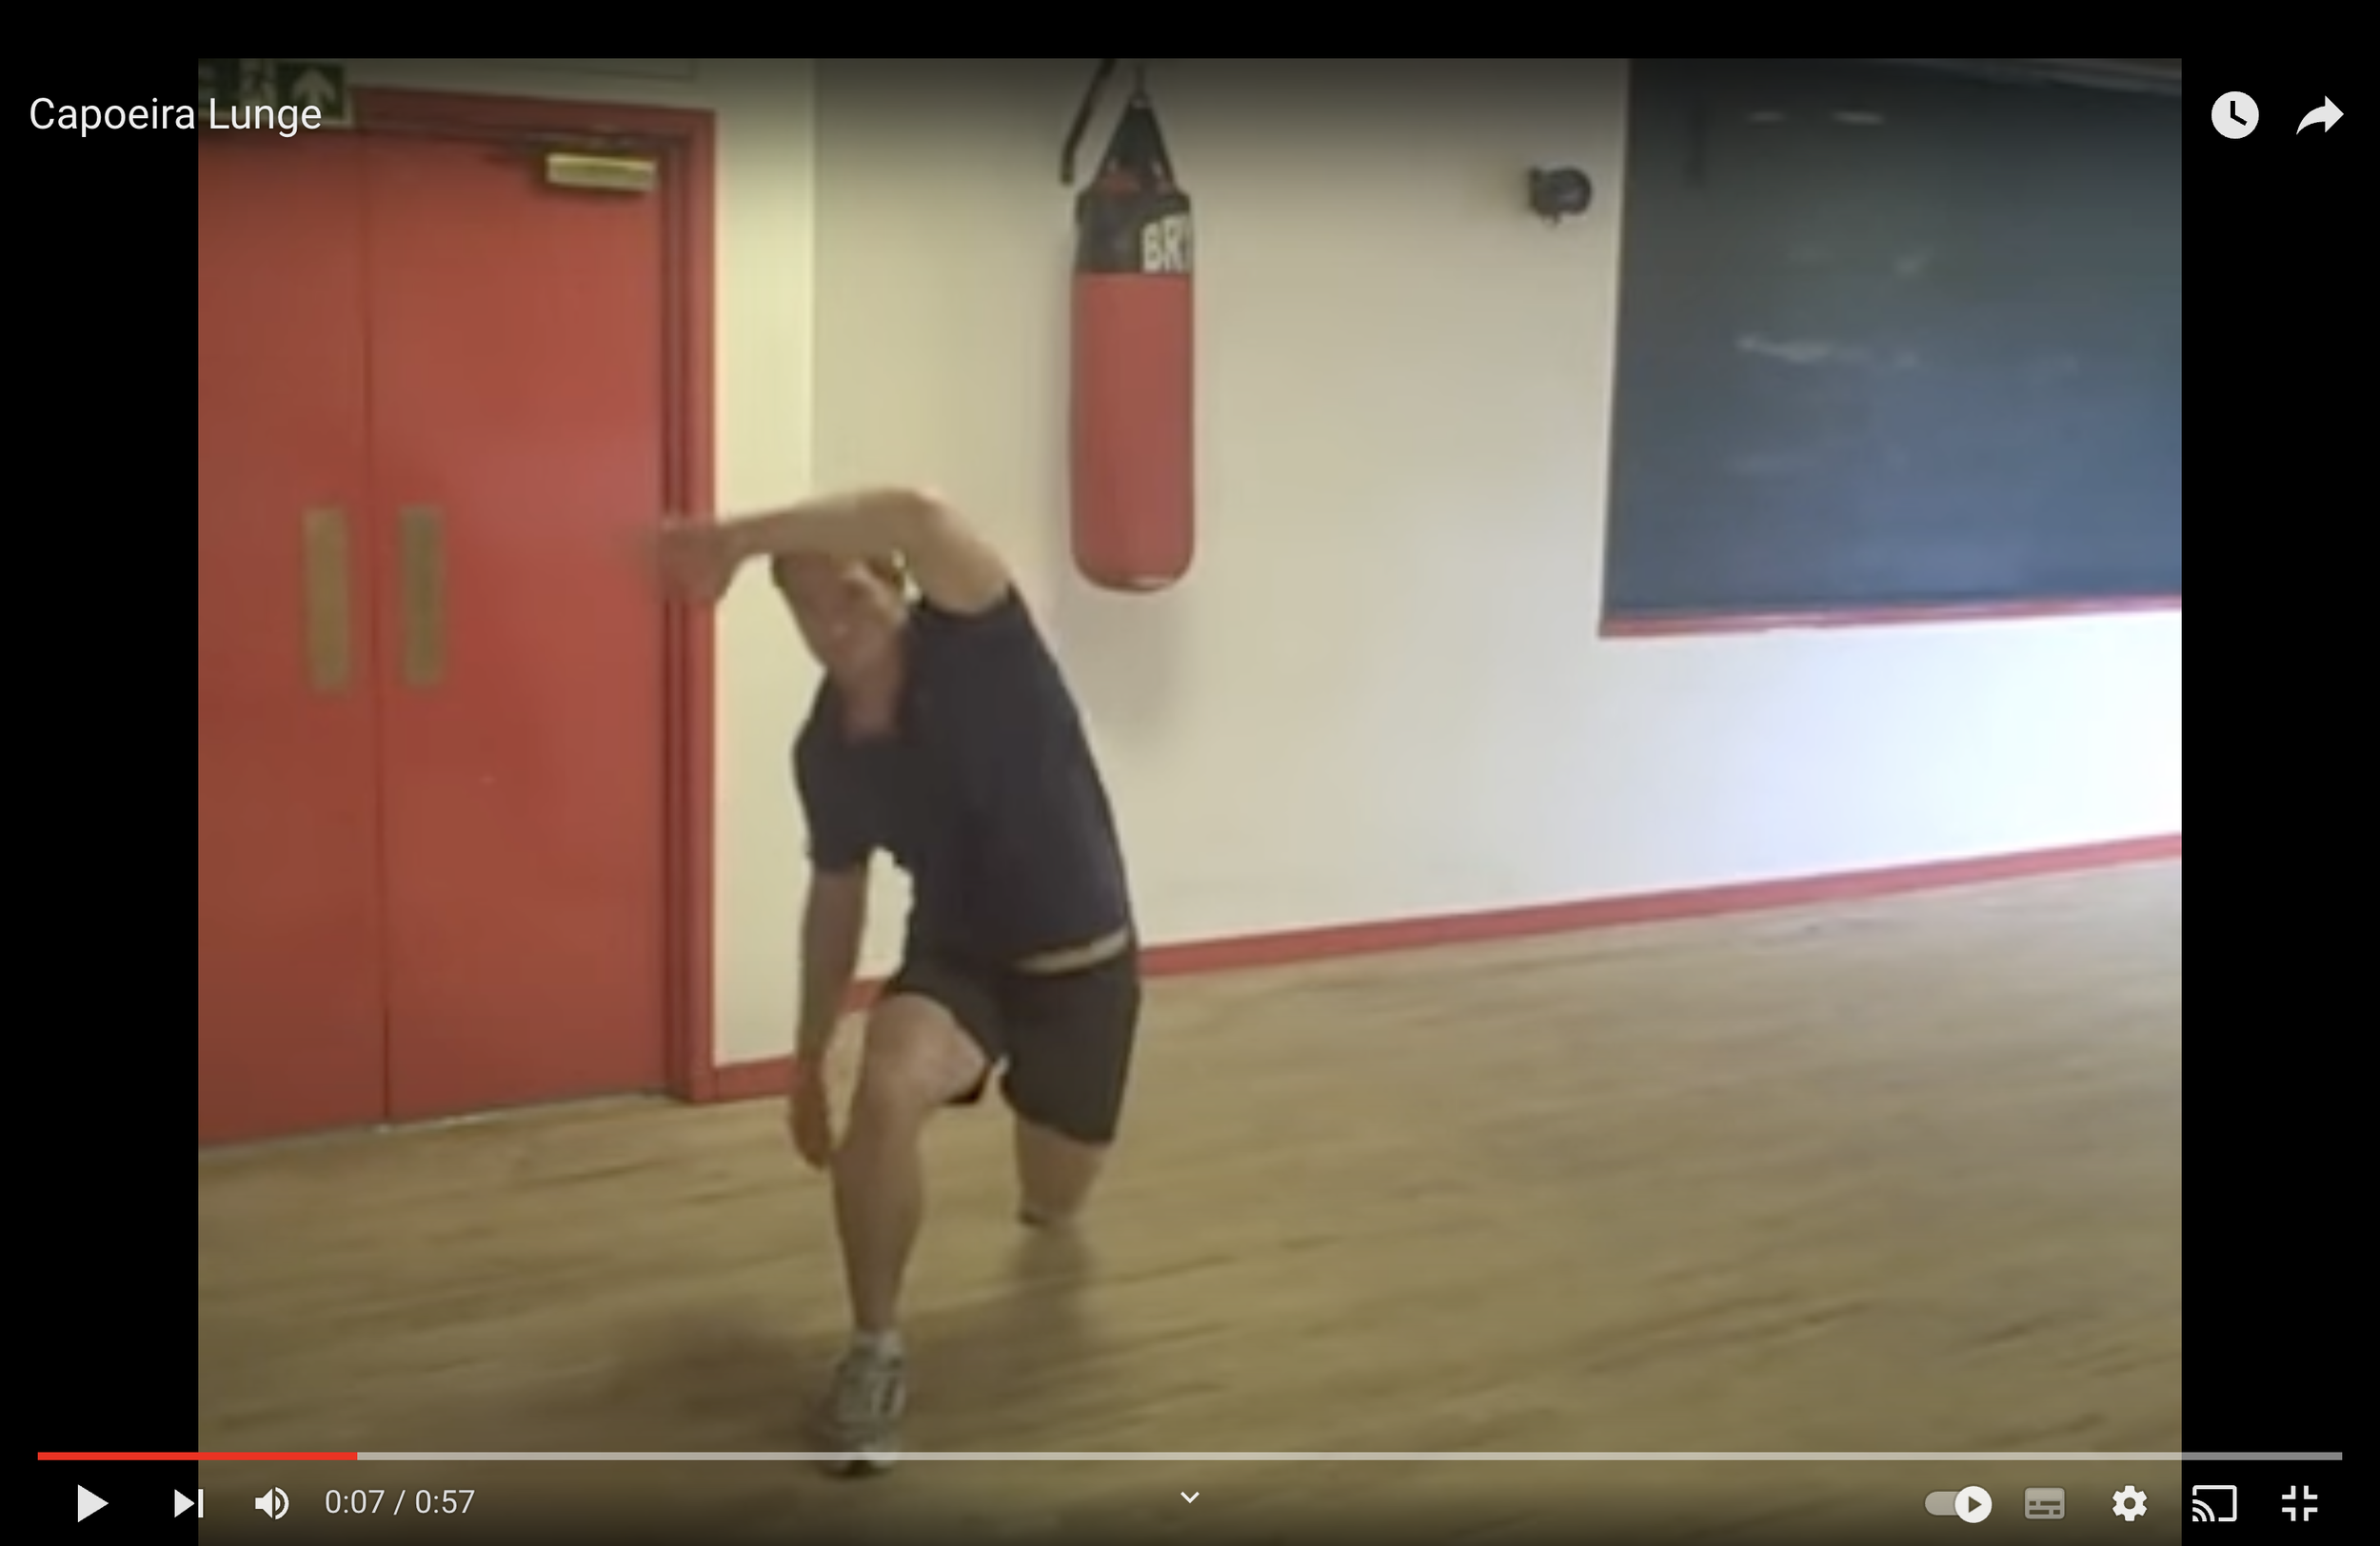
Although this animation was created through the use of an internal university tutorial, I decided to to use a reference video of the Capoeira, specifically the Ginga (which visually looks like a jumping lunge).
I used this reference video to inspire the movements, staging and timing of my animation.
Credit: Video by Anna McKee, Internal Tutorial created by Kingston University
Tutorial: Completed
Software used: Maya, Tween Machine
Personal Difficulty Level: 8/10
19/02/2023 -
I decided to use a video reference of the Capoeira (Ginga) to implement as a style of jump within my animation.
Overall this animation was quite challenging to begin with, although as I soon started scrubbing back-and-forth fixing elements and adjusting the spacing, I started to grasp a firmer idea of the importance of utilizing the 12 Principles of Animation.
As this is my first attempt creating a jumping animation, there is still much progress to be made, especially within the ‘air-time’ of the jump. This is because I feel that the jump should have lasted for a longer time during the gap from take off to landing.
Credit: Anna McKee + Reference Video - Capoeira Lunge
SyncSketch Link - Please feel free to review and leave feedback
GIF of the “Capoeira Lunge”, a Capoeira styled lunge-jump, known as the ‘Ginga’.
— Animated in Maya
Anim Workshop #1 - INTERNAL TUTORIALS
Overlapping Action, Drag, and Follow Through
Click below to play video
3D Animation made in Maya using the "Ultimate Walker Rig".
I created this simple animation whilst following an internal tutorial provided by Kingston University.
Credit: Video by Anna McKee, Internal Tutorial created by Kingston University
Tutorial: Completed
Software used: Maya, Tween Machine
Personal Difficulty Level: 8/10
21/02/2023 -
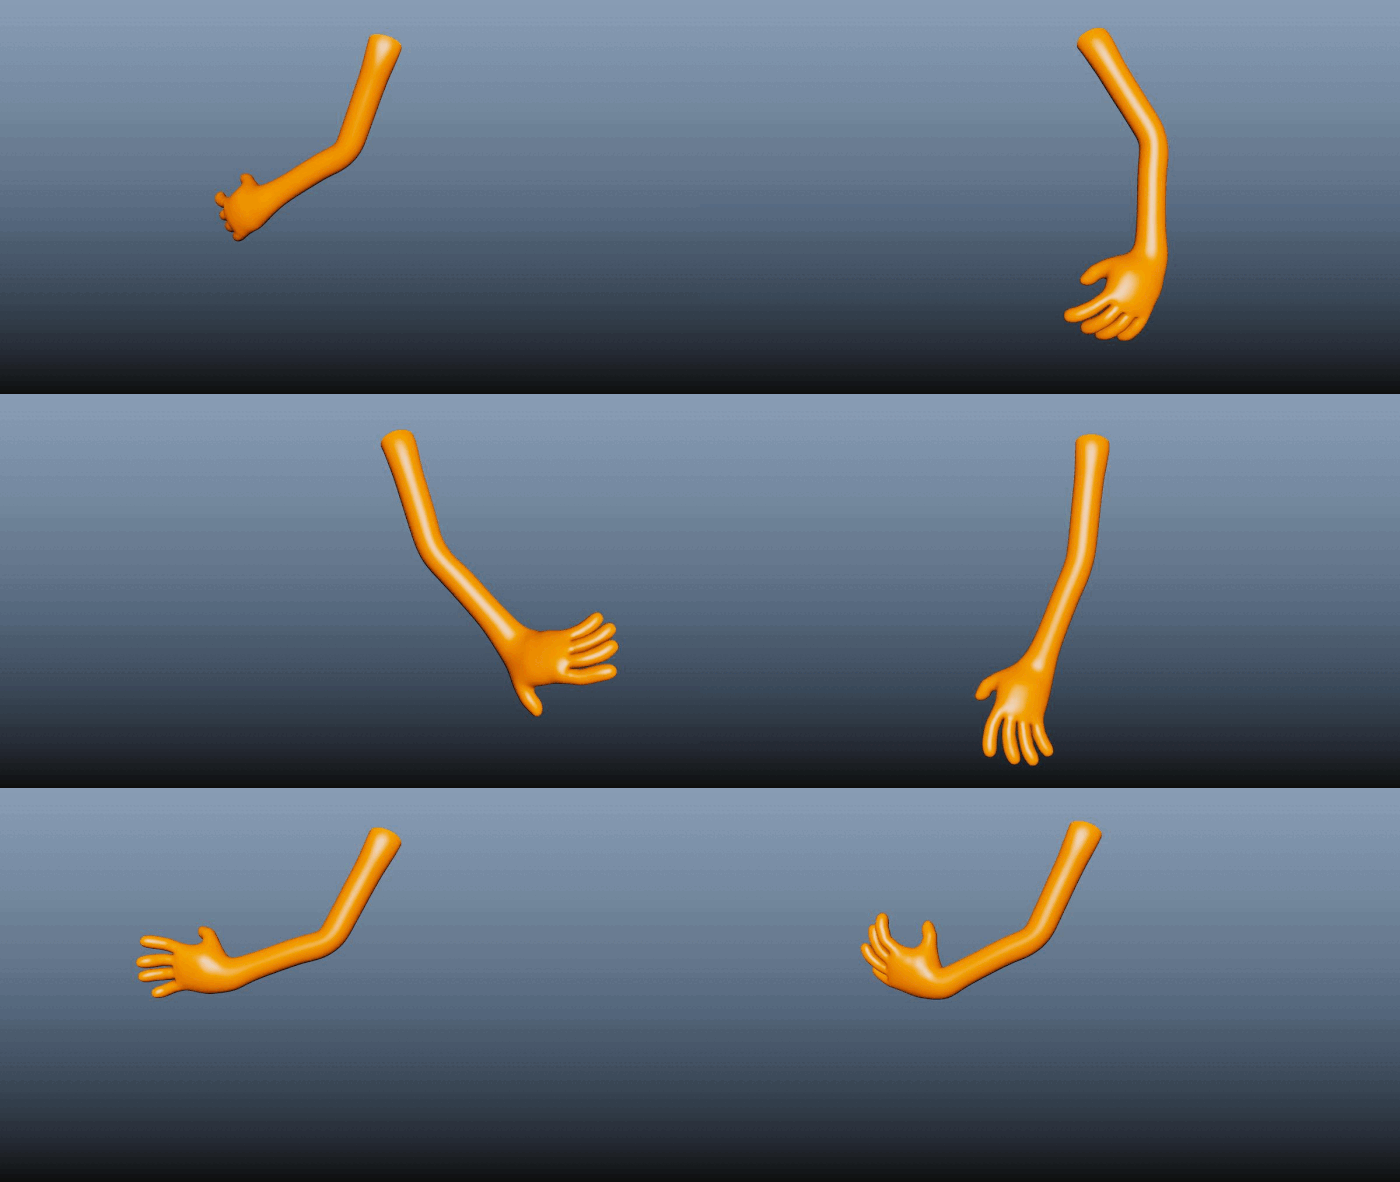
The goal of this internal tutorial was to create a simple 3D animation of an arm swinging in motion.
This motion would be based from a walk-cycle, meaning that the animation would need to contribute the idea of a ‘Figure of 8’ motion, (as the majority of arms/hands swing using this style of motion whilst walking).
I also used “Motion Trails” to help visualise and track the flow of motion between key poses within the animation.
Credit: Anna McKee
SyncSketch Link - Please feel free to review and leave feedback
GIF of the “Arm Movement”
— Animated in Maya


