Perfecting The Look - CI7860- Formative Exercises

Using Nuke X in combination with Maya to produce realistic and convincing Visual Effects
Semester 2
23rd January 2023 -
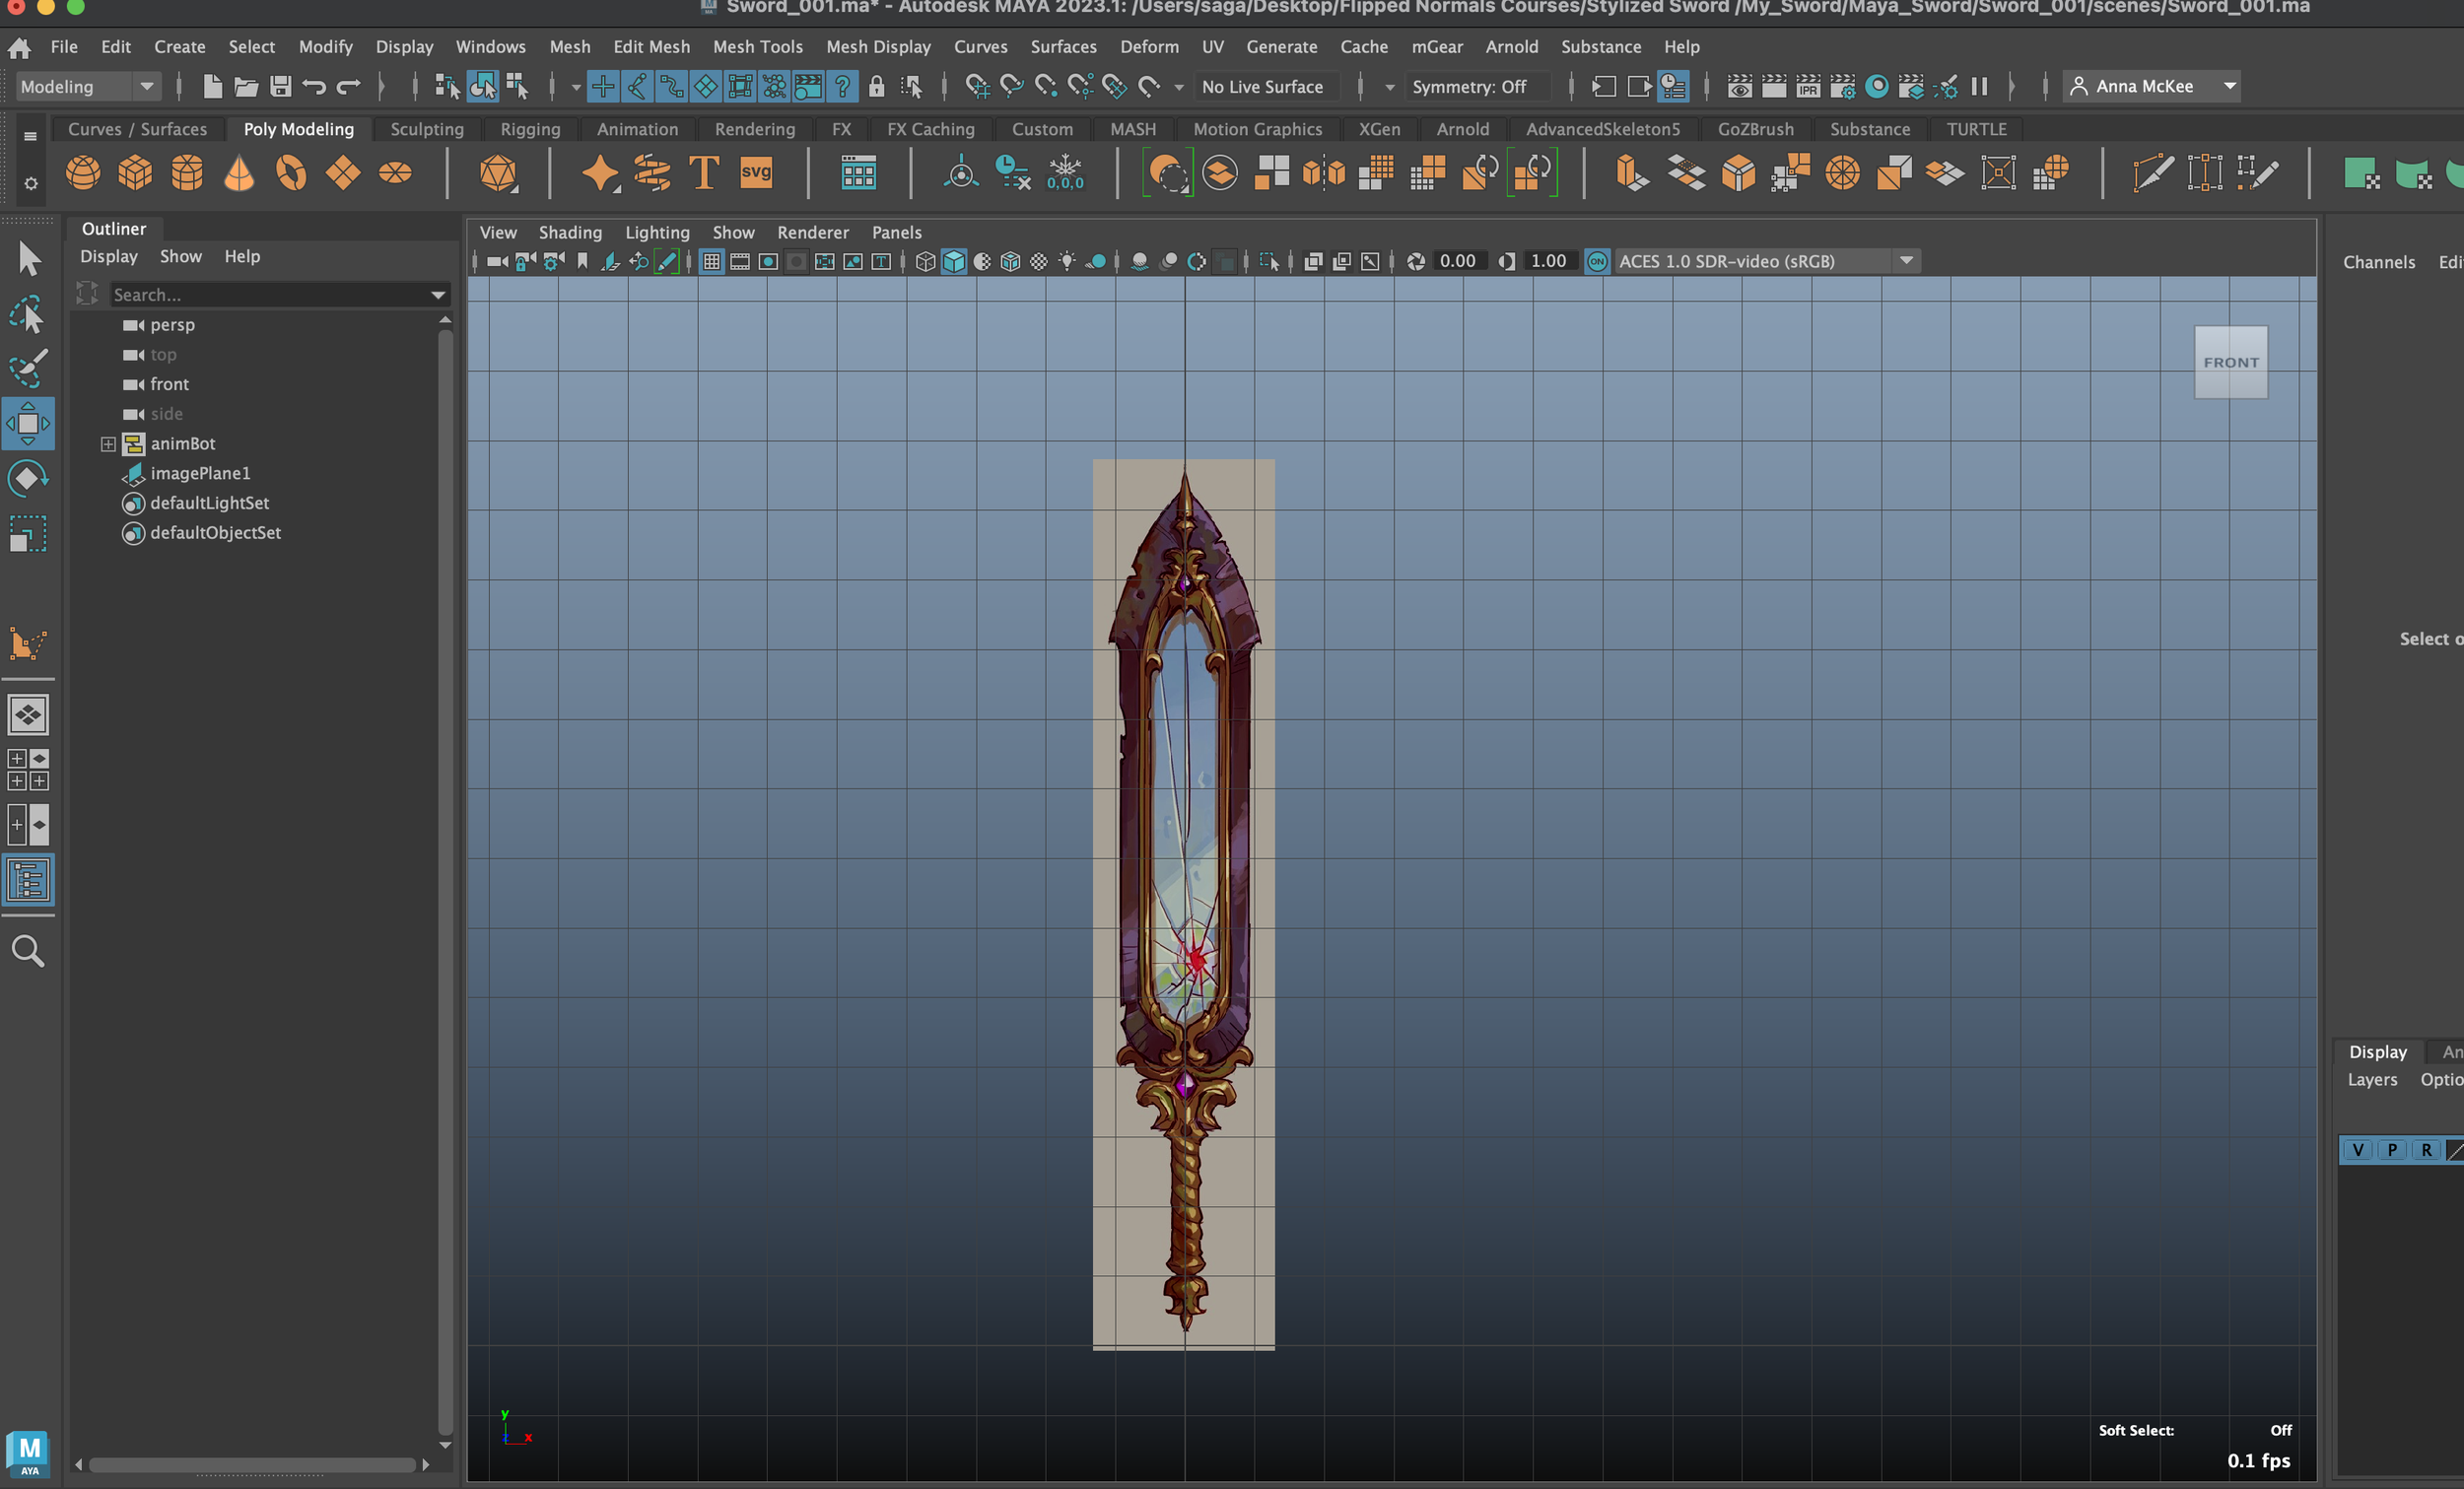
Image Credit: Anna McKee, Internal Tutorial followed: “Colour Correcting with the Grade Node”
File Formats and Codecs
File Format - This determines how information is stored as a file
There are many different types of file format, some are more preferable for editing, storing or sharing
Codec - Compresses data, which enables faster transmission. It then can decompress the received data
Applications use Codecs to write and read the file
(Coder-Decoder / Compression-Decompression)
Codecs are software that help to ‘Encode’ a range of media files, such as images, audio, and video
Two types of Codecs: Lossless and Lossy
Examples: MP3, WAV, H.264, H.265, TIFF, RAW
Container - Also known as the ‘Format’
Examples of Containers: MOV, MP4, DNG, TIFF, OPEN EXR, TGA, Quicktime, etc
Quality of container will be determined by the choice of Codec

Image Credits: PortalDekave, Wikipedia, FreebieSupply
Lossless Compression - Compresses the file to a smaller size, when reopened the media will have retained all of its detail
Result file when opened is the same size as the original
No quality loss
Examples: PNG, WebP, GZIP, DPX, Open EXR, etc
Lossy Compression - File is compressed, although the quality has been permanently altered
Result file is smaller than the original
Irreversible compression method
Quality has been lost
Examples: JPG, GIF, MPEG Video, MP3 Audio, etc
Bitrate - Upload + Download speeds
Measured in ‘bits per second’
The faster the Bitrate, the higher the quality of media, although this results in a bigger file size
JPG - Most suitable for photographs
Ideal for sharing and storing digital images, due to their high compression rate.
Form of Lossy compression
PNG, TIFF - Suitable for displaying complex images
PNGs better for online websites
TIFFs are suited for scanning and print
Form of Lossless compression
HDR - "High Dynamic Range”, the contrast between the brightest and darkest parts of an image. (12+ Bit channel)
Open EXR - Raster format, high-dynamic-range image file format. (Uses a 32 Bit channel)
Log Footage - “Logarithmic footage”, compressed / flat footage that contains a greater amount of detail
Not meant to be used without post-production editing software, such as Nuke
Used for extensive Colour Grading
RAW Footage - Created with the camera’s sensor, colour will look flat / dull before post-process editing has begun
Post-production workflow is required to view this footage
Creates large file sizes


Image Credits: GISGeography, Riverside, Albion, Wondershare
.ma Maya ASCII - Maya File, backwards compatible
More reliable, as if the file becomes corrupted, the file might be saved, (scripts can be ran in an attempt to make the file reusable)
.mb Maya Binary - Smaller file size
Less reliable, as if the file becomes corrupted, it is ‘unsavable’
File is saved as numbers
.fbx - Fast, efficient, written in Binary format
Highly compatible
Allows for storage of textures, colours, lighting and other artefacts
Commonly used when moving 3d models from programme to programme
.tx - Native image format for Arnold
Using .tx files will help speed up render times as they will utilise texture cache
Open EXR - Support multiple image layers
Most commonly used when creating visual effects in compositing software
Allows for use of AOVs, this is especially important when exporting from Maya to Nuke
Allows for.fine-tuning / control of Specular, diffuse, AO, Alpha layer, lighting, s.s.s, transmission, depth of field, motion blur
It is better to export as an EXR from Maya to Nuke, as this will allow the compositor to use the render layers to make subtle / major adjustments within their own viewport


Image Credits: Autodesk Arnold, Darryl Dias
Online Further Reading -
Audio Codecs Explained - Audioholics
Lossless Compression vs Lossy Compression - GISGeography
What is video bitrate: The Full guide - Restream | Blog
.tx information - Arnold Support Corner
AOVs - Arnold for Maya - Autodesk Arnold
Nuke Fundamentals - Internal Tutorials
Colour Correcting with the Grade Node

Image credit: Colour correction created by Anna McKee, Original painting by Vincent van Gogh, Internal tutorial created by Kingston University
Tutorial: Completed
Software used: NukeX
Personal Difficulty Level: 5/10
01/02/2023 -
The goal of this Internal Tutorial was to Colour Correct the image provided of the “Sunflowers” painting, as the original photograph was quite dark and desaturated.
Following the tutorial, we were instructed how to use professional Colour Correction techniques (including a Blur node) within NukeX and how these tools could be continuously reused for the a similar visual purpose.
Topics covered within this live Internal Tutorial:
Reformat Node - Used to change the resolution size of the input image
Color Grade Node - Used to ‘colour pick’ the lightest + darkest pixels within the image. Also used to supply the main relief of colour correction within the editing/compositing process
Curve Line - Used to create a ‘frame’ around the painting, separating it from the wall. This allowed for greater control when colour correcting the wall and painting as different entities
Blur Node - Utilised to ‘blur’ the white background wall of the painting, as this helps to sustain more focus on the painting itself


Credit: Screenshot Anna McKee
Nuke Fundamentals - Internal Tutorials
Colour Correction, Matching Shots: Grade Node, Part 1

Credit: Anna McKee
Tutorial: Completed
Software used: NukeX
Personal Difficulty Level: 6/10
02/02/2023 -
Within this Internal tutorial, “Colour Correction, Matching Shots: Grade Node, Part 1”, the process of using a Grade Node to Colour Match was explained.


Credit: Screenshot Anna McKee
Nuke Fundamentals - Internal Tutorials
Colour Correction, Matching Shots: Grade Node, Part 2


Image credit: Colour corrections created by Anna McKee, Internal tutorial created by Kingston University
Tutorial: Completed
Software used: NukeX
Personal Difficulty Level: 5/10
02/02/2023 -
This Internal Tutorial, “Colour Correction, Matching Shots: Grade Node, Part 2” consisted of 2 main parts.
Firstly we were guided how to Colour Match within NukeX, while using a simplistic “Patch” Image. My final result of this process was slightly unsuccessful, due to the purple square not being sufficiently ‘colour matched’.
Although this attempt was deemed a failure, I decided to continue with the tutorial and push myself to succeed within the second-half of the video, (this involved colour matching images of a Diner).
Continuing through the tutorial, I began to grasp a stronger understanding for the importance and use of the “Color Grade” Node, (including the process of utilising the Eyedropper Tool and keys: ‘Command, Option and Shift’).
Colour Grade Hotkeys for Mac -
Command + Left Mouse Button: Color picker (single pixel)
Command + Right Mouse Button: Deselect sampled pixels
Command + Shift + Left Mouse Button: Color picker (region of pixels)
Patch Colour Correct


Credit: Screenshot Anna McKee
Diner Colour Correct


Credit: Screenshots Anna McKee
Nuke Fundamentals - Internal Tutorials
Colour Correction, Matching Shots: Grade Node, Part 3

Image credit: Colour correction created by Anna McKee, Internal tutorial created by Kingston University
Tutorial: Completed
Software used: NukeX
Personal Difficulty Level: 3/10
02/02/2023 -
The purpose of this simple tutorial was to Colour correct the “Reference Image” to the Matching Image” featuring Stonehenge.
This was an extremely enjoyable process, which helped me to grasp basic concepts of using the Eyedropper Tool to select ‘White Points’ and ‘Dark Points’ within each sampled image. After this, the process then moved along to selecting pixels from the ‘Lift’ and ‘gain’, which also helped to add a stronger sense of colour match when adjusting the sliders of the colour wheel.
The next step included making slight adjustments within the colour wheel, whilst also studying the individual Red, Green and Blue channels to create an almost ‘perfect’ colour correction.


Credit: Screenshots Anna McKee
Credit: Screenshots Anna McKee, Internal Tutorial provided by Kingston University
Nuke Fundamentals - Internal Tutorials
Alpha Channel Part 1


Credit: Screenshots Anna McKee, Internal Tutorial provided by Kingston University
Tutorial: Completed
Software used: NukeX
Personal Difficulty Level: 4/10
03/02/2023 -
Within this Internal Tutorial, “Alpha Channel Part 1”, the concepts and purposes of an ‘Alpha Channel’ were discussed, along with the procedures necessary to add an ‘Alpha Channel’ to an already existing image.
Using the example of the leaf, we were shown how to add a separate Alpha Channel from a .jpg image, onto the original .jpg image. This included using processes such as the ‘Shuffle Node, Premult Node, Transform Node’ (including the optional nodes: Constant Node and Merge Node’, which were used to add the bright green background).
When following-along the Coffee Cup tutorial within the “Alpha Channel Part 1” video, we were shown a quick and simple example of how to check if a .png has an Alpha Channel available. The simple process of adding a Constant Node to create a background was also discussed.
Leaf


Credit: Screenshots Anna McKee
Coffee Cup


Credit: Screenshots Anna McKee
Nuke Fundamentals - Internal Tutorials
(Un)Premultiplying for Color Correction - Part 2

Credit: Screenshots Anna McKee, Internal Tutorial provided by Kingston University
Tutorial: Completed
Software used: NukeX
Personal Difficulty Level: 5/10
03/02/2023 -
During this Colour Correction Internal Tutorial, the topic of editing colours within an .exr along with a ‘Backplate’ was discussed.
The goal of this video was to correctly Colour Correct the .exr Helicopter CG file, whilst also leaving the ‘Backplate’ (background footage, .jpg) unaffected by the Colour Correction.
This was a fantastic tutorial as it explained the important adjustments that must be made when Colour Correcting an .exr, for example:
Below the .exr node, a Unpremult Node must be added
Below this, a Colour Grade Node can now be added
Directly below, a Premult Node is now added
This final Premult Node can now be directed into a Merge Node (following through the ‘A arrow’)
This Merge Node has a ‘B arrow’, which is also connected to the Backplate
The output of the Merge Node is now connected to the Viewer Node
In conclusion:
The reason why we need to go through all of these steps shown above, is because within an .exr, the RGB (Red, green, Blue) and Alpha channels are already mixed = multiplied together.
This means that if we try to adjust the Colours within a “Colour Grade Node” below an .exr, the entire Backplate image colour will be disrupted as a result. This issue can only be resolved by applying an Unpremult + Premult Node, before and after the Colour Grade Node.
After this process, you will now be able to successfully Colour Correct the .exr, along with utilising the Eyedropper tool to colour pick your desired White Points, Blackpoints, etc.


Credit: Screenshots Anna McKee
Nuke Fundamentals - Internal Tutorials
Color Grading a Shot (Log Color Profile)

Credit: Screenshots Anna McKee, Internal Tutorial provided by Kingston University
Tutorial: Completed
Software used: NukeX
Personal Difficulty Level: 6/10
04/02/2023 -
Within this tutorial, we were guided how to use a professional Colour Grading technique by utilising a Colour Chart within an .mov.
Steps taken to Colour Grade the ‘Cooler Tones’ .mov:
Black points and White Points were selected via the Colour Chart. This information was stored within the “Grade 1” Node
Connected the selected .mov into the Grade 1 Node
Further Grade Nodes have been added to Colour Grade specific channels related to the .mov, eg, adjusting the saturation, gamma, midtones and gain
The final “Cooler Tones” .mov provides a ‘bleak’ visual atmosphere, due to its dependance on blues and darker colours
Using the Colour Chart to Colour Grade an .mov - Cooler tones


Credit: Screenshots Anna McKee
Steps taken to Colour Grade the ‘Warmer Tones’ .mov:
(The same Node Tree has been used to begin this new Colour Grading process)
Although "Secondary CC" nodes have been moved and further Colour Grade Nodes have been connected below
.mov is Colour Graded utilizing the Colour Wheels connected to the Gain, Saturation, Midtones and Highlights
A simple Bezier Curve box has been added around the graffiti wall above the gate - This allows for specific sections of the .mov to be edited in a different manner.
Within this example I have desaturated the wall slightly, as this will draw the viewer’s attention towards the bright Red within the gate
A final “Radial Node’ has been added to the foreground of the .mov (the ground)
This creates a ‘spotlight’ effect on the ground
The final result of the “Warmer Tones” .mov is an image that presents a much more ‘lively’ and entertaining presence to the viewer, especially when compared to the previous “Cooler Tones” .mov
Colour Grading an .mov using a Bezier Curve and a Radial Node - Warmer tones


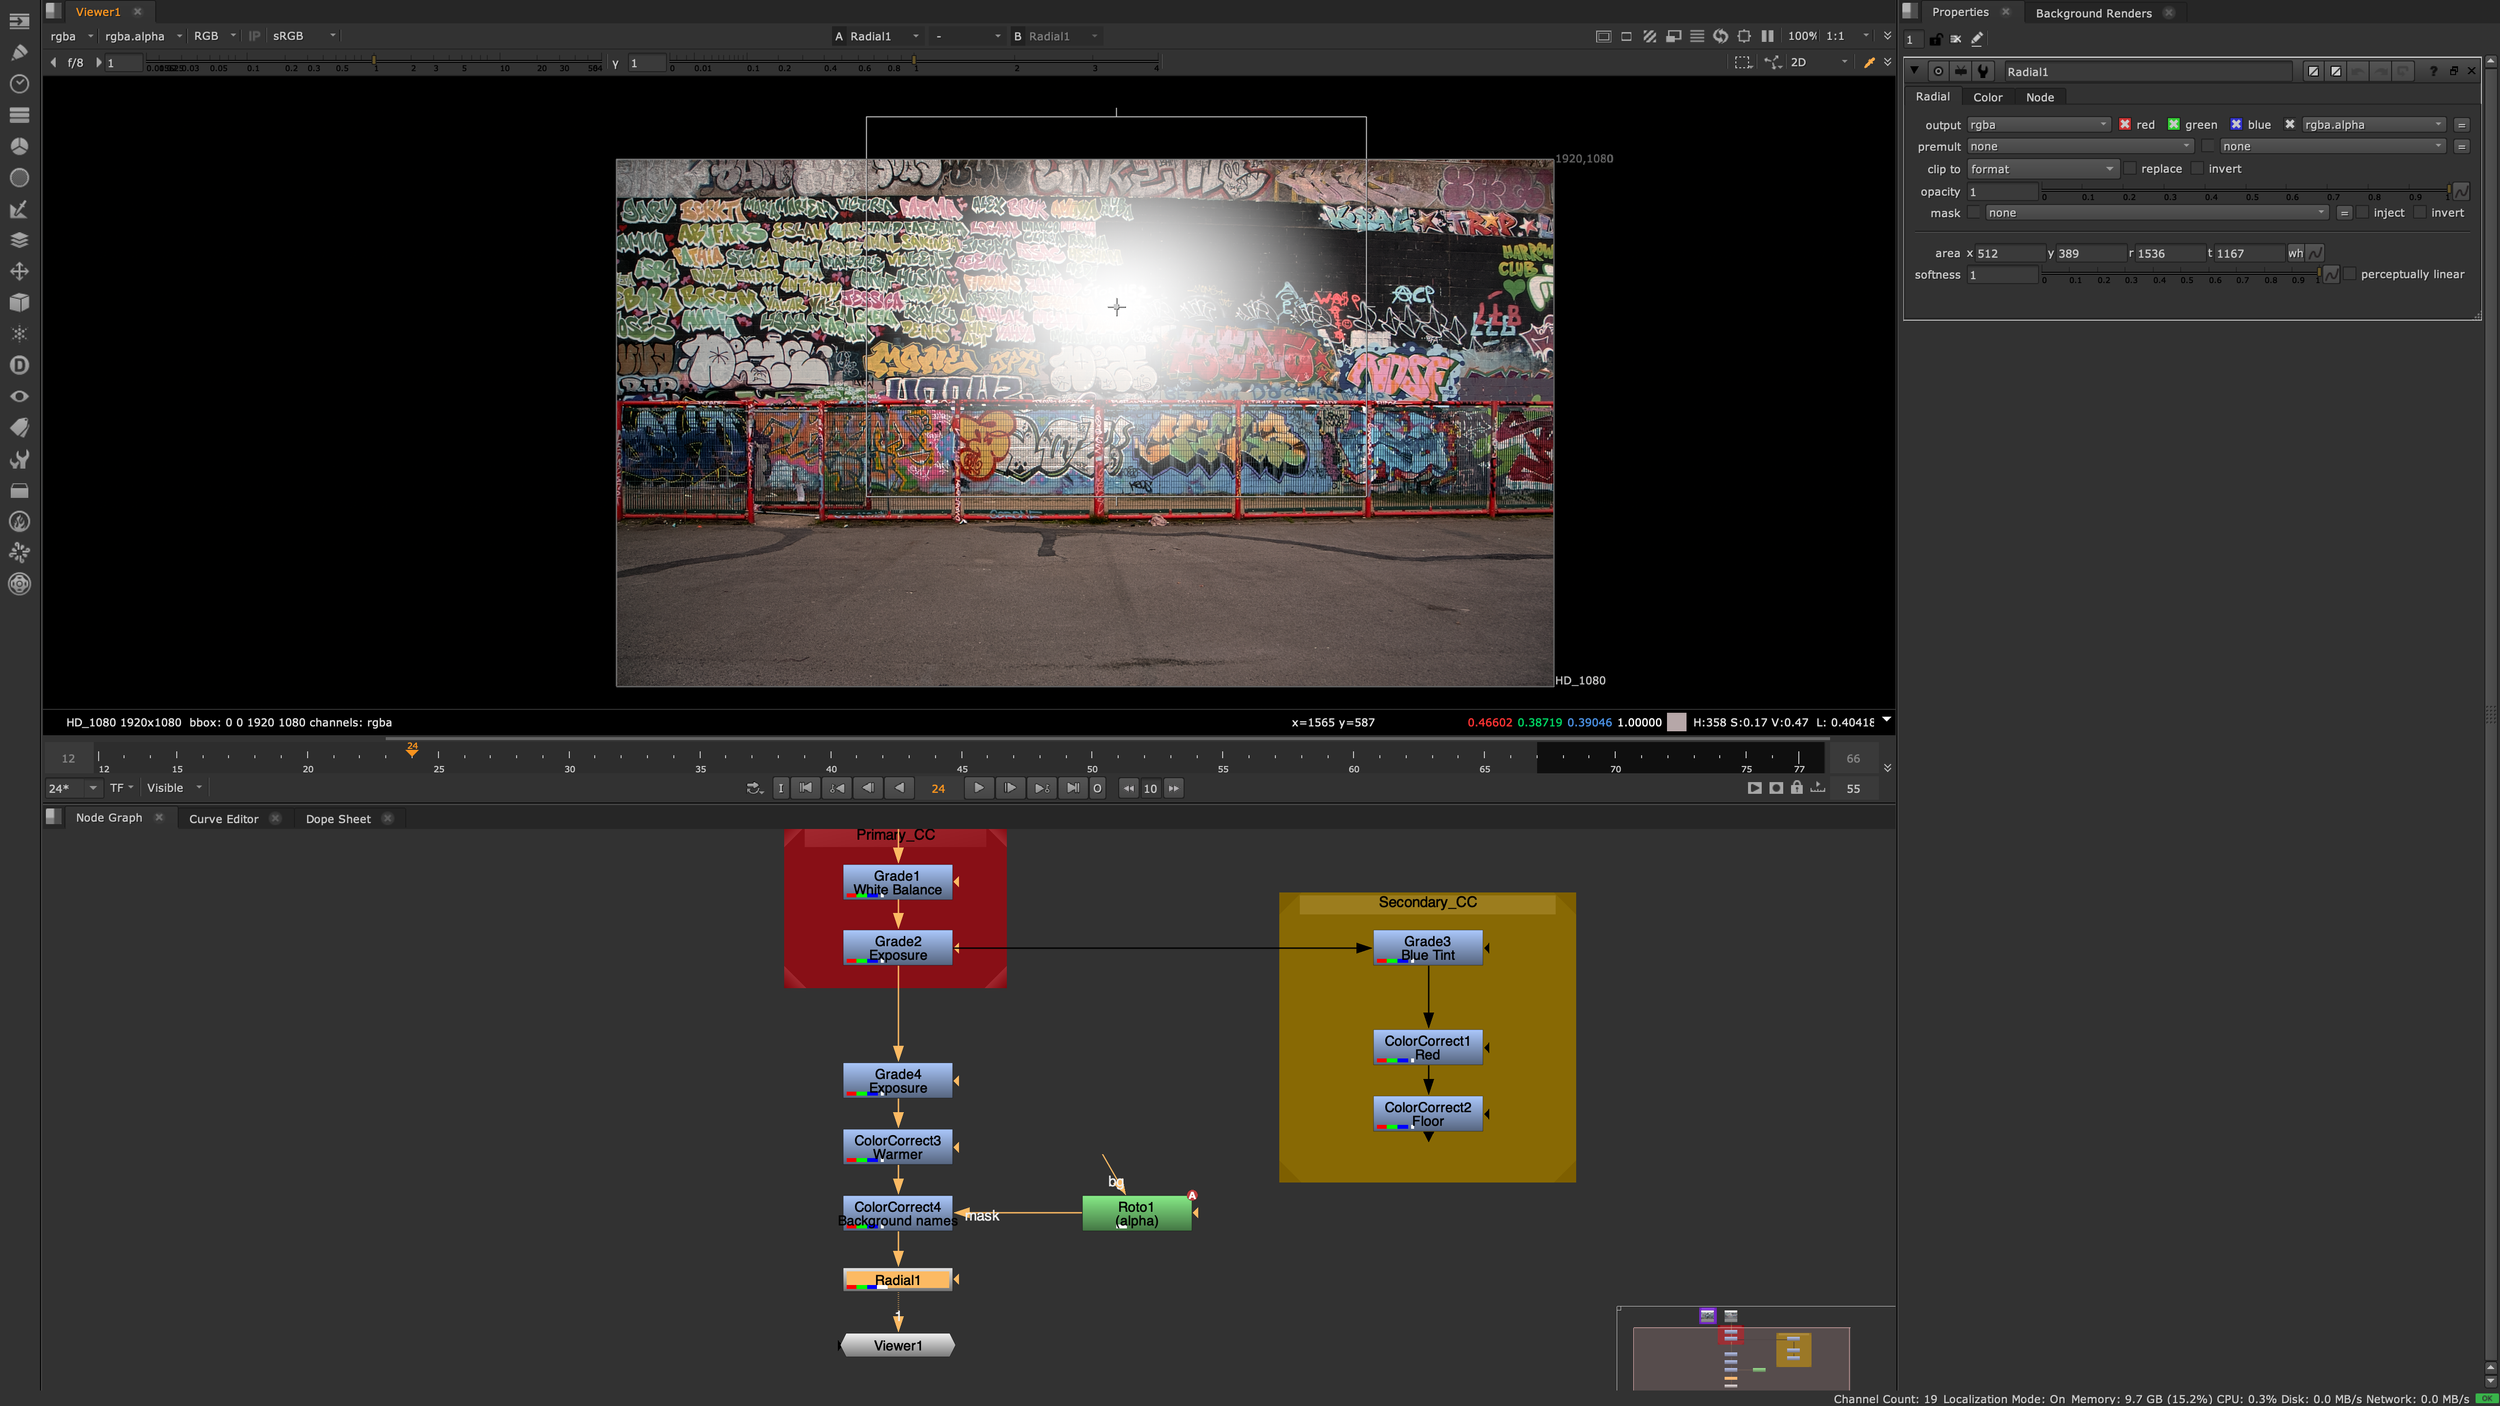


Credit: Screenshots Anna McKee
Final comparison between the two Colour Graded .movs


Credit: Screenshots Anna McKee
2D Matchmoving - Internal Tutorials
Planar Tracker Workshop
Click on video below to play sequence
To create the video, I followed an Internal Tutorial provided by Kingston University.
The tutorial is in relation to using Planar Tracking techniques within NukeX.
Within this tutorial I was able to place and track two pieces of graffiti onto an image sequence of a wall.
Materials / learning resources for this internal tutorial video have been provided by Kingston University.
Video Created by Anna McKee
Tutorial: Completed
Software used: NukeX
Personal Difficulty Level: 7/10
08/02/2023 -
The goal of this tutorial was to place two pieces of Graffiti onto an image series of a wall.
This created a necessity for the images to be ‘tracked’ with a 2D Planar Tracking technique, allowing them to sit directly on top of a wall, whilst the camera angle was moving.
TIP - When using a “read” Node, make sure to type “filename.###.jpg” OR “filename.###.mov”, (or however you want your filetype to be)
Press “R” to add an image sequence or movie file.


Credit: Screenshots Anna McKee
2D Matchmoving - Internal Tutorials
RotoPaint Workshop
Click on video below to play sequence
To create the video, I followed an Internal Tutorial provided by Kingston University.
The tutorial is in relation to using Roto Painting techniques within NukeX.
Within this tutorial I was able to remove the text, "57 Street" within the top-left corner of the video.
Materials / learning resources for this internal tutorial video have been provided by Kingston University
Tutorial: Completed
Software used: NukeX
Personal Difficulty Level: 6/10
16/02/2023 -
How to use a Track node:
Add footage using a “Read” Node (Press R) > Connect to viewer
Add “Tracker” Node > Connect to Read Node
Adjust resolution if needed to match read footage
Click on Tracker node > Transform > Set to current frame (this is your reference frame)
Tracker > Add Track
Adjust Track in viewport to match area you want tracked > Select a different frame and continue adjusting the Track
Press “Track to End” > Select the traffic lights (Show error on track)
Adjust any Track issues within the frames > Track to End > Continue adjusting / fixing the Track until the orange / red icons disappears
One track has been completed, go back to your reference frame > select track node > Tracker > turn off track (untick box)


Credit: Screenshots Anna McKee
2D Matchmoving - Internal Tutorials
WallE Matchmoving Workshop
Click on video below to play sequence
To create the video, I followed an Internal Tutorial provided by Kingston University.
The tutorial is in relation to using 2D Matchmoving techniques within NukeX.
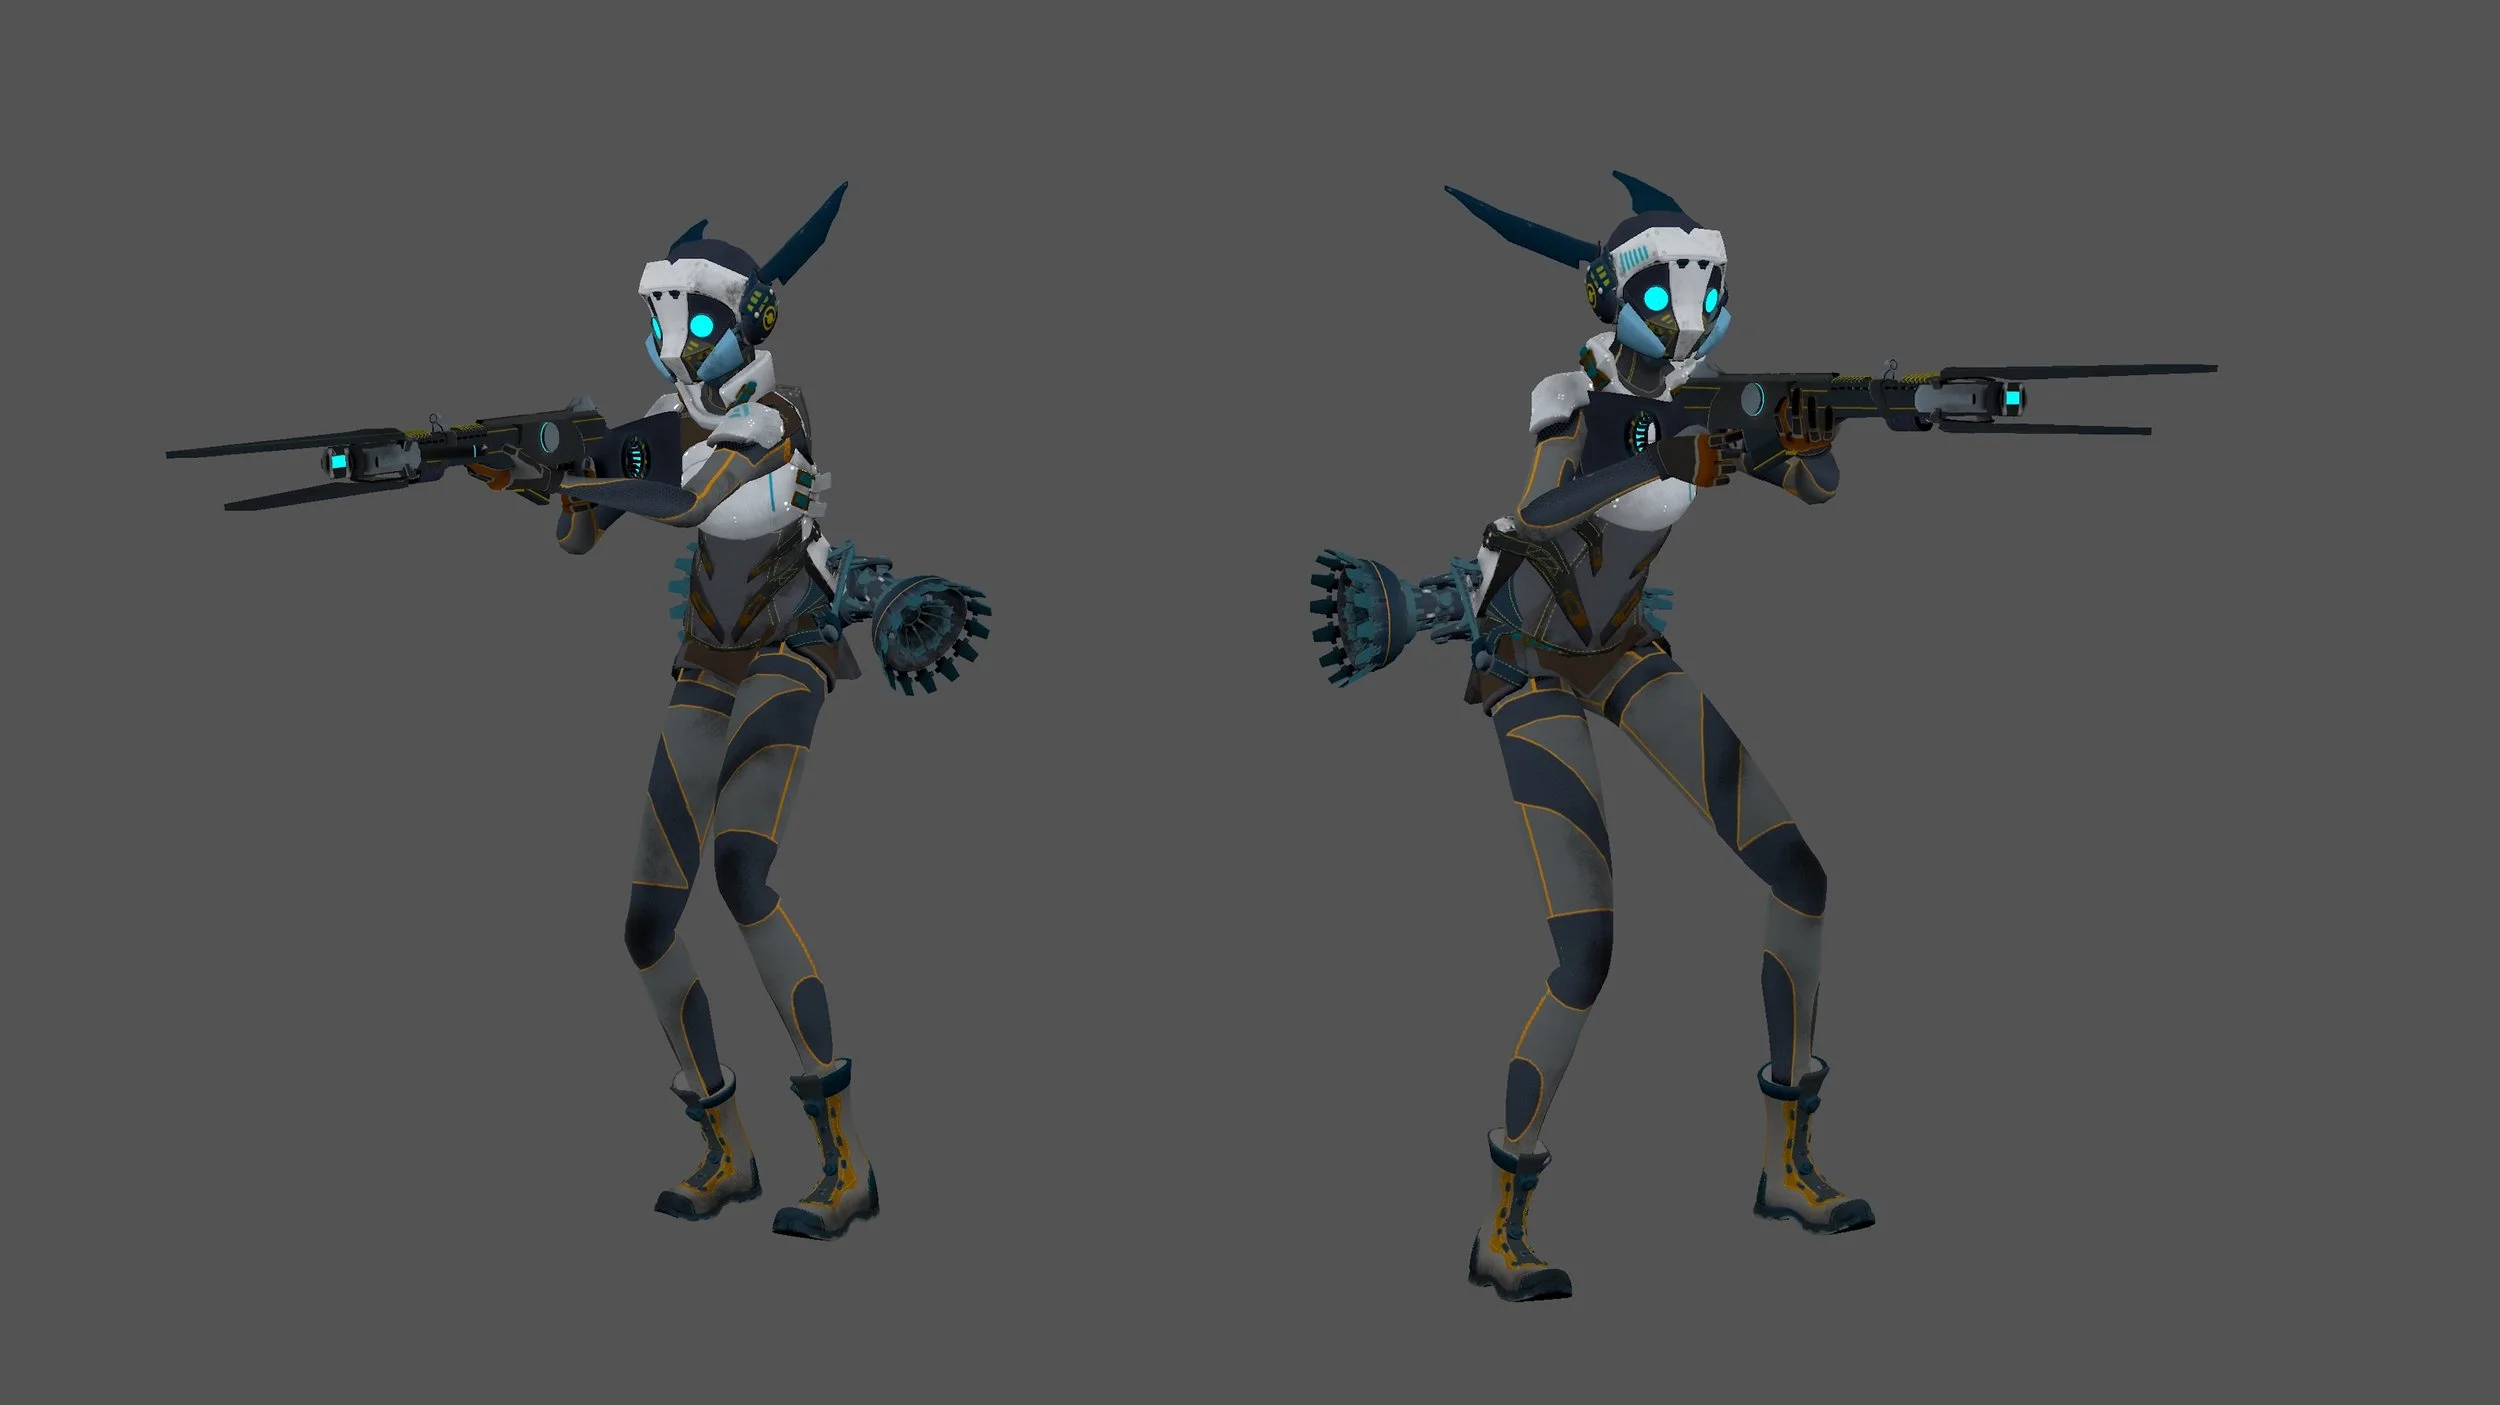
Within this tutorial I was able to add the CG element of "WallE" and the 2D photo image of the rock successfully into the video footage of the table.
This compositing process involved utilising a range of tracking techniques, lense distortion, Roto Painting and Colour Grading.
Materials / learning resources for this internal tutorial video have been provided by Kingston University
Credit: Compositing by Anna McKee. Materials, Footage and Internal tutorial provided by Kingston University.
Tutorial: Completed
Software used: NukeX
Personal Difficulty Level: 8/10
17/02/2023 -
The goal of this tutorial was to utilise 2D matchmoving / compositing techniques to edit ‘WallE’ and a rock within the designated table footage.
Topics / Nodes used when compositing The “WallE Matchmoving Workshop”:
Roto Painting
Lense Distortion
Colour Grading
Premult, Unpremult
Colour Grading
2D Matchmoving


Screenshot Credit: Anna McKee