Organic Model - Female Character
Creating my final Organic Character for Semester 1, working through the 3D Pipeline process from sculpting all the way to a turntable animation
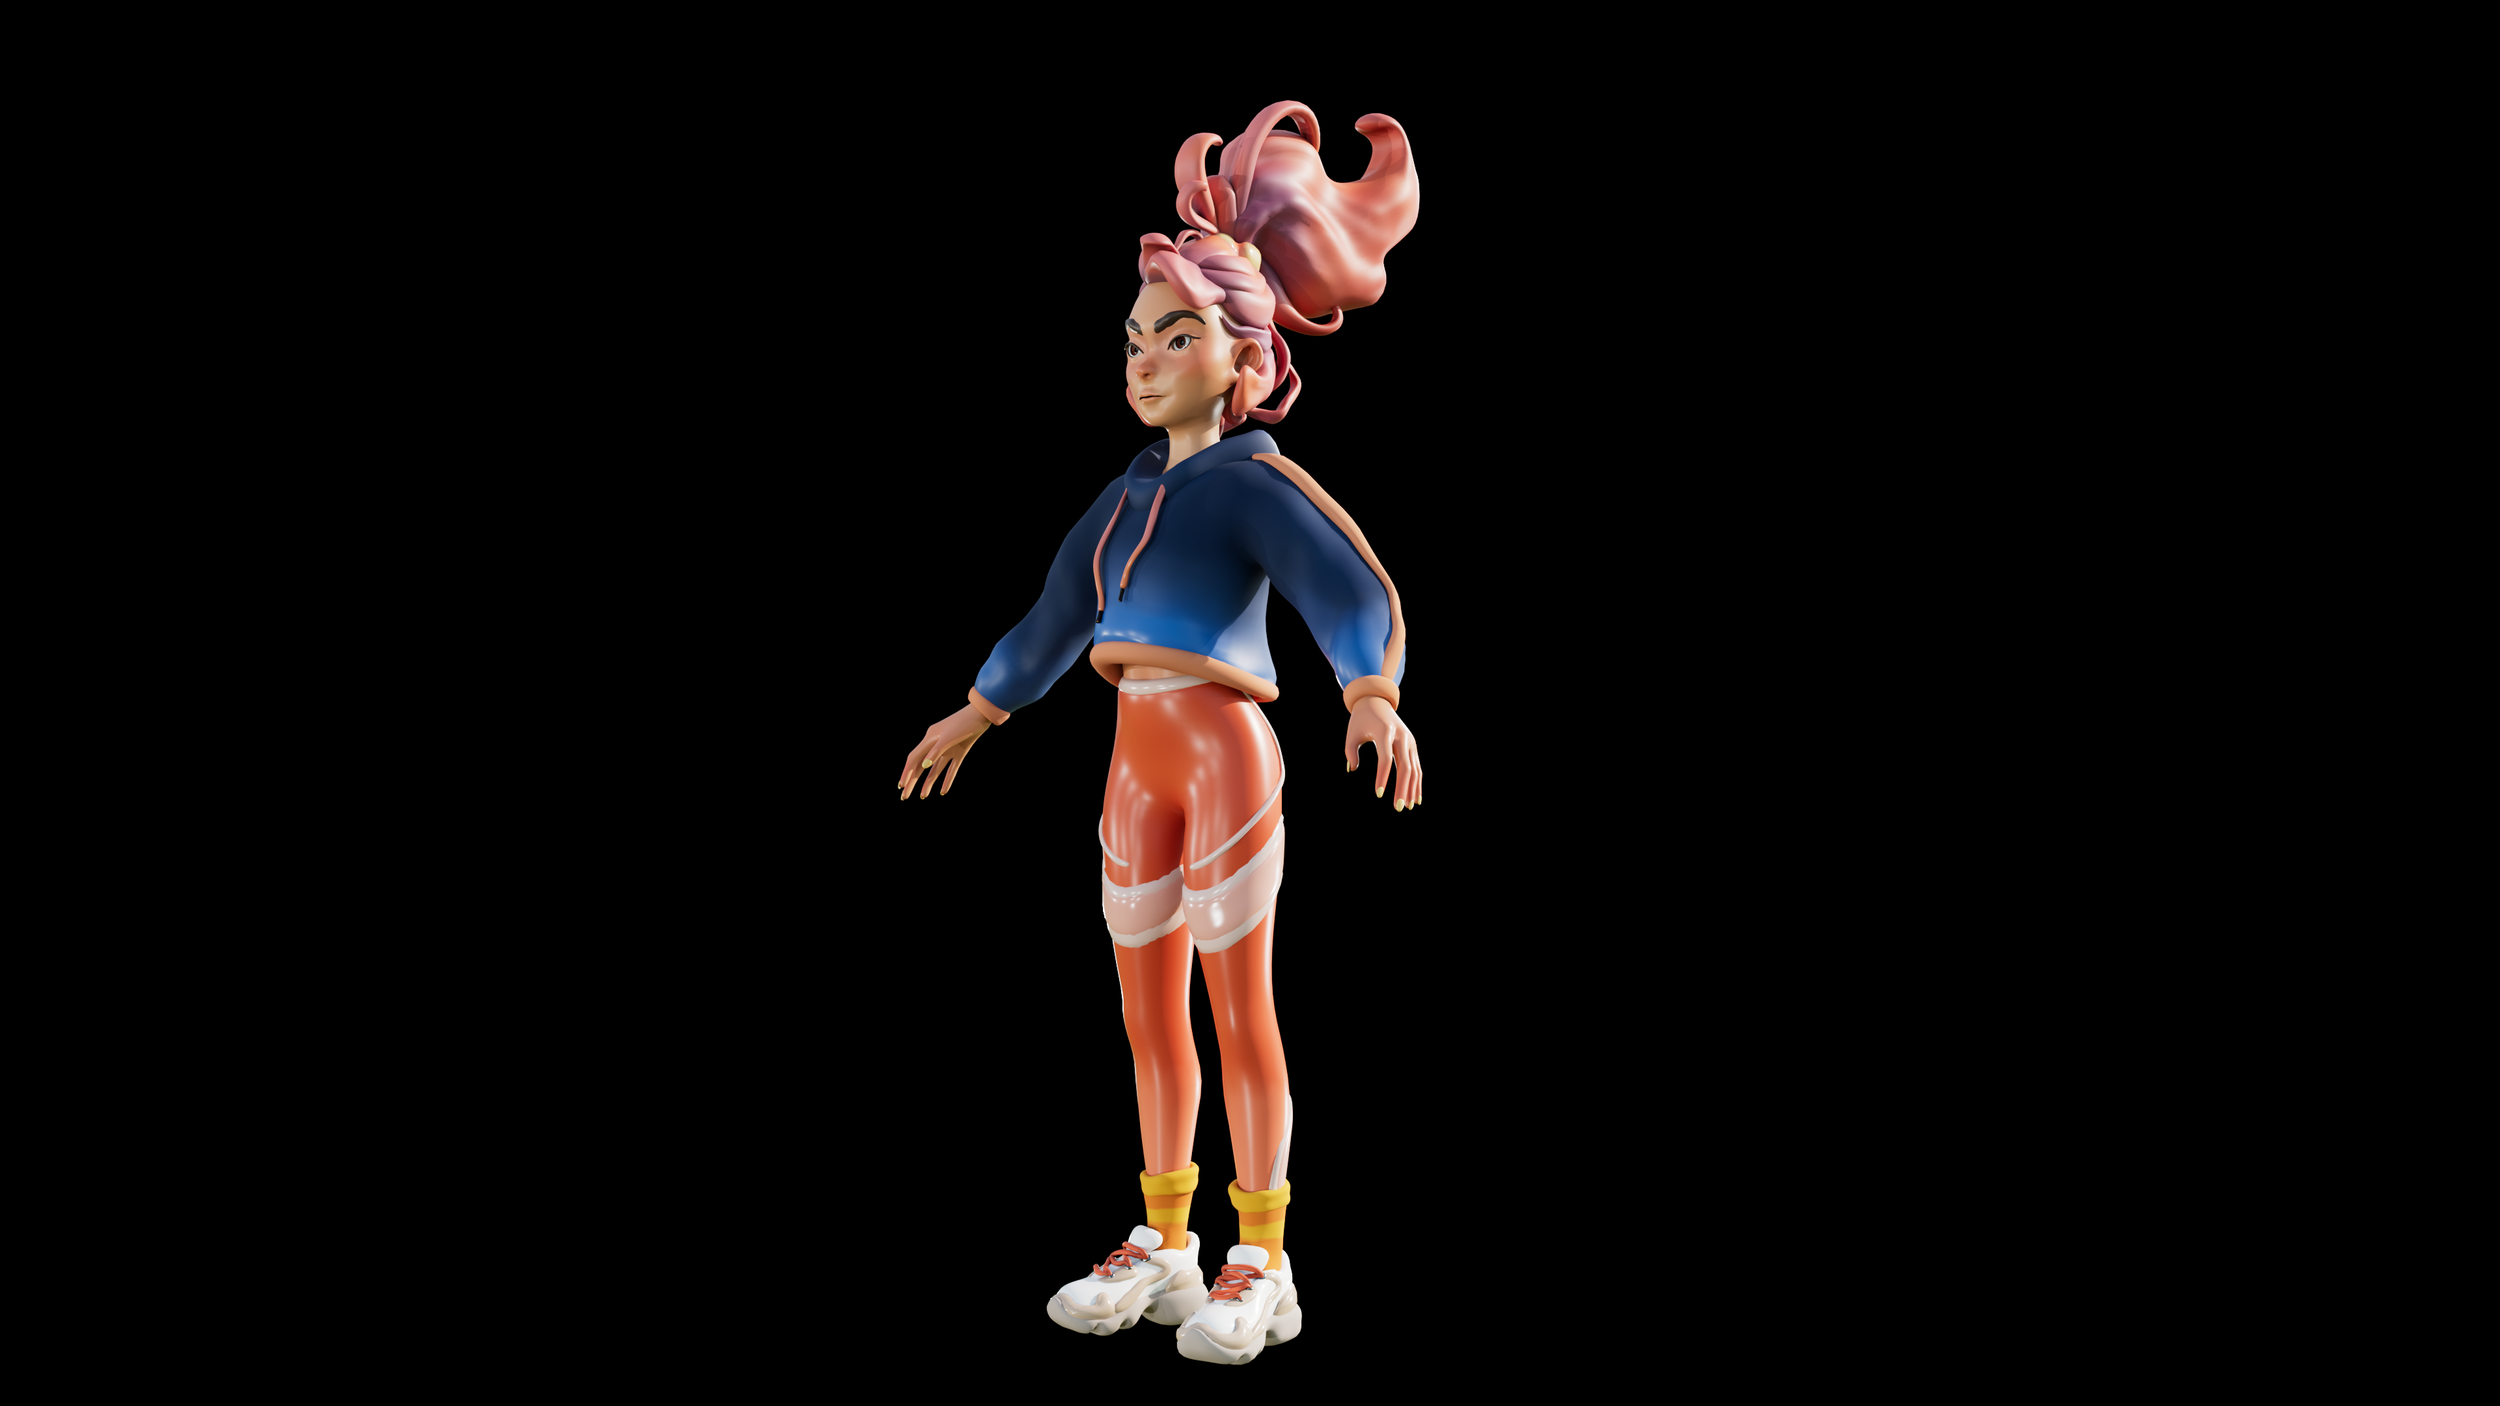
Week 11
12th December 2022 - January 2023
Image shows stills from a character render in Zbrush - Screenshot Credit: Anna McKee
Research and Reference -
Week 11

CREDIT - LOISH - BOTDESK - JULIEN KASPAR - 3D SCAN STORE - JAMES FRY - FRANCIS-XAVIER MARTINS - WALEED ABID - EUNICE PANDURO - FOLLYGON - IGOR KEKELJEVIC KEKI - JESSE HENAO MONROY - ERNESTO RUIZ VELASCO - MARTIJN WILLEMSE - TATIANA DEMAKINA
Final chosen character Reference
- Loish

After much deliberation regarding the type of organic model I should create, the decision was made to recreate this beautiful artwork titled “Abundance” by Loish.
This digital piece is one of my personal favorite paintings created by the artist, due to her use of warm tones, negative space and Visual Narrative.
From my personal viewpoint there is a story behind “Abundance”, as the display of Pumpkins, Mushrooms and Apples shown behind the character demonstrate the arrival of Harvest.
The title of the piece also creates a strong connection between the plentiful yield of the Harvest and its ‘Abundance’ of fruits and vegetables.
The piece is then visually brought together through its combination of bright / warm tones, which are then ‘broken-up’ by the cool-blue jacket.
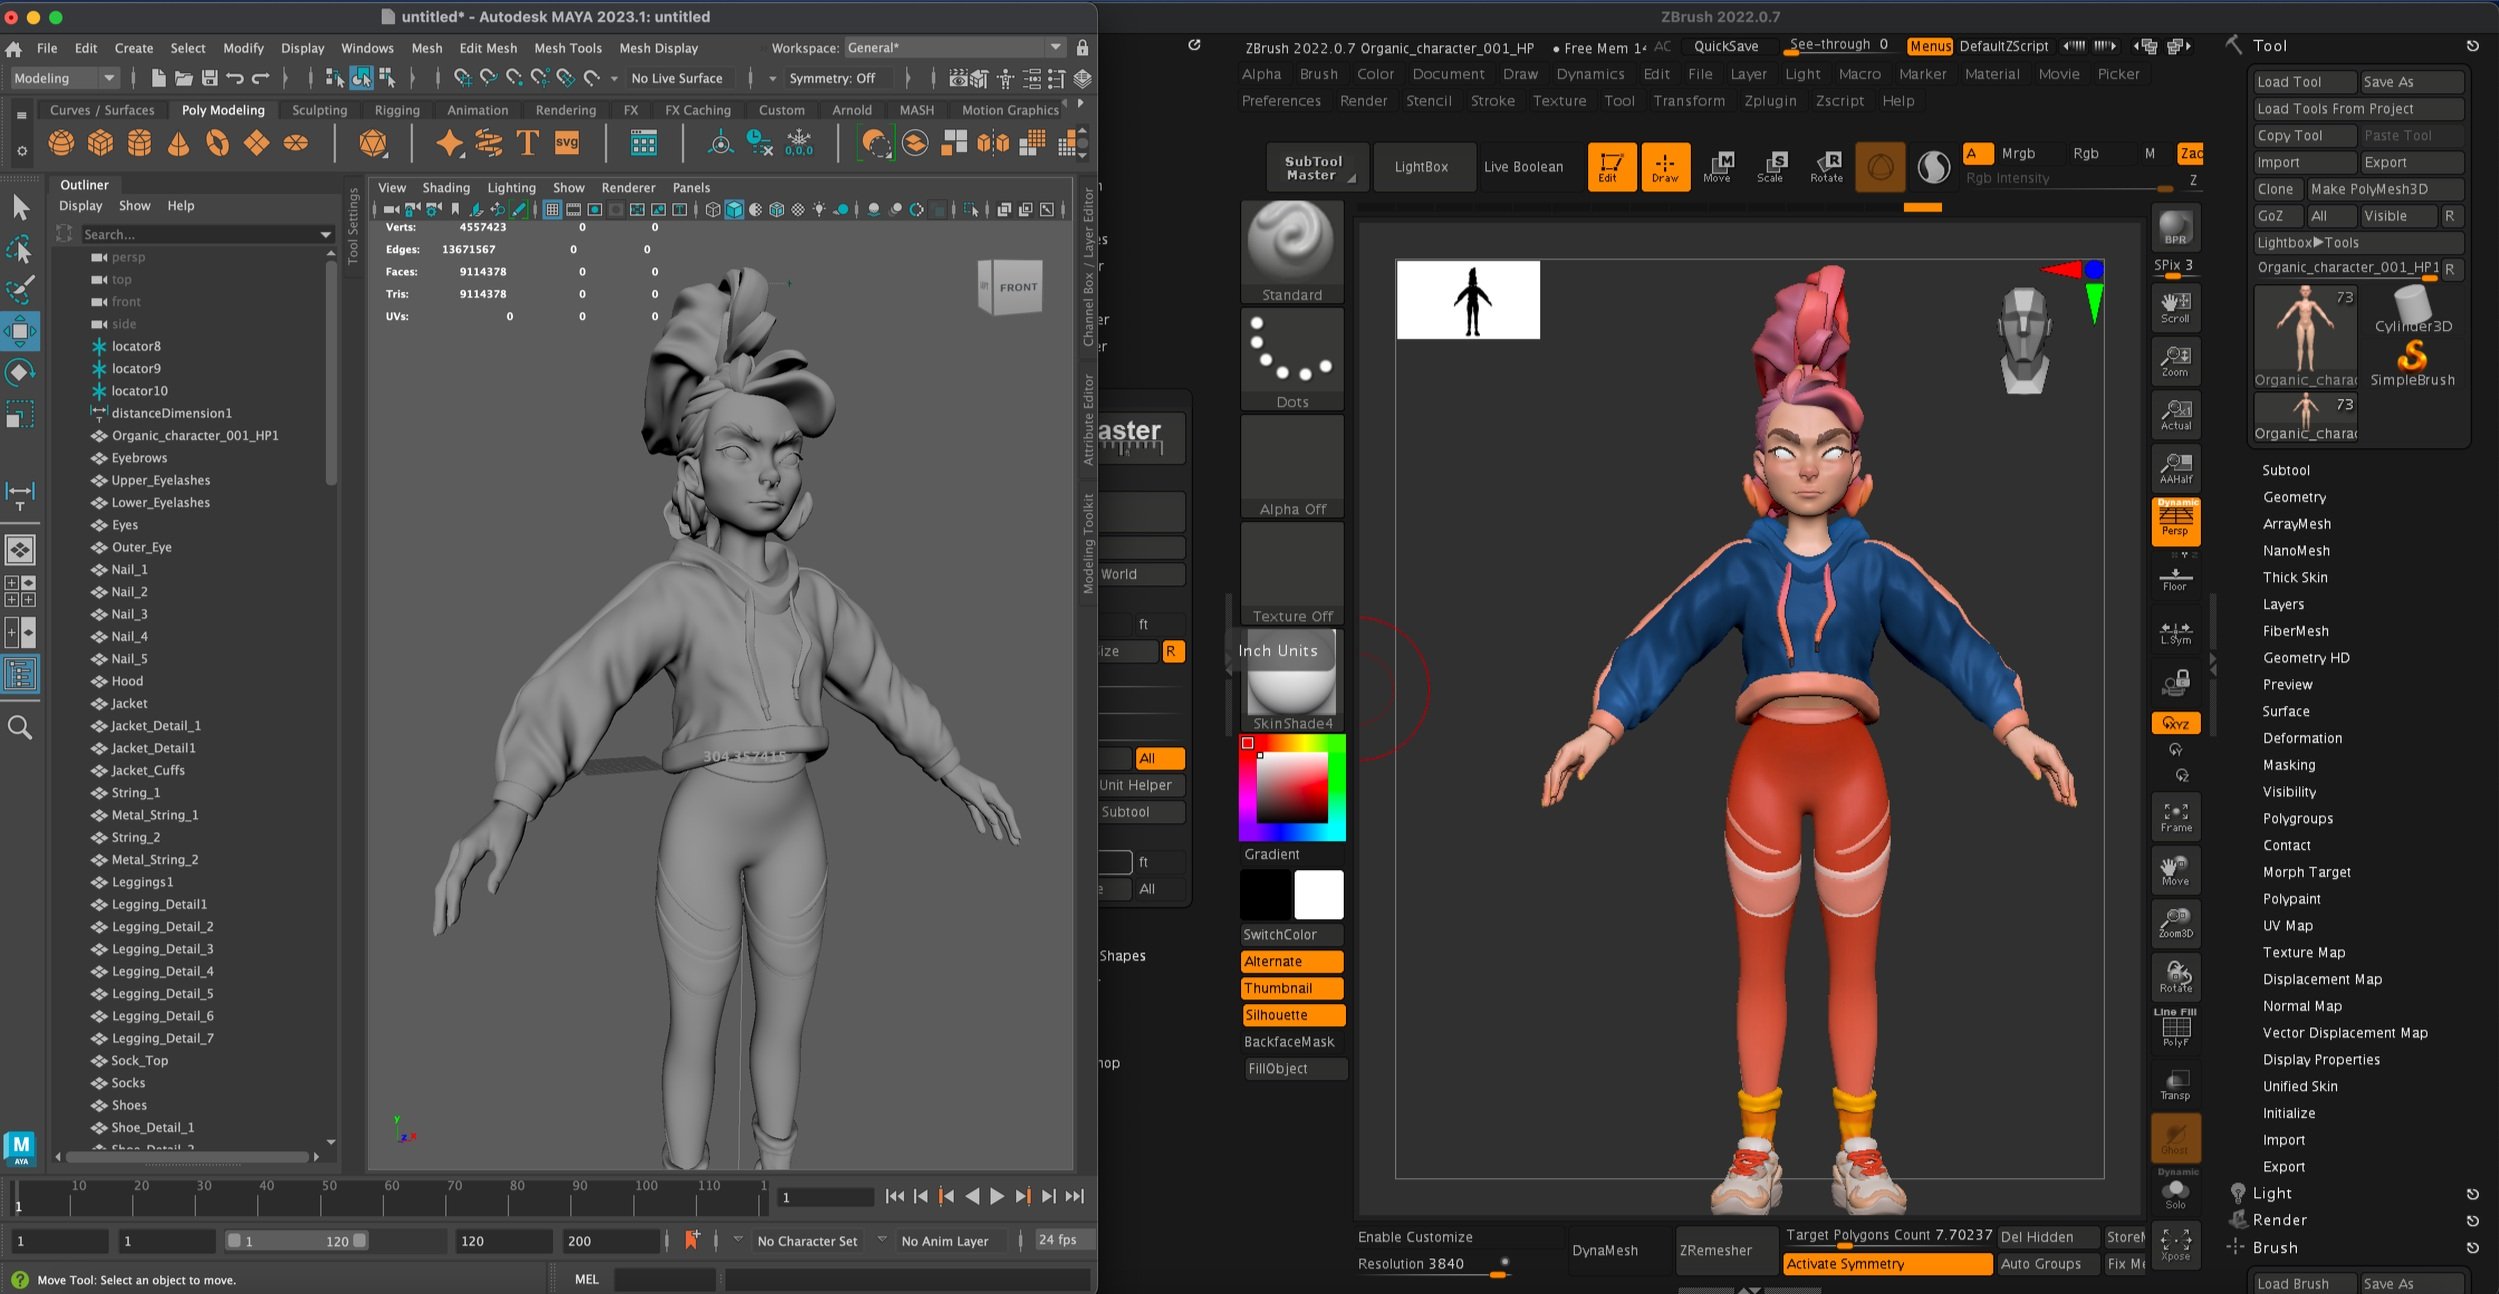
Female Character - Zbrush Process
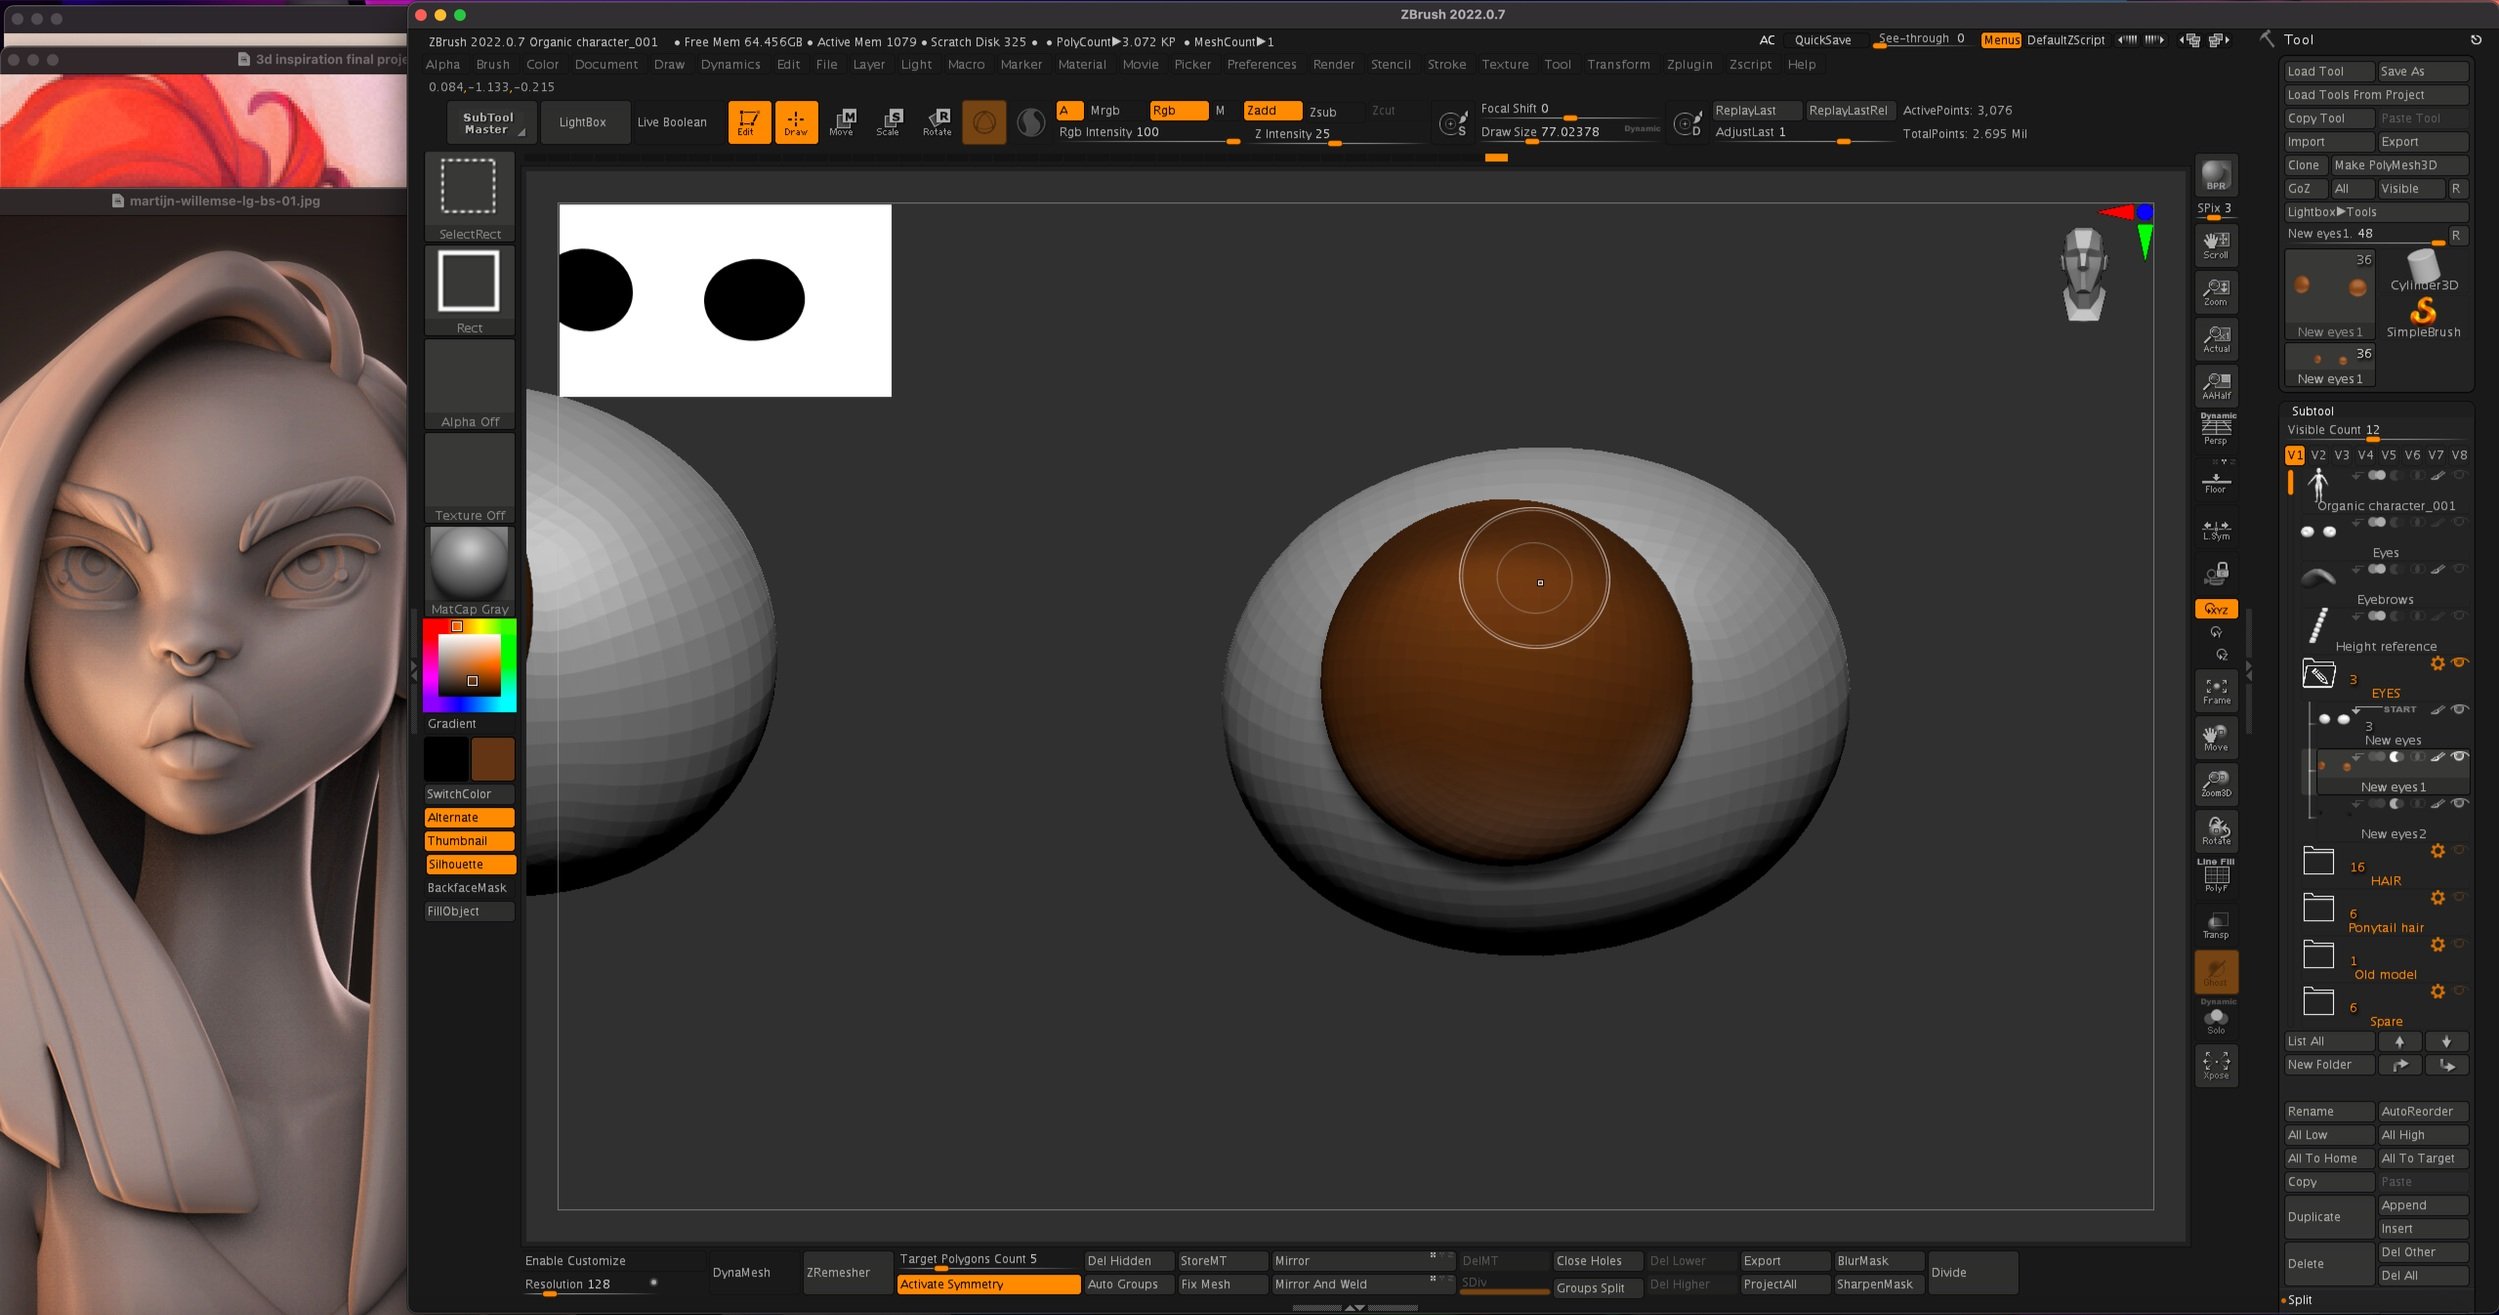
Creating the Base Mesh


Credit - My screenshots - Anna Mckee
Creating the Base Mesh Conclusion:
This initial stage of the sculpting process began with creating my own Base Mesh from scratch.
Although this was a slow and lengthy process, it was good practice to challenge myself to follow the initial proportions of the “Abundance” painting and apply human anatomical sculpting skills to the beginning process of this piece.
There were also many challenges presented during this fundamental sculpting process; such as the need to restart sculpting the hands.
This is because the fingers kept merging together each time the mesh was Dynameshed, (this was due to each finger being placed quite close to one another).
The issue was then resolved with the process of deleting and recreating the hands, although this time each of the fingers were intentionally separated to a point that the Dynamesh would not affect the final outcome of the modelling process.
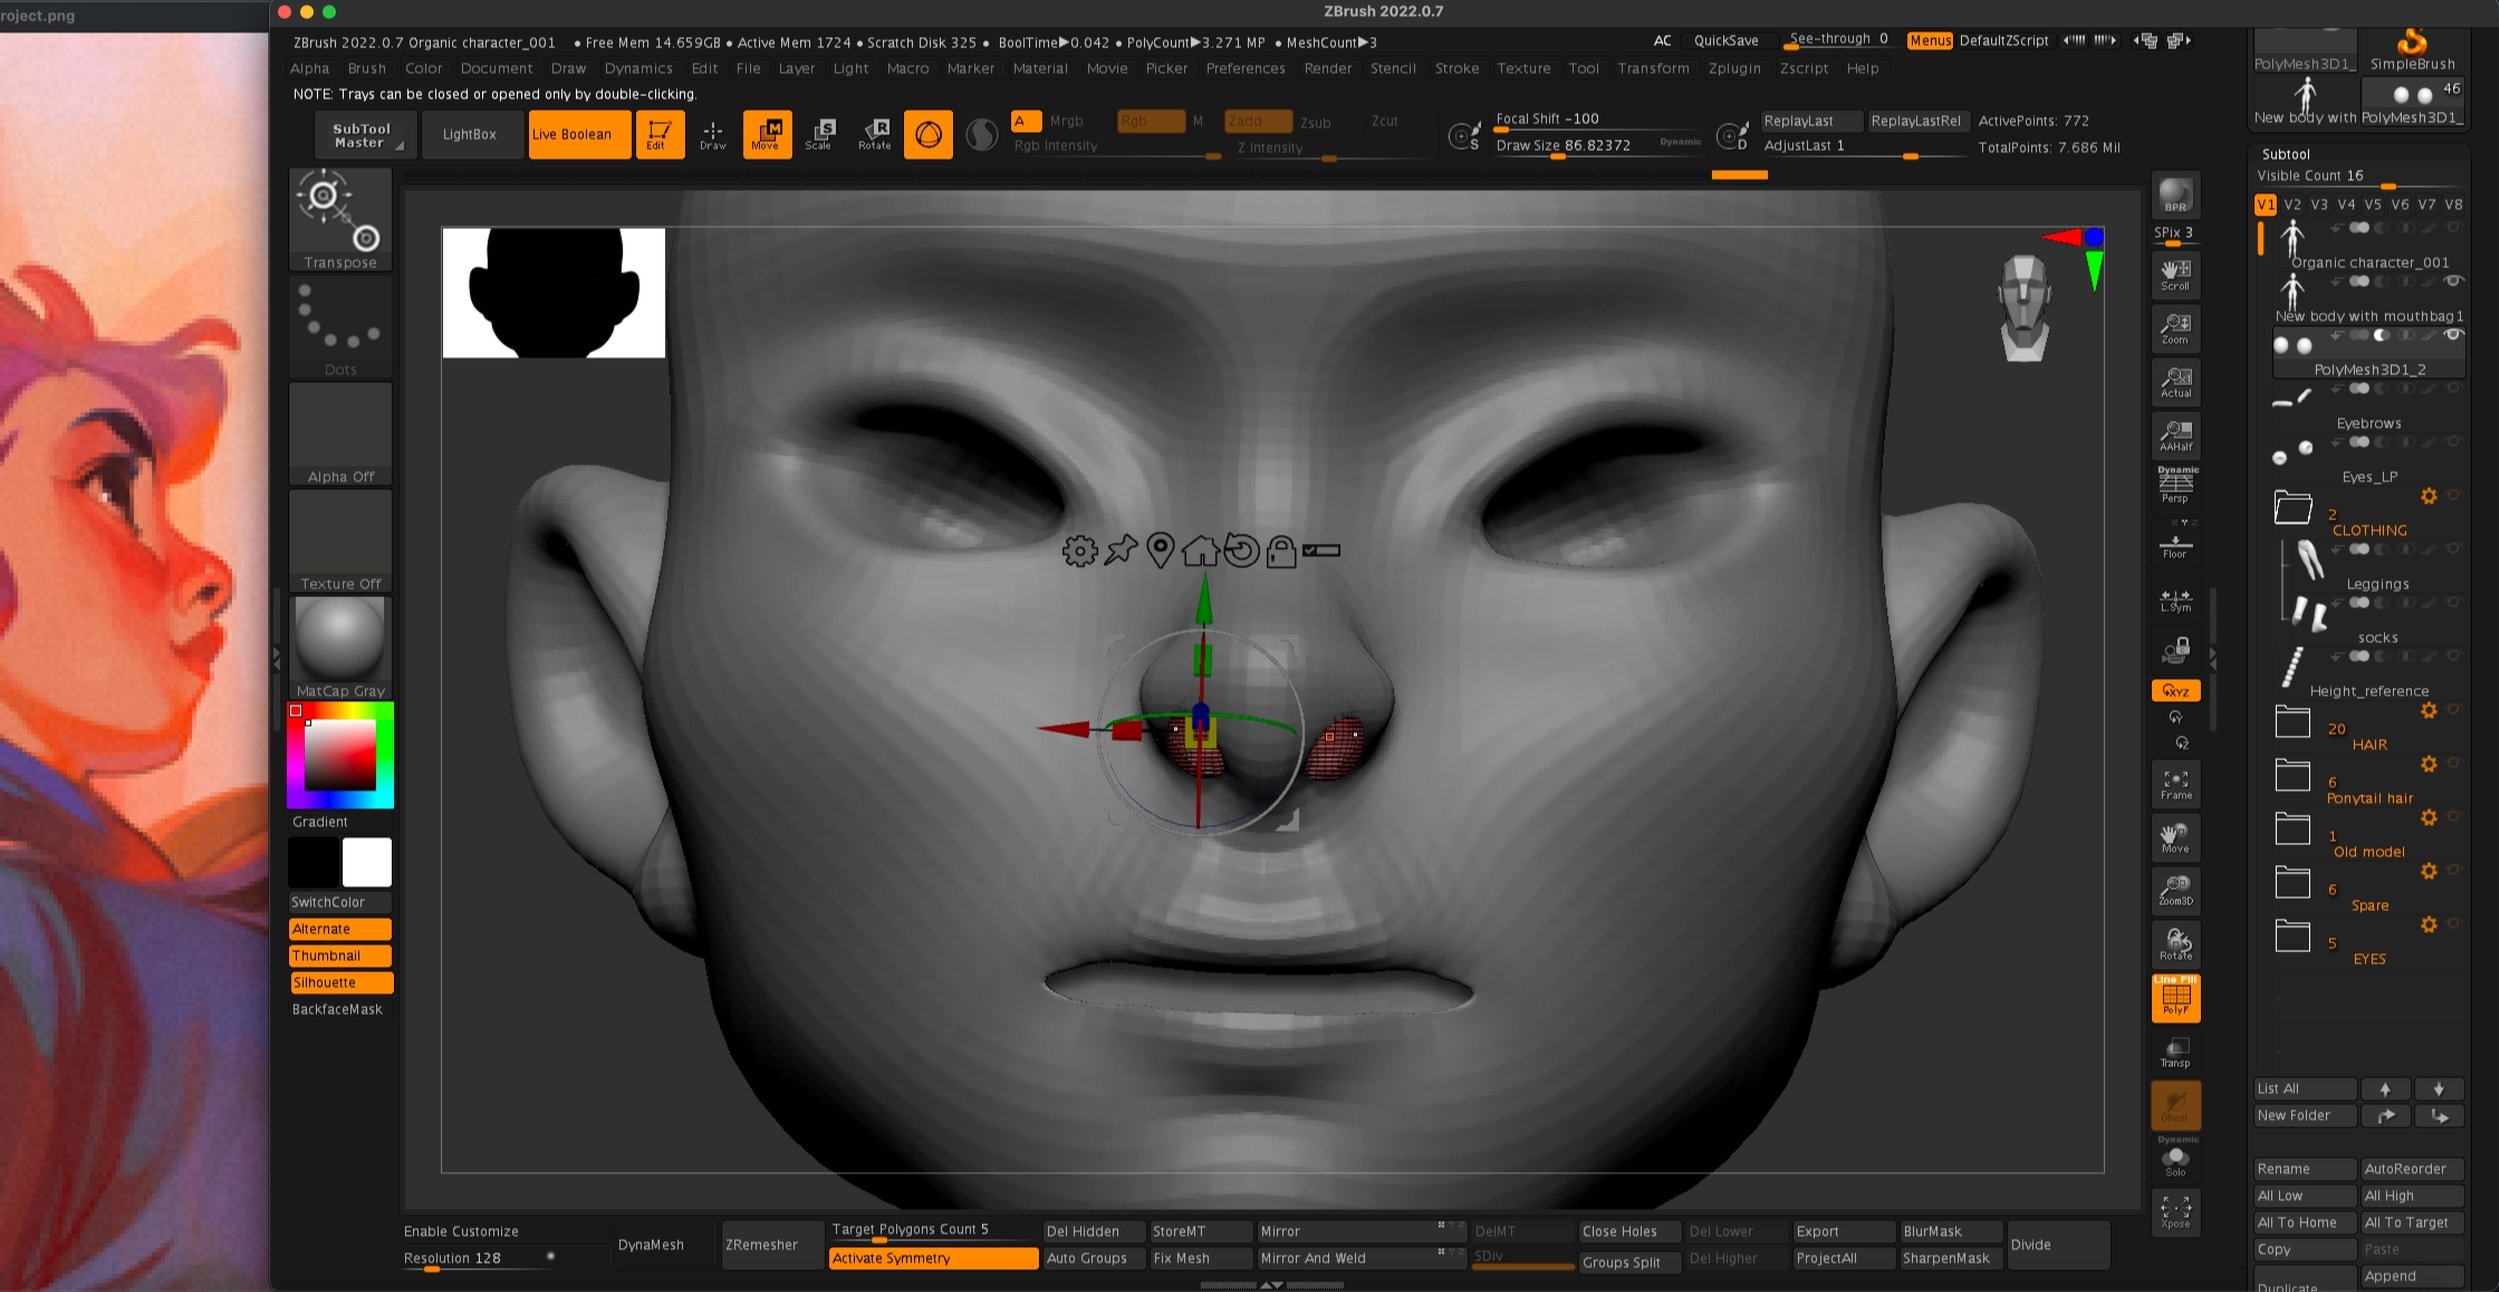
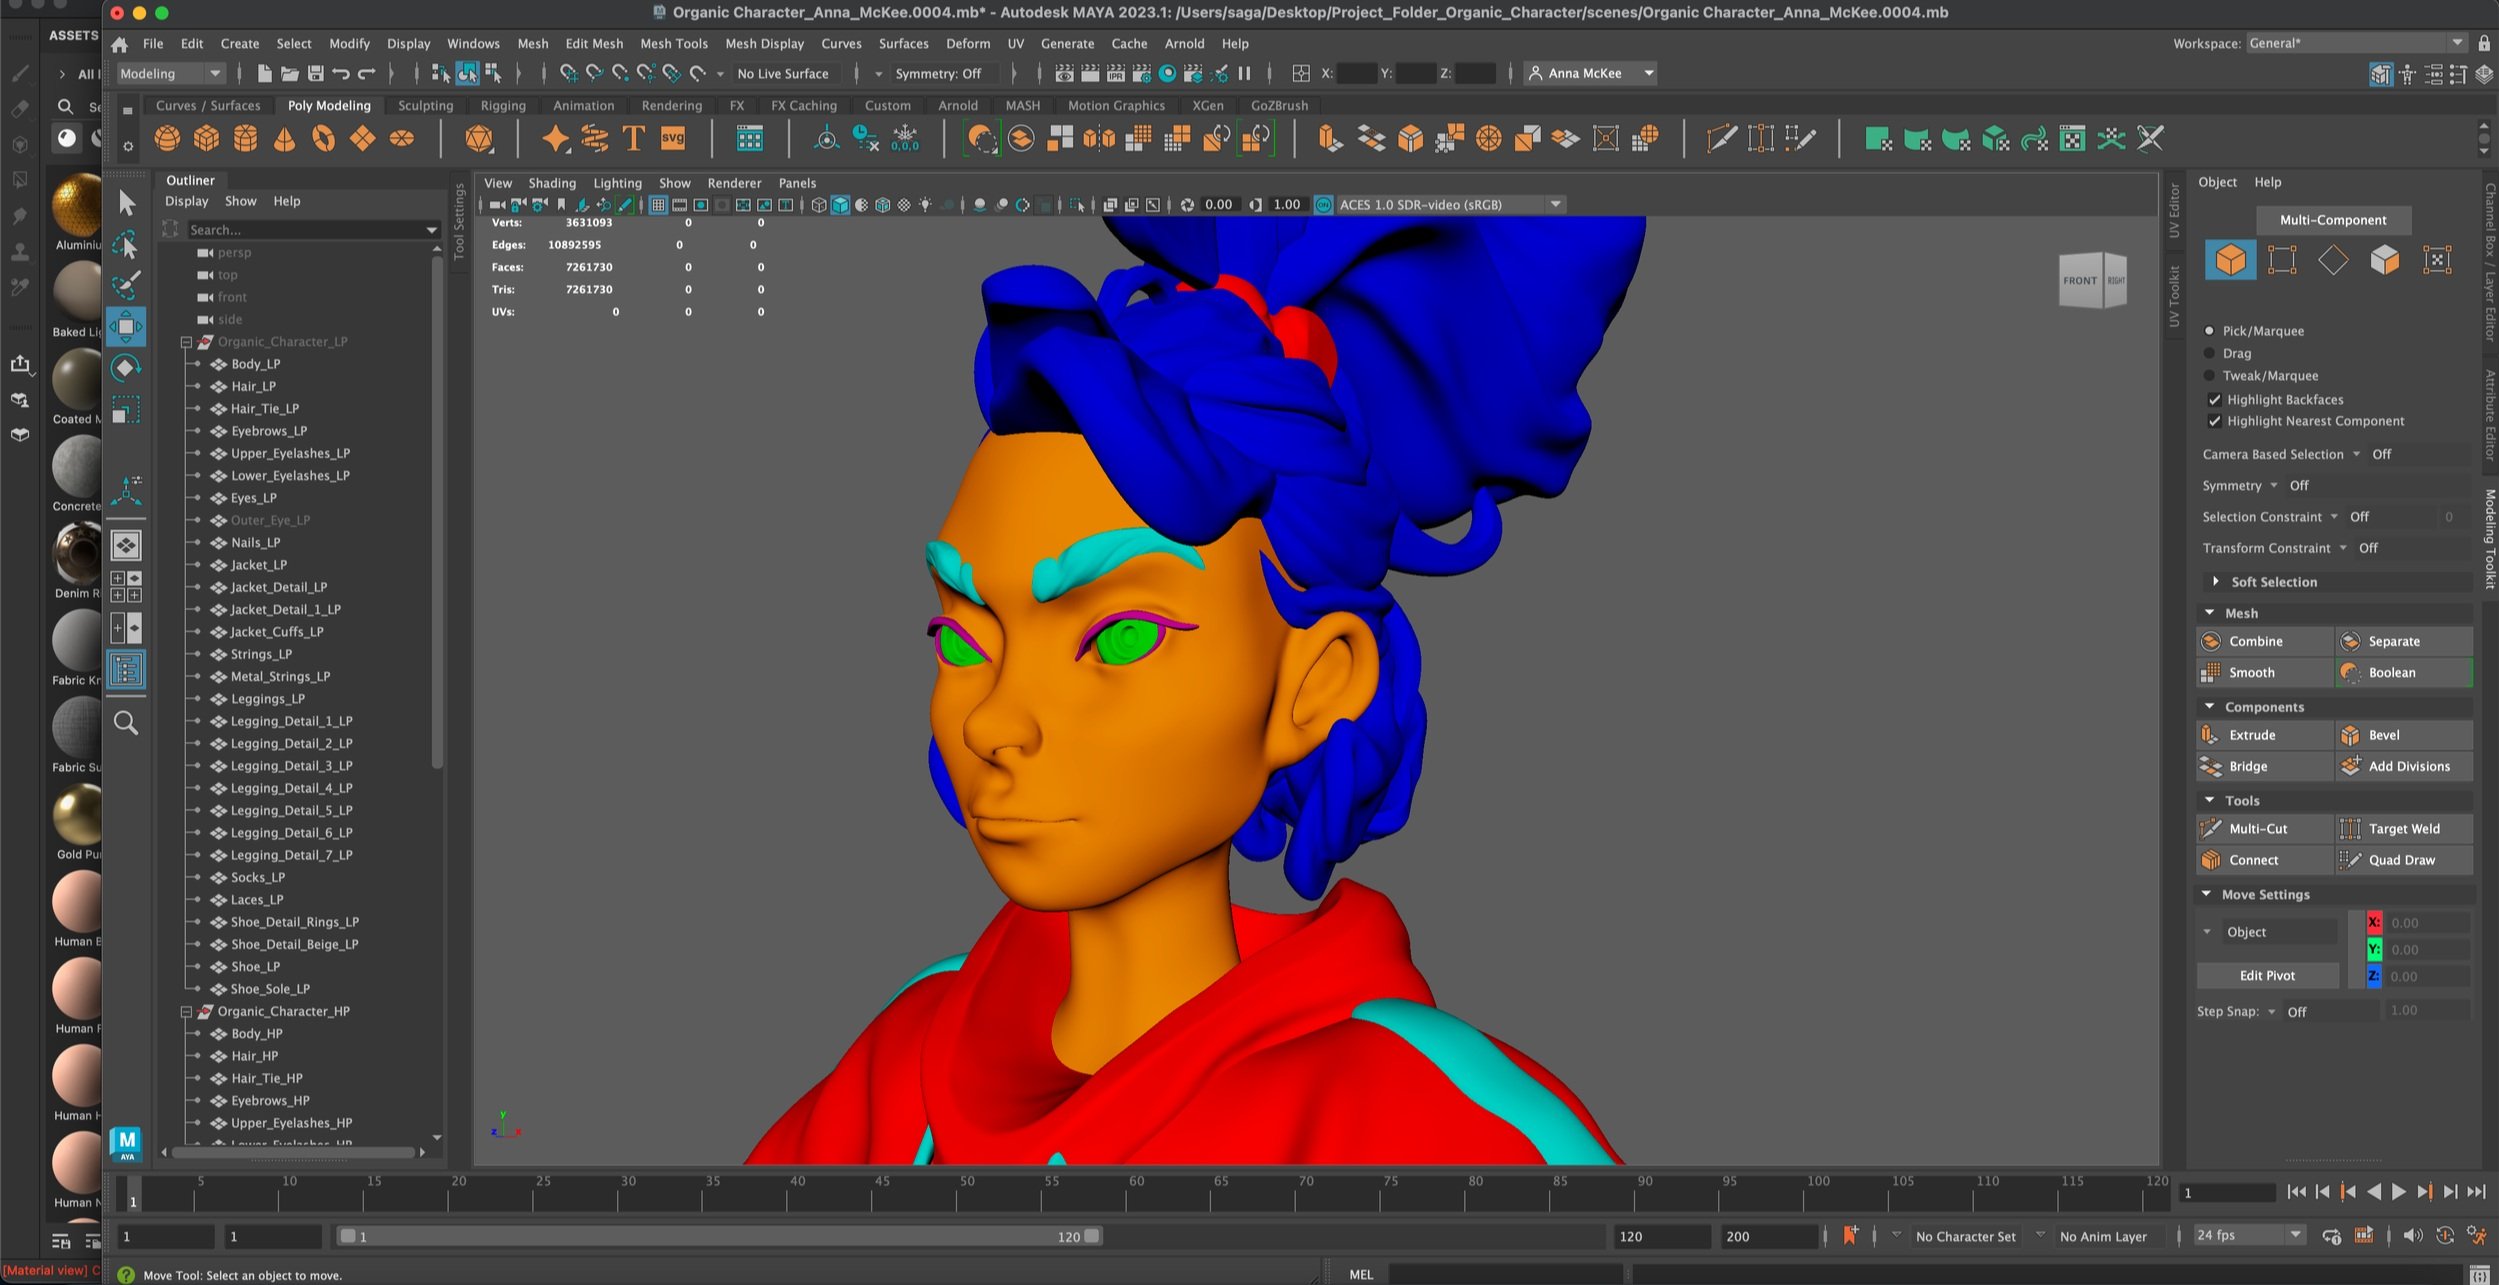
Female Character - Zbrush Process
Refining the Base Mesh, Adding the features: Eyes, Hands and Hair


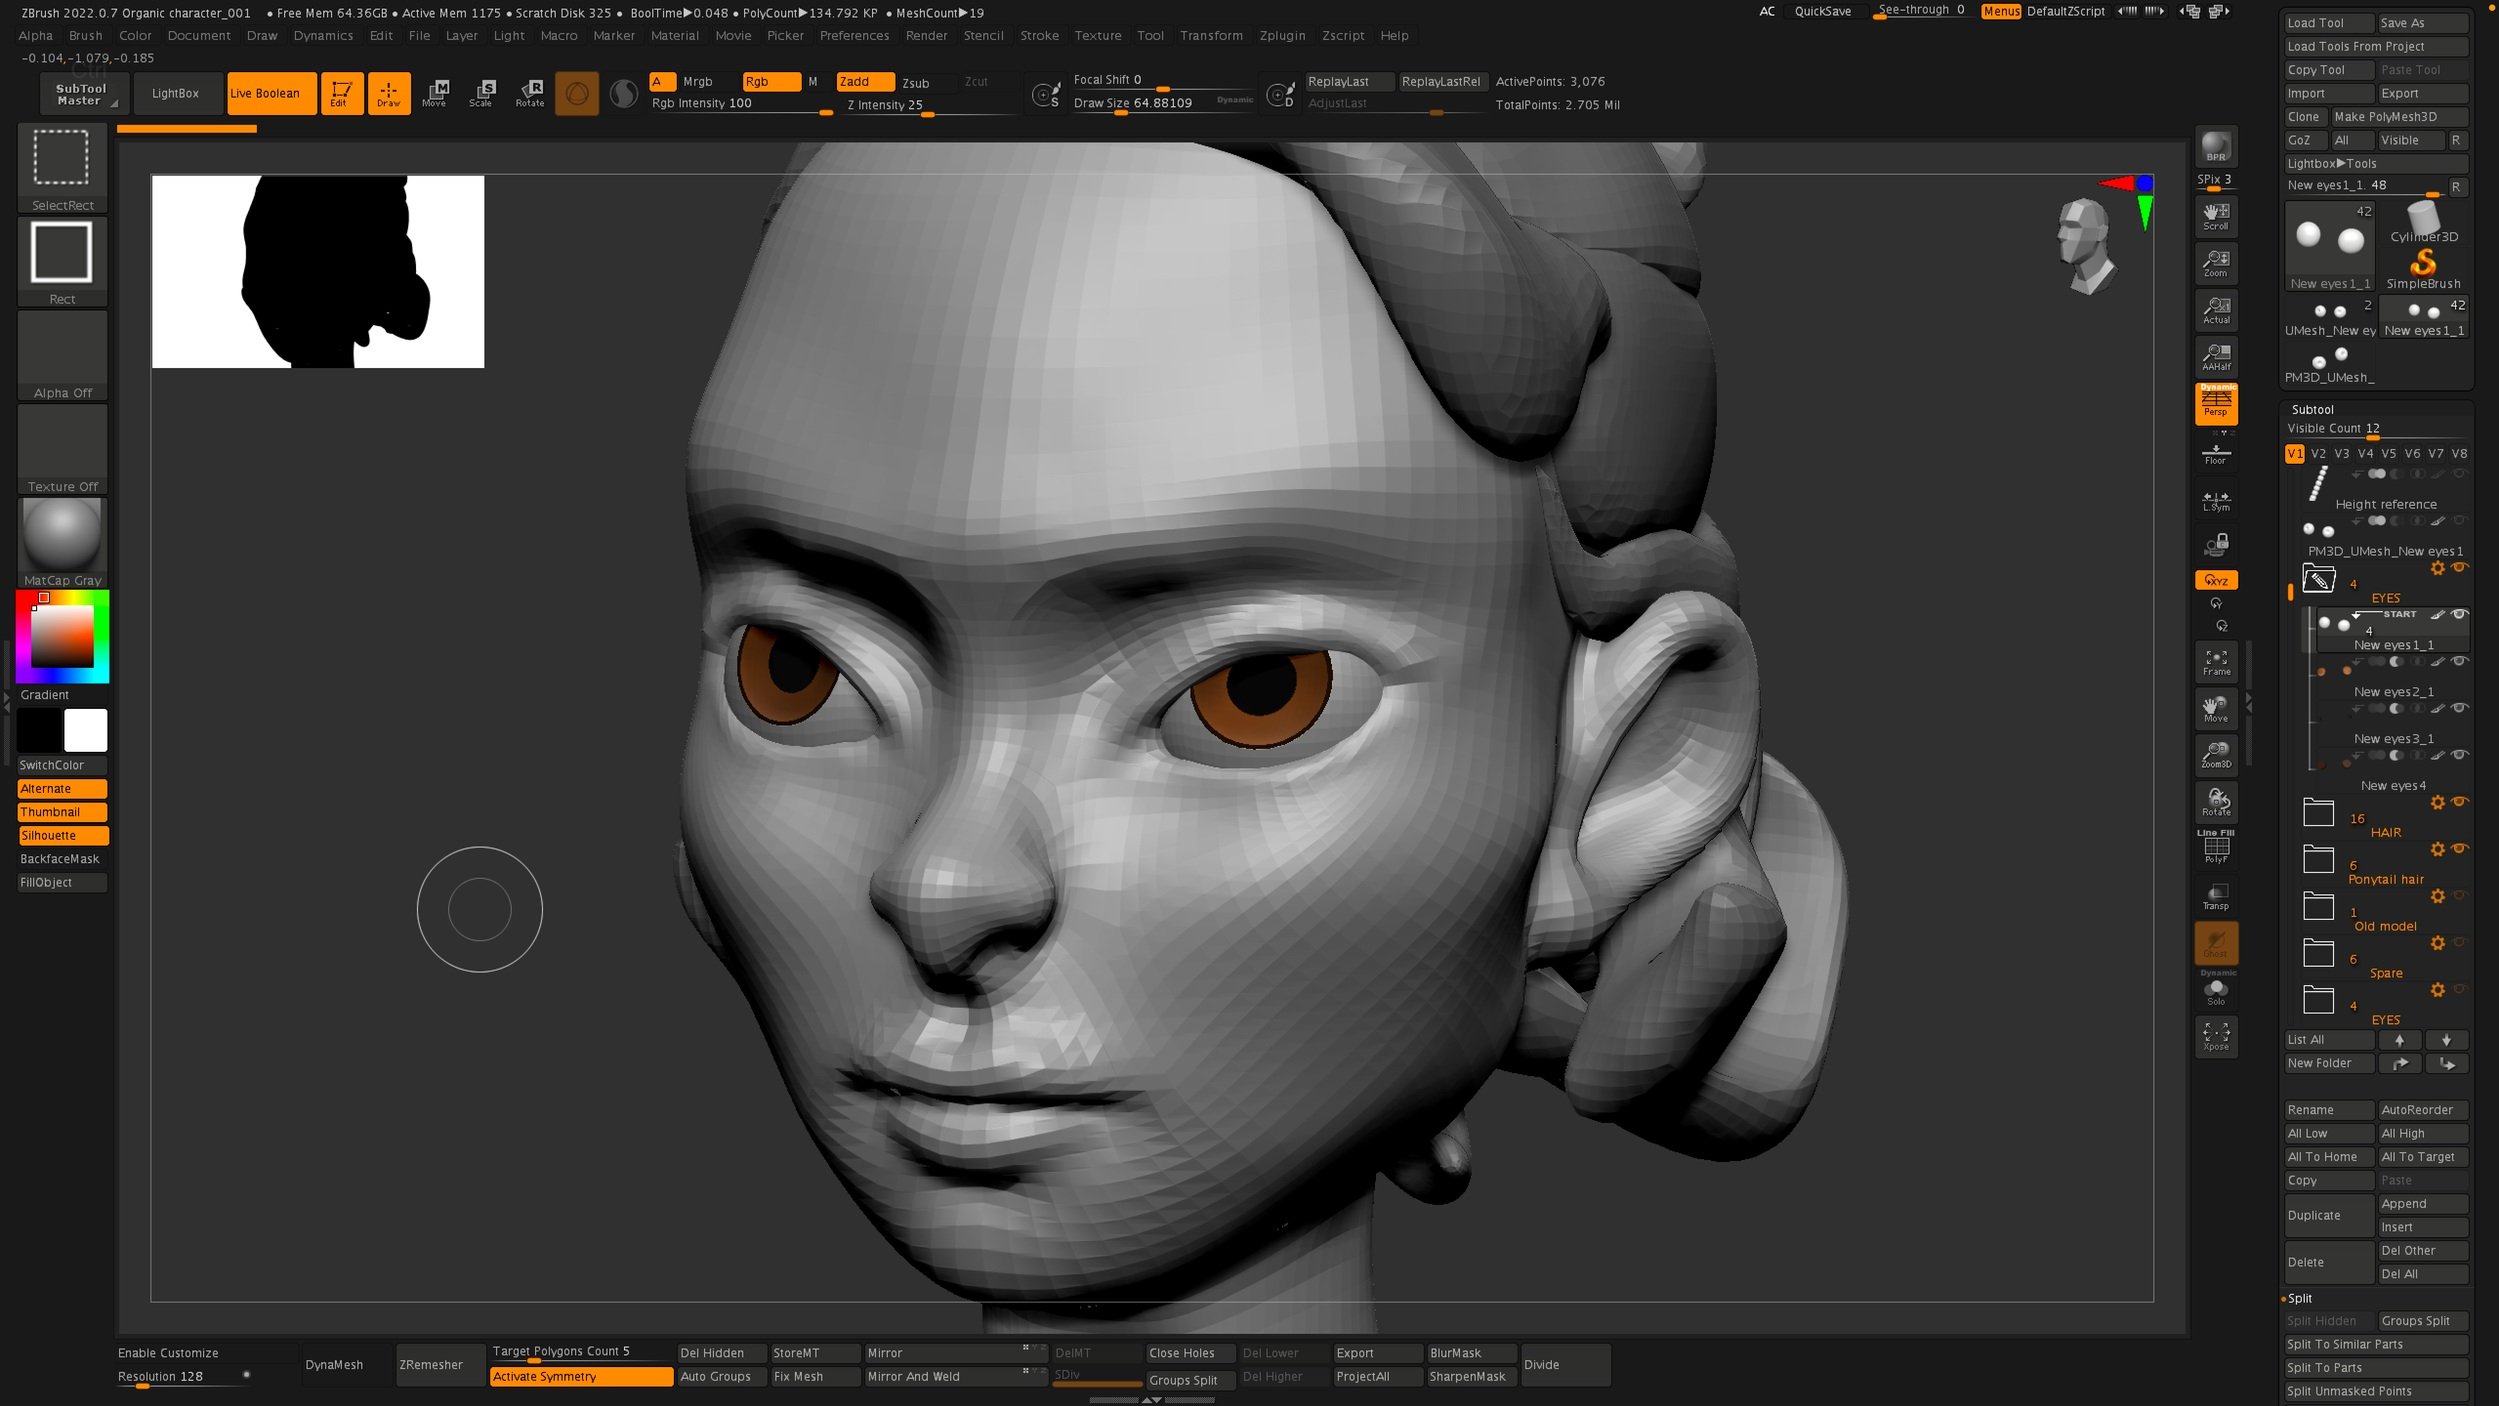


Credit - My screenshots - Anna Mckee
Refining the Base Mesh, Adding the features: Eyes, Hands and Hair Conclusion:
Within this sculpting process the hands, eyes, hair and other features were added and defined through the use of the ‘Append’, ‘Goz function’ and ‘Dynamesh’ tool.
Female Character - Zbrush Process
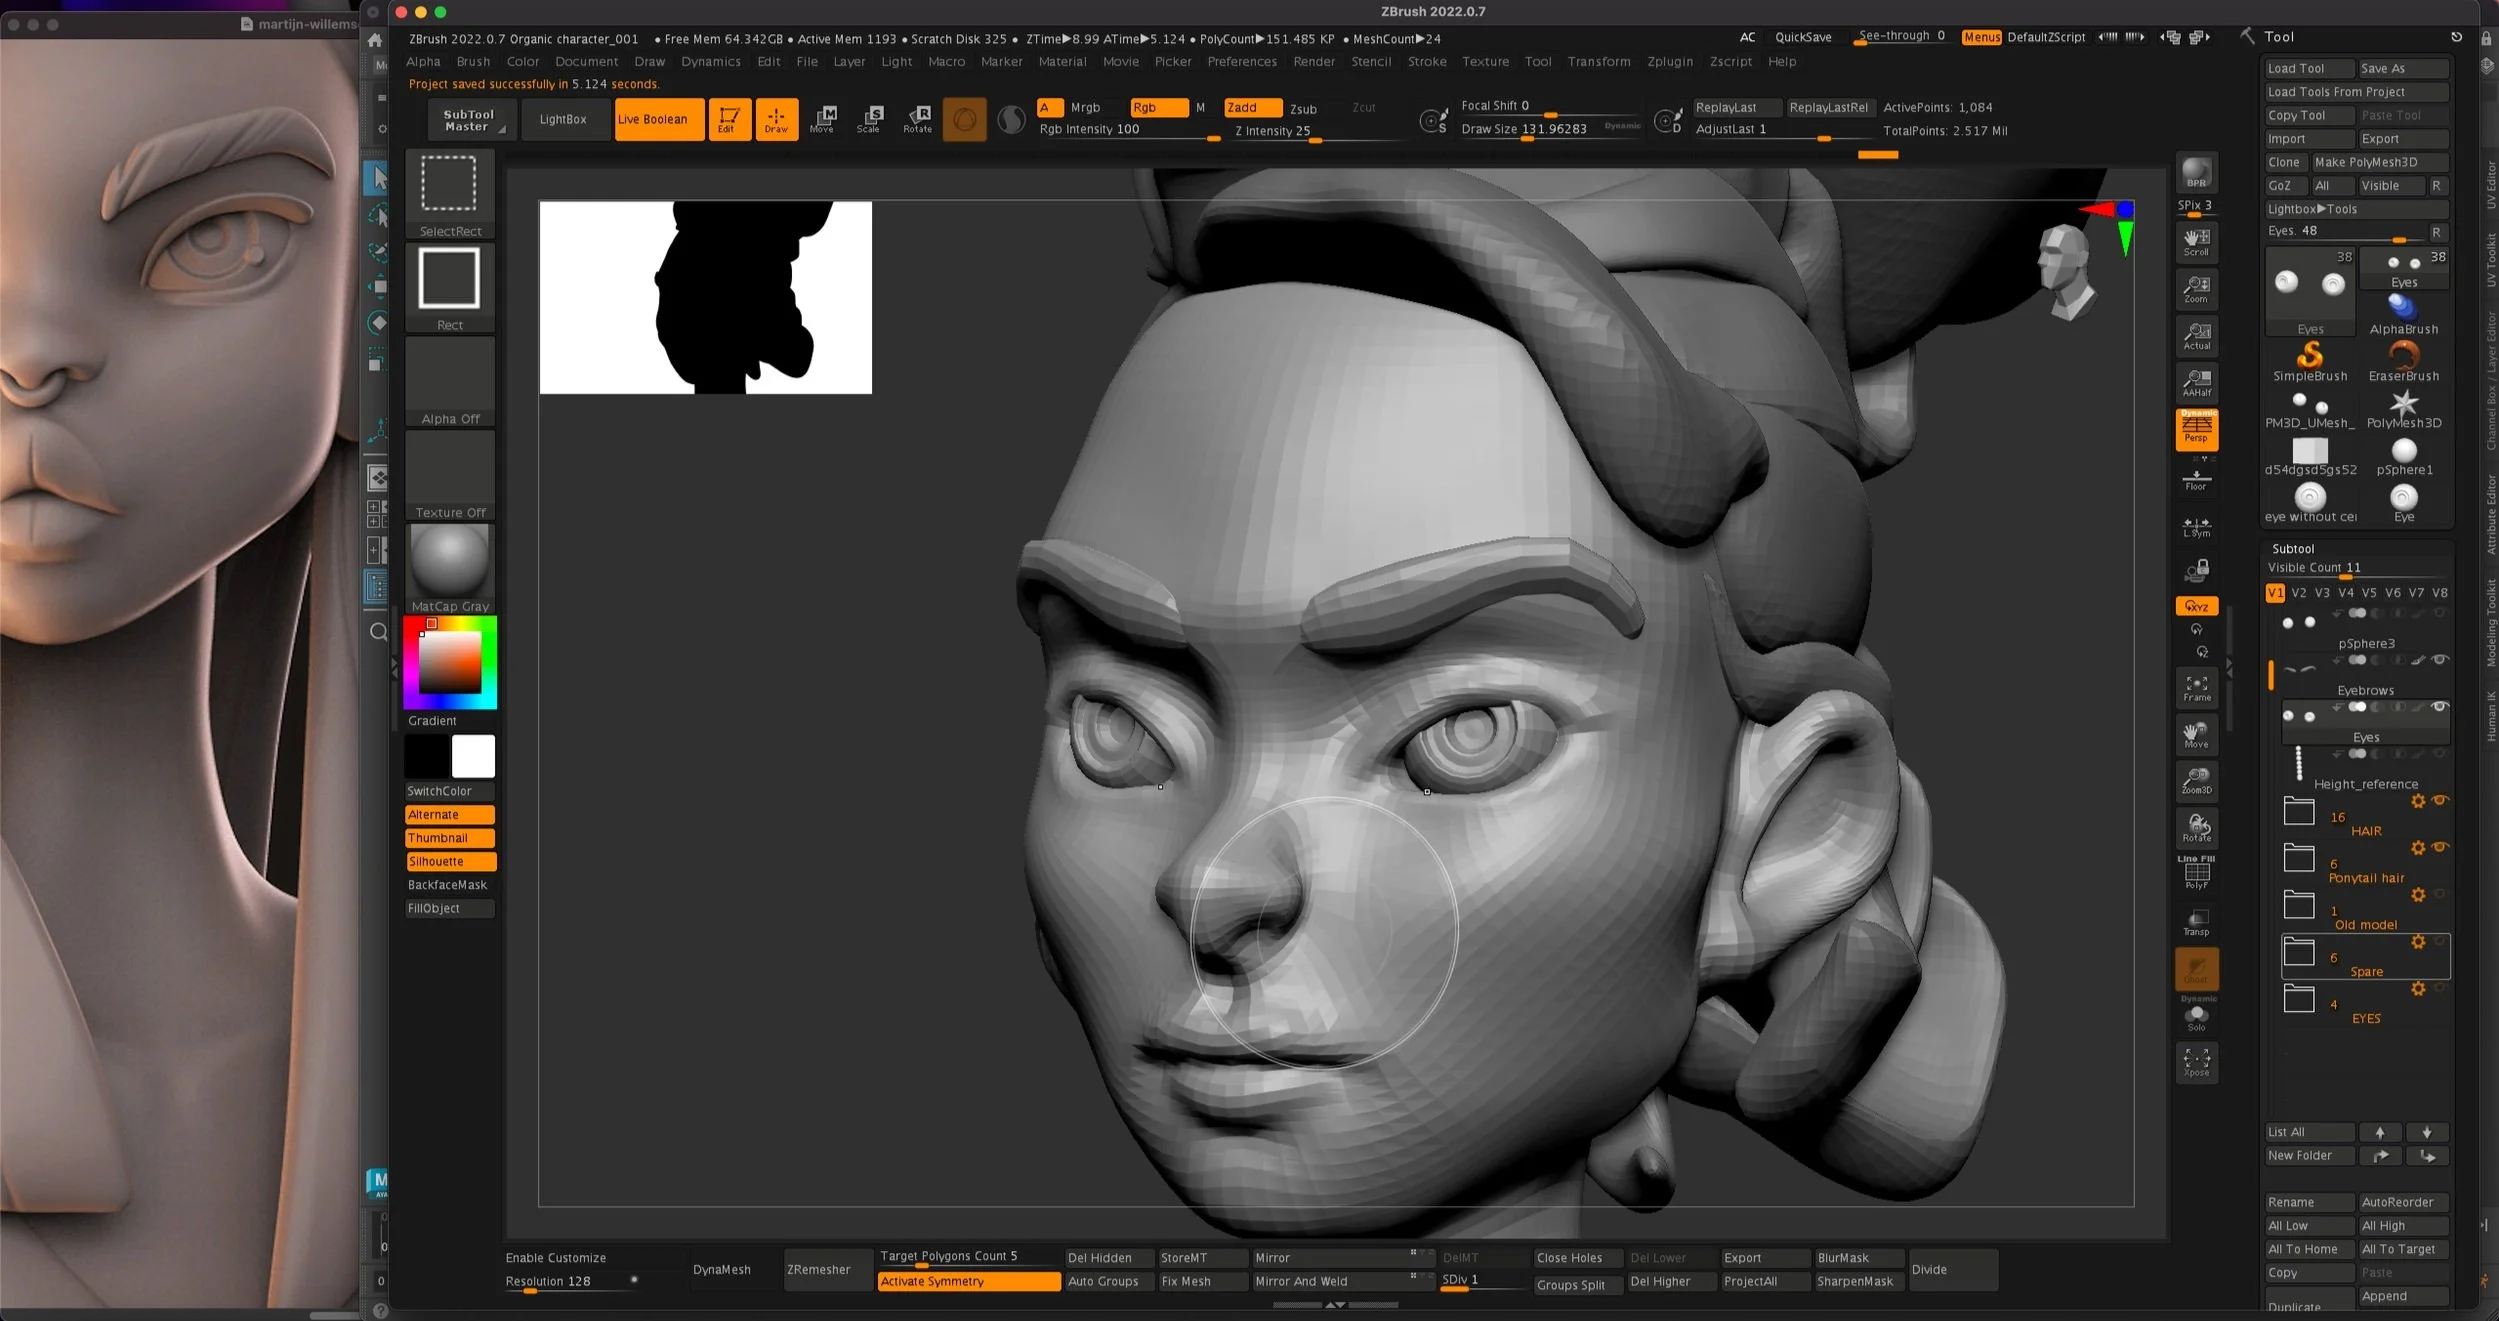
Creating the Mouth Cavity / Mouth Bag


Credit - My screenshots - Anna Mckee
Creating the Mouth Cavity / Mouth Bag Conclusion:
Female Character - Zbrush Process
Creating Eyelashes and refining the Hands


Credit - My screenshots - Anna Mckee
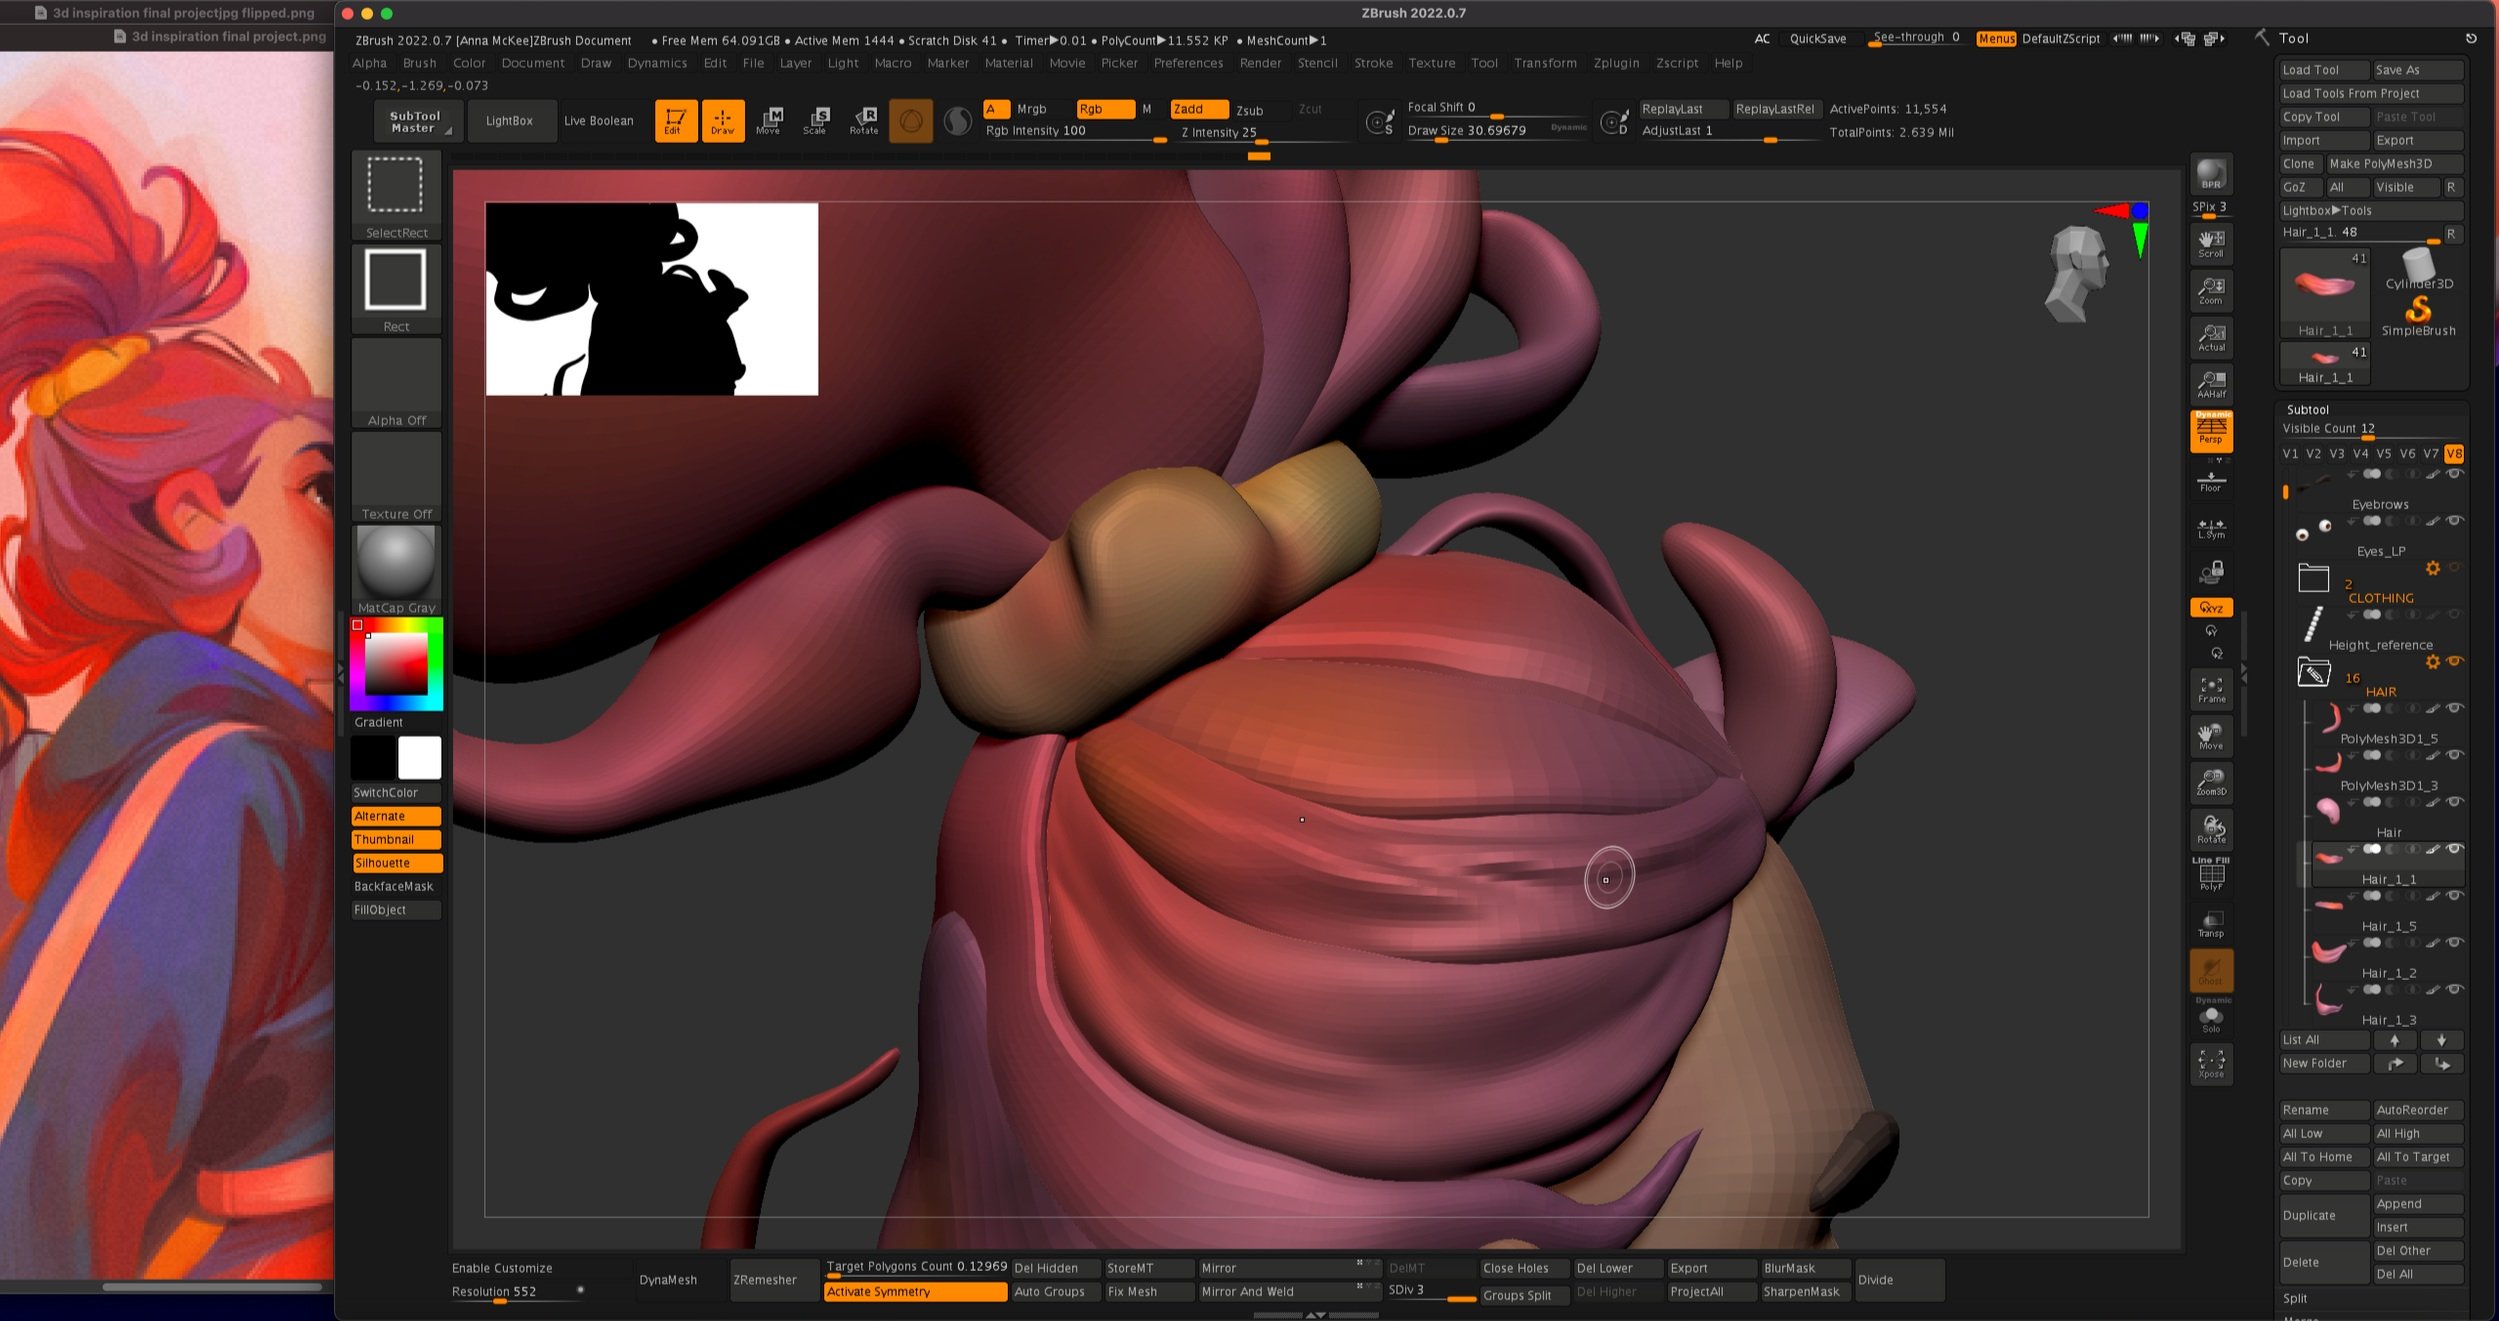
Female Character - Zbrush Process
Sculpting the Clothing


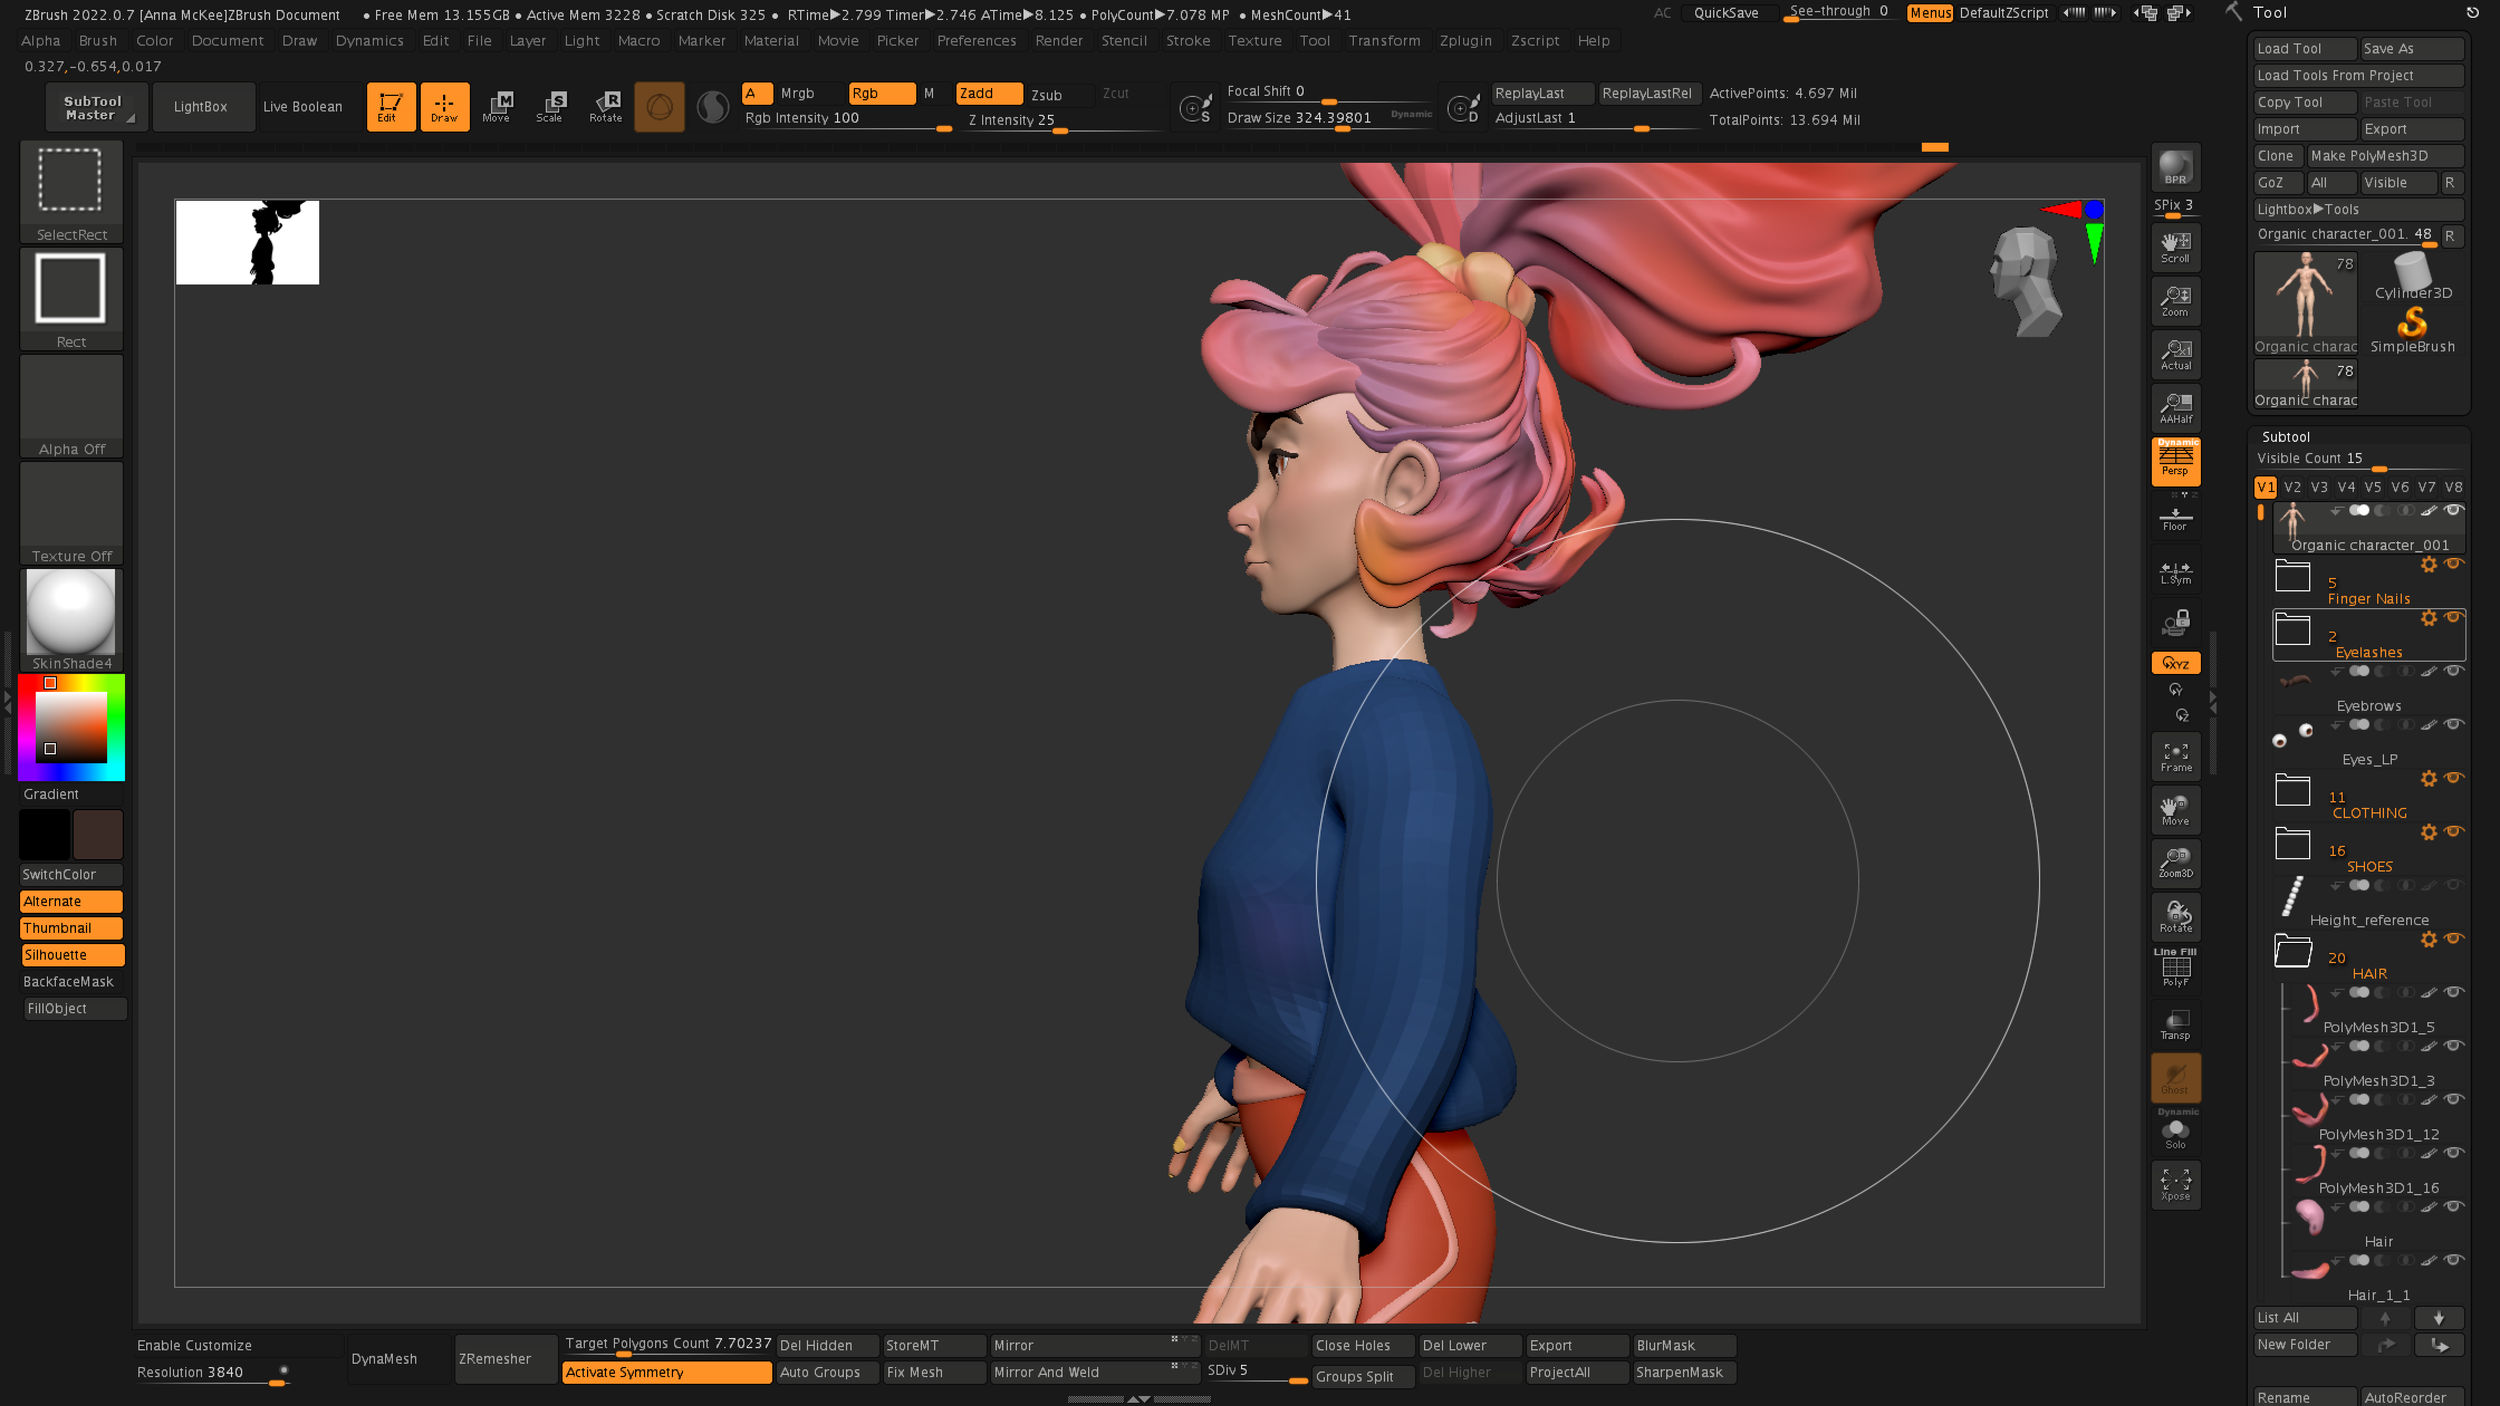

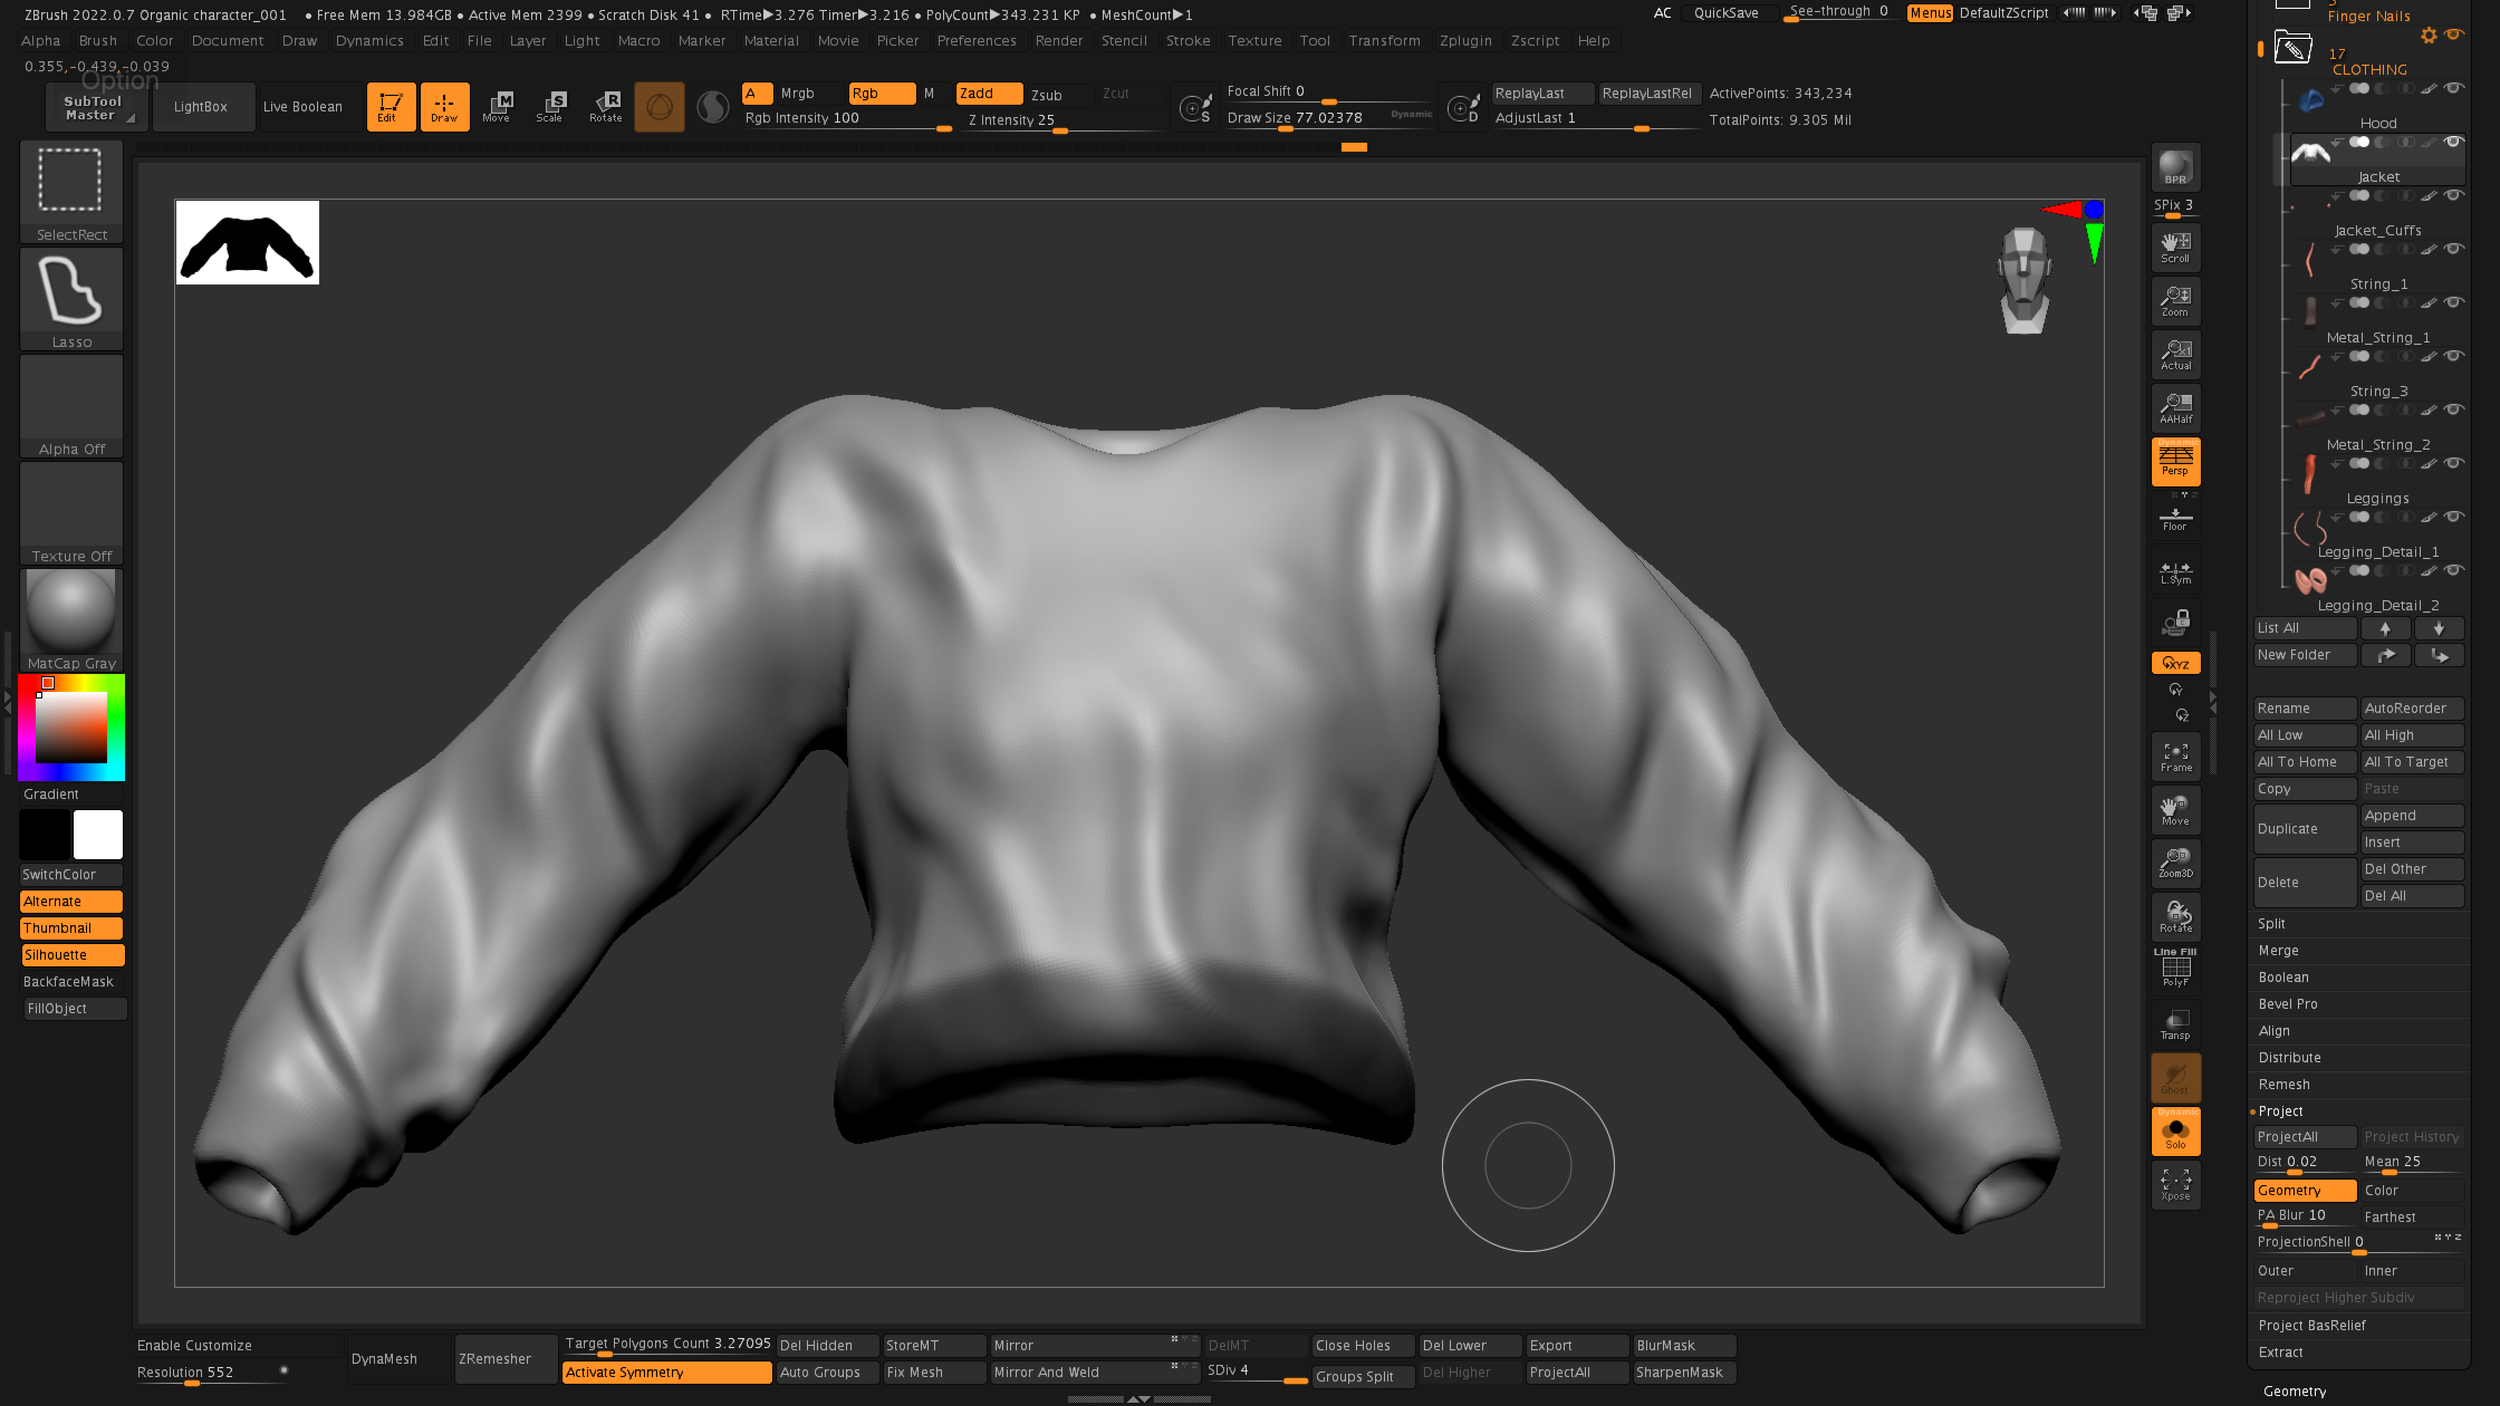


Credit - My screenshots - Anna Mckee
Female Character - Zbrush Process
Decimation + Scale


Credit - My screenshots - Anna Mckee
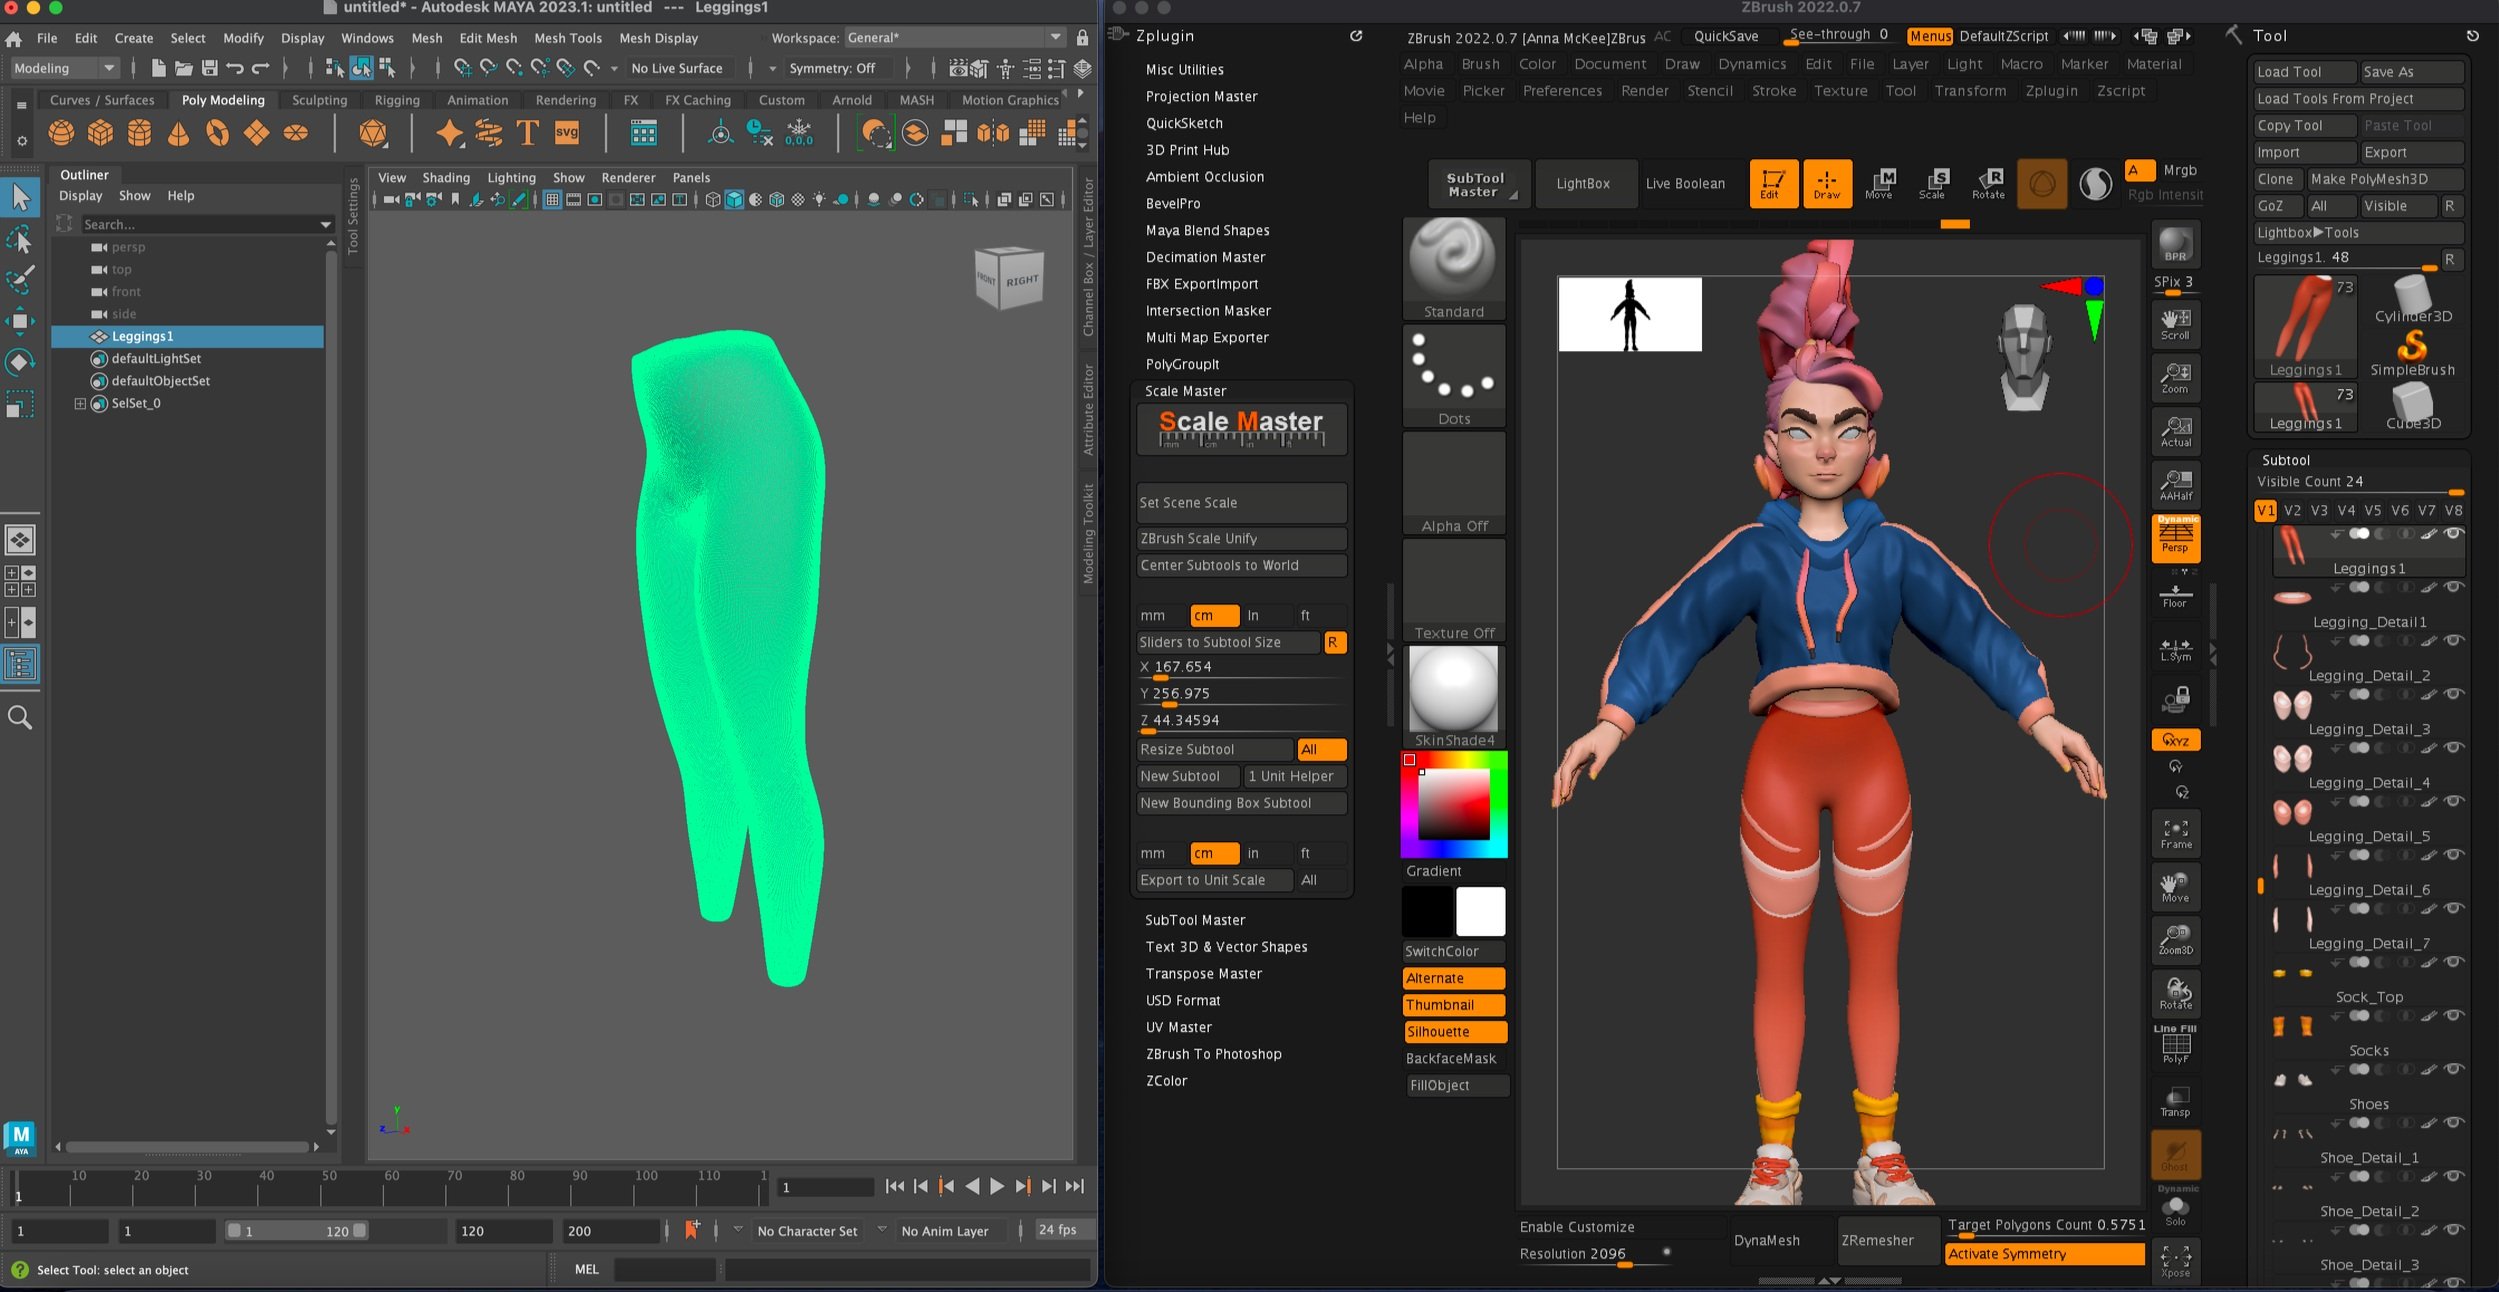
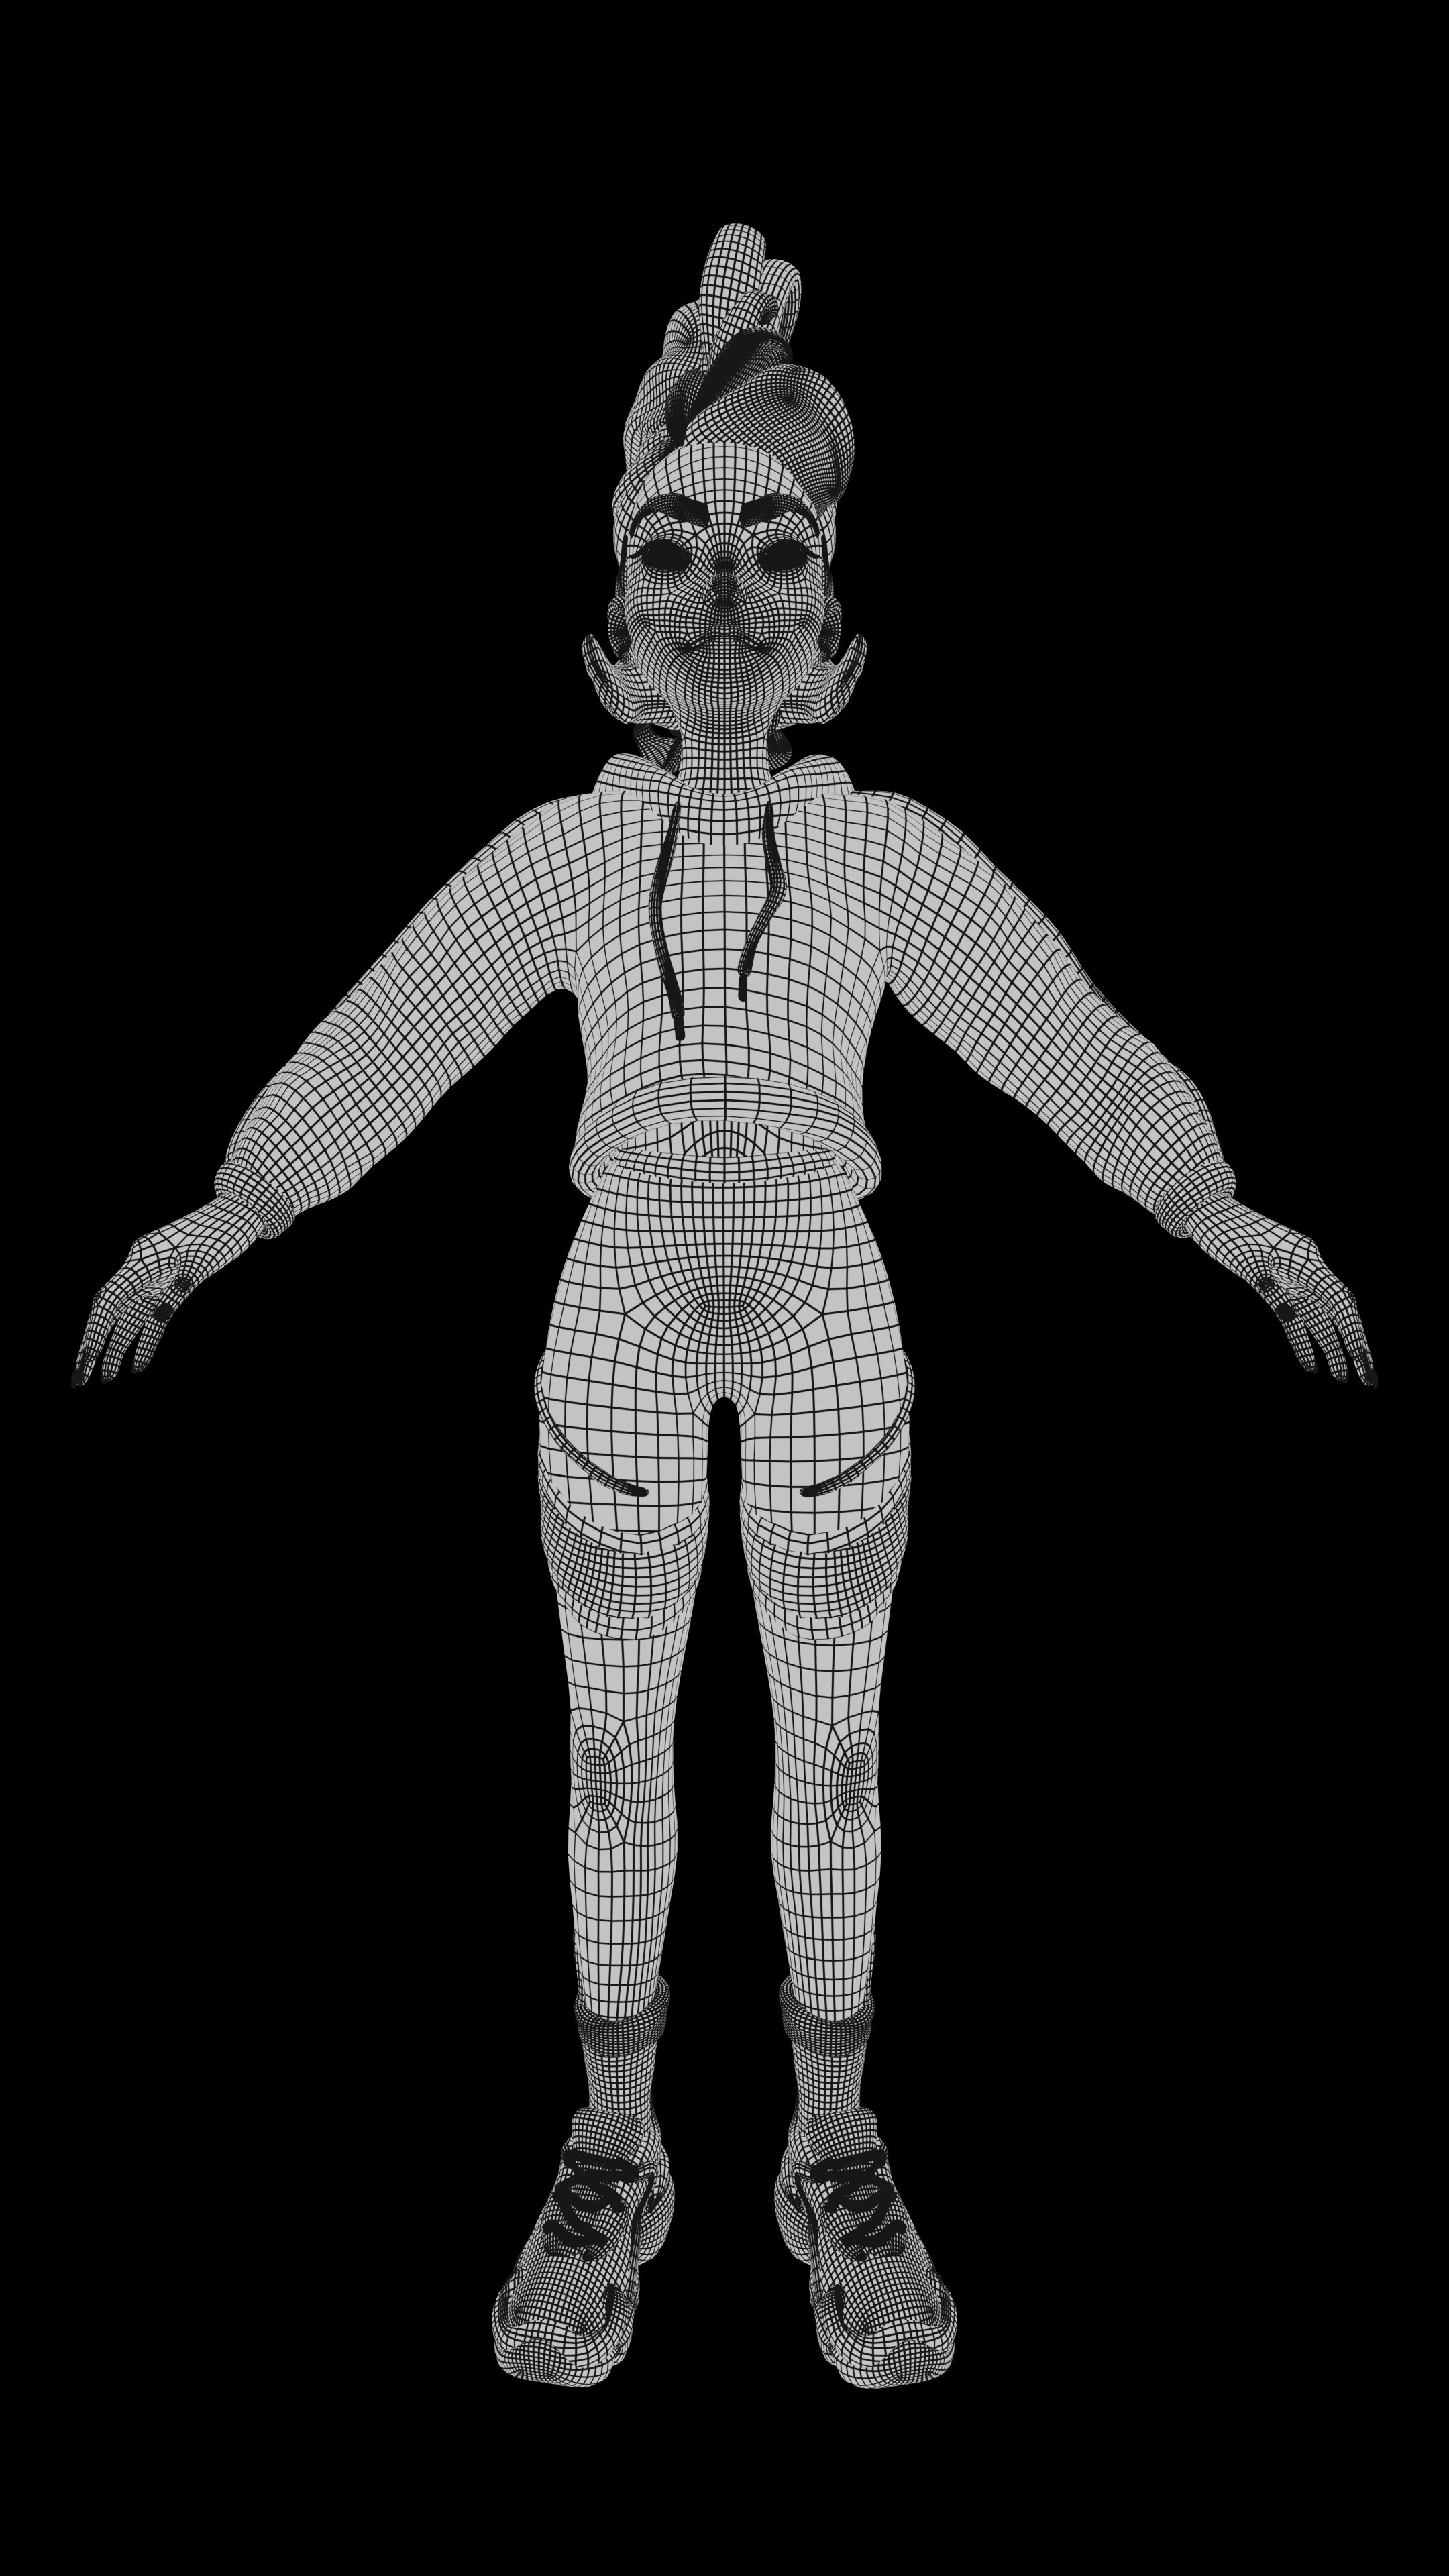
Female Character - Maya Process
Retopology


Credit - My screenshots - Anna Mckee
Female Character - Maya Process
UV Mapping


Credit - My screenshots - Anna Mckee
Female Character - Maya Process
Naming Conventions, Colour ID + Creating the Cage


Credit - My screenshots - Anna Mckee
Female Character - Substance Painter Process
Baking + Texturing


Credit - My screenshots - Anna Mckee
Female Character - Maya Process
Plug-in Textures


Credit - My screenshots - Anna Mckee
Female Character - Maya Process
Lighting + Rendering


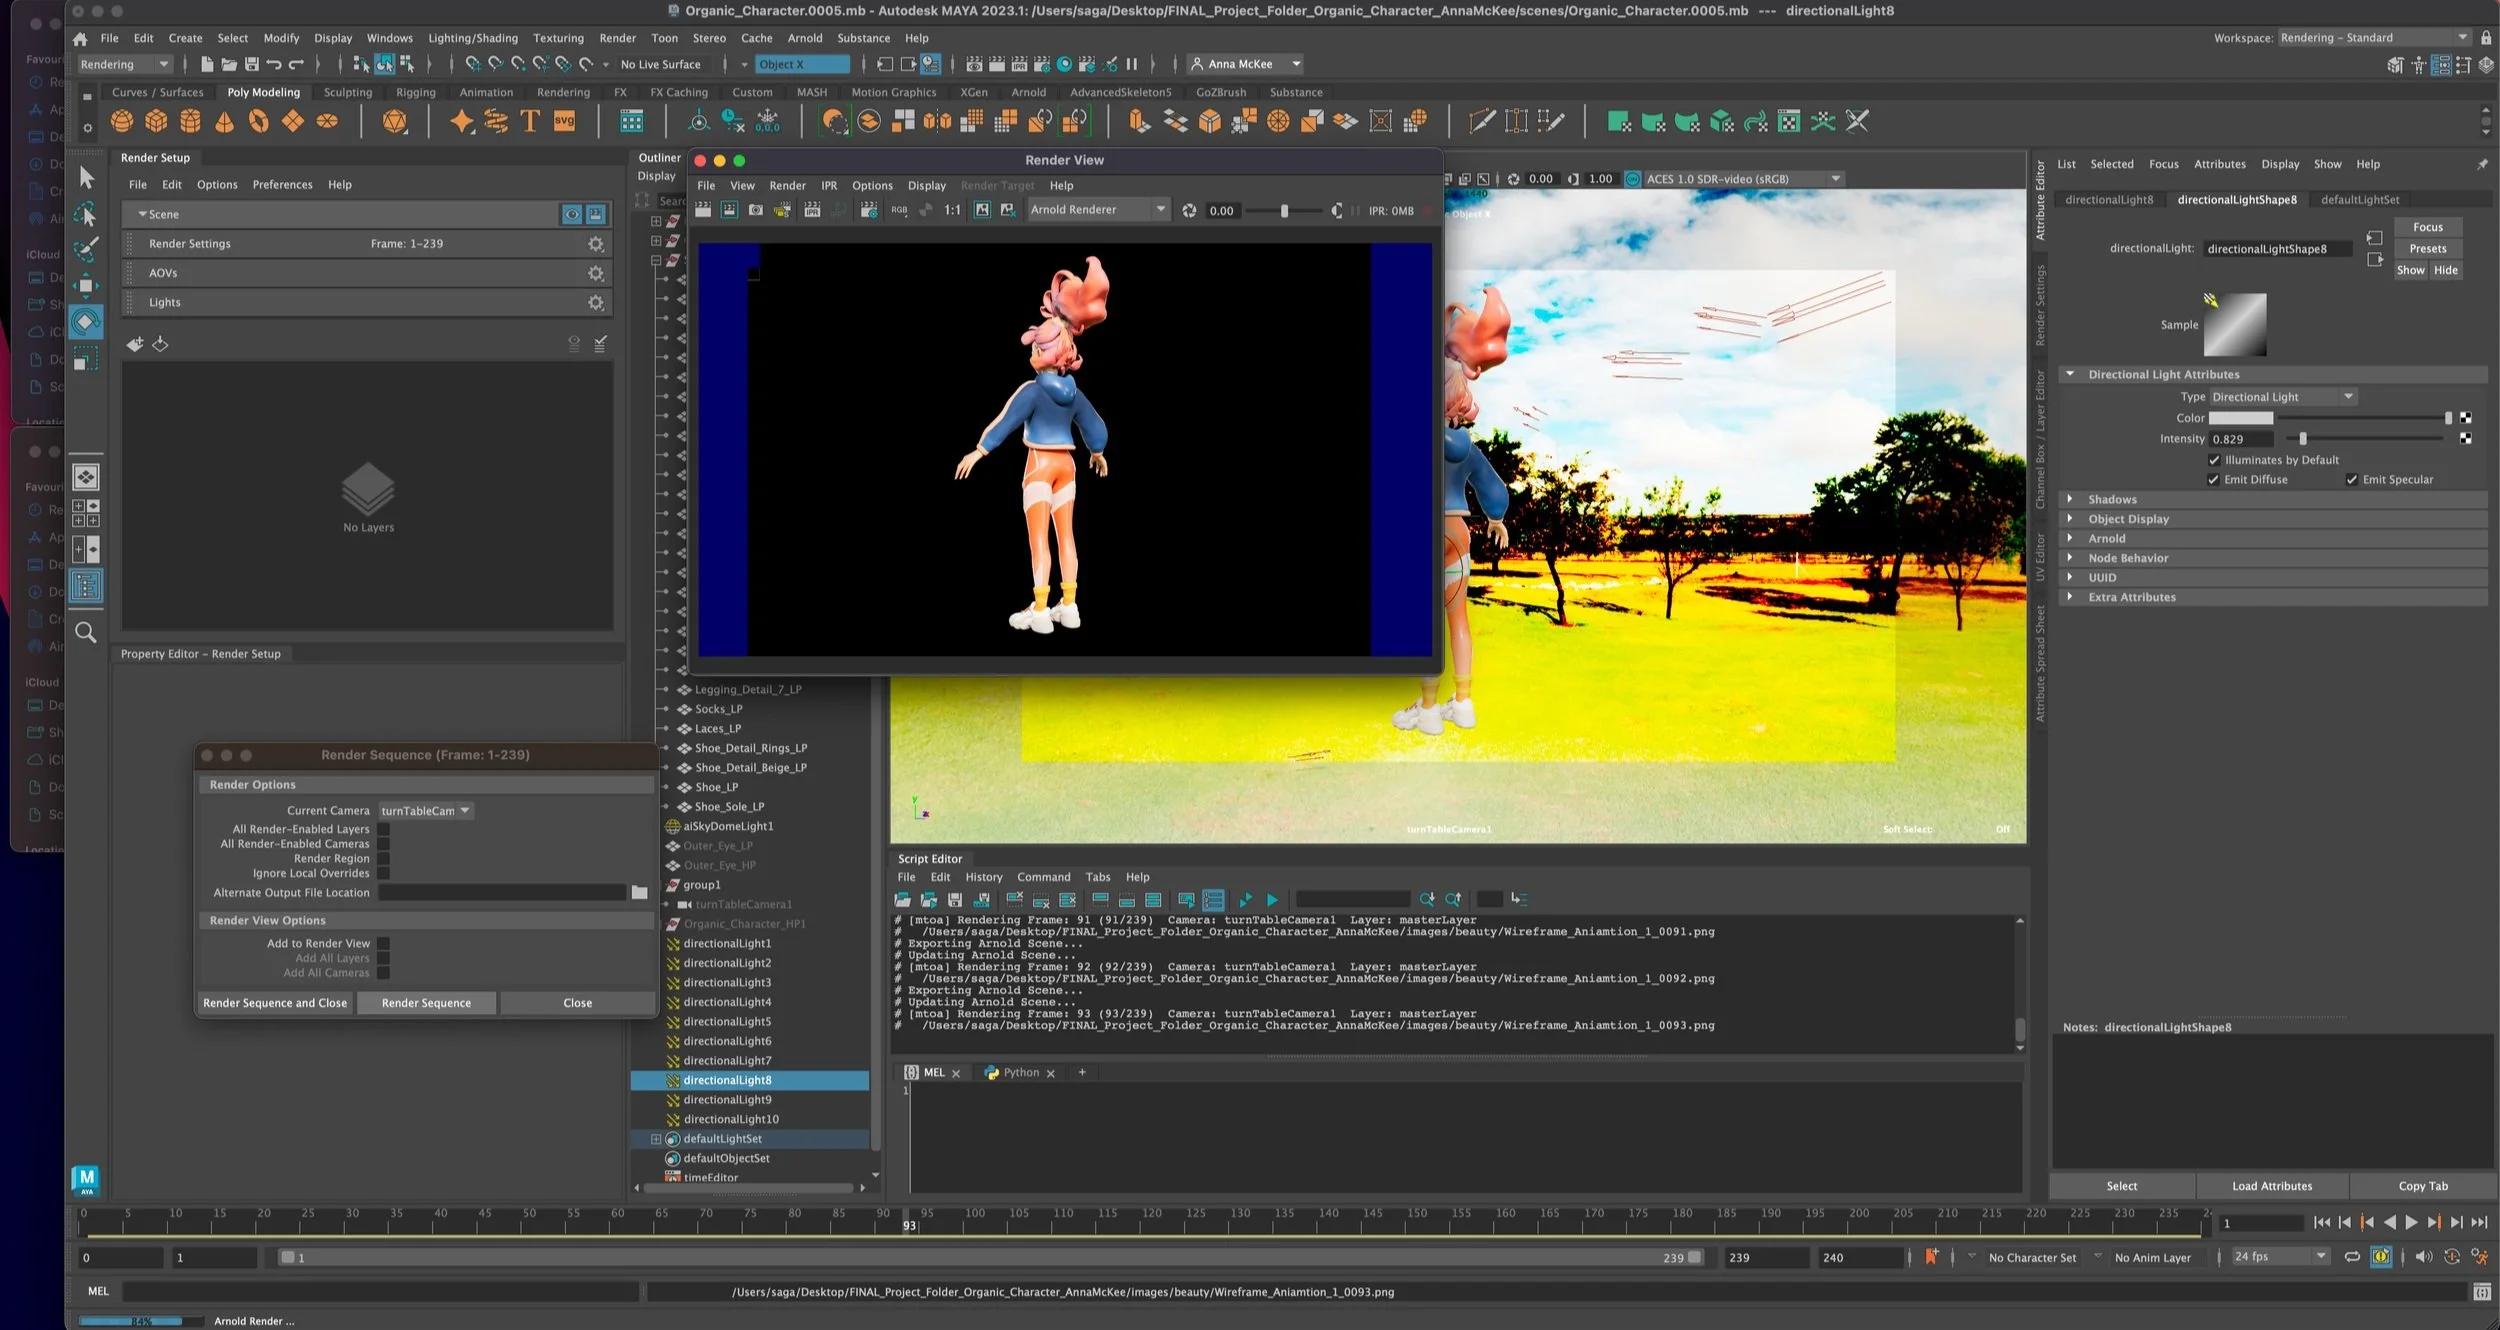
Credit - My screenshots - Anna Mckee
PNG 4K Renders for Video Sequence - Maya


Credit - My Renders - Anna Mckee
Final PBR Turntable - Video
Click on video below to play
Female Character - Zbrush Process
Renders + Turntable


Credit - My Renders - Anna Mckee
Final BPR Turntable - Video
Click on video below to play